Growing Guide
A quick guide to growing Sarracenia from seed and seedling stage, and how we germinate and grow our seedlings at Fox Leaf Farm.
Jump to Quick Seed Sowing Guide
Jump to Quick Seedling Planting Guide
An exhaustively comprehensive Sarracenia seed guide, and one worth reading, can be found on the International Carnivorous Plant Society here: Seed Growing Guide. You can also jump to our seedling Quick Guide
A great general growing Sarracenia guide can also be found on the International Carnivorous Plant Society here: Growing Sarracenia. These are great resources if you haven't grown Sarracenia before.
Starting from seed
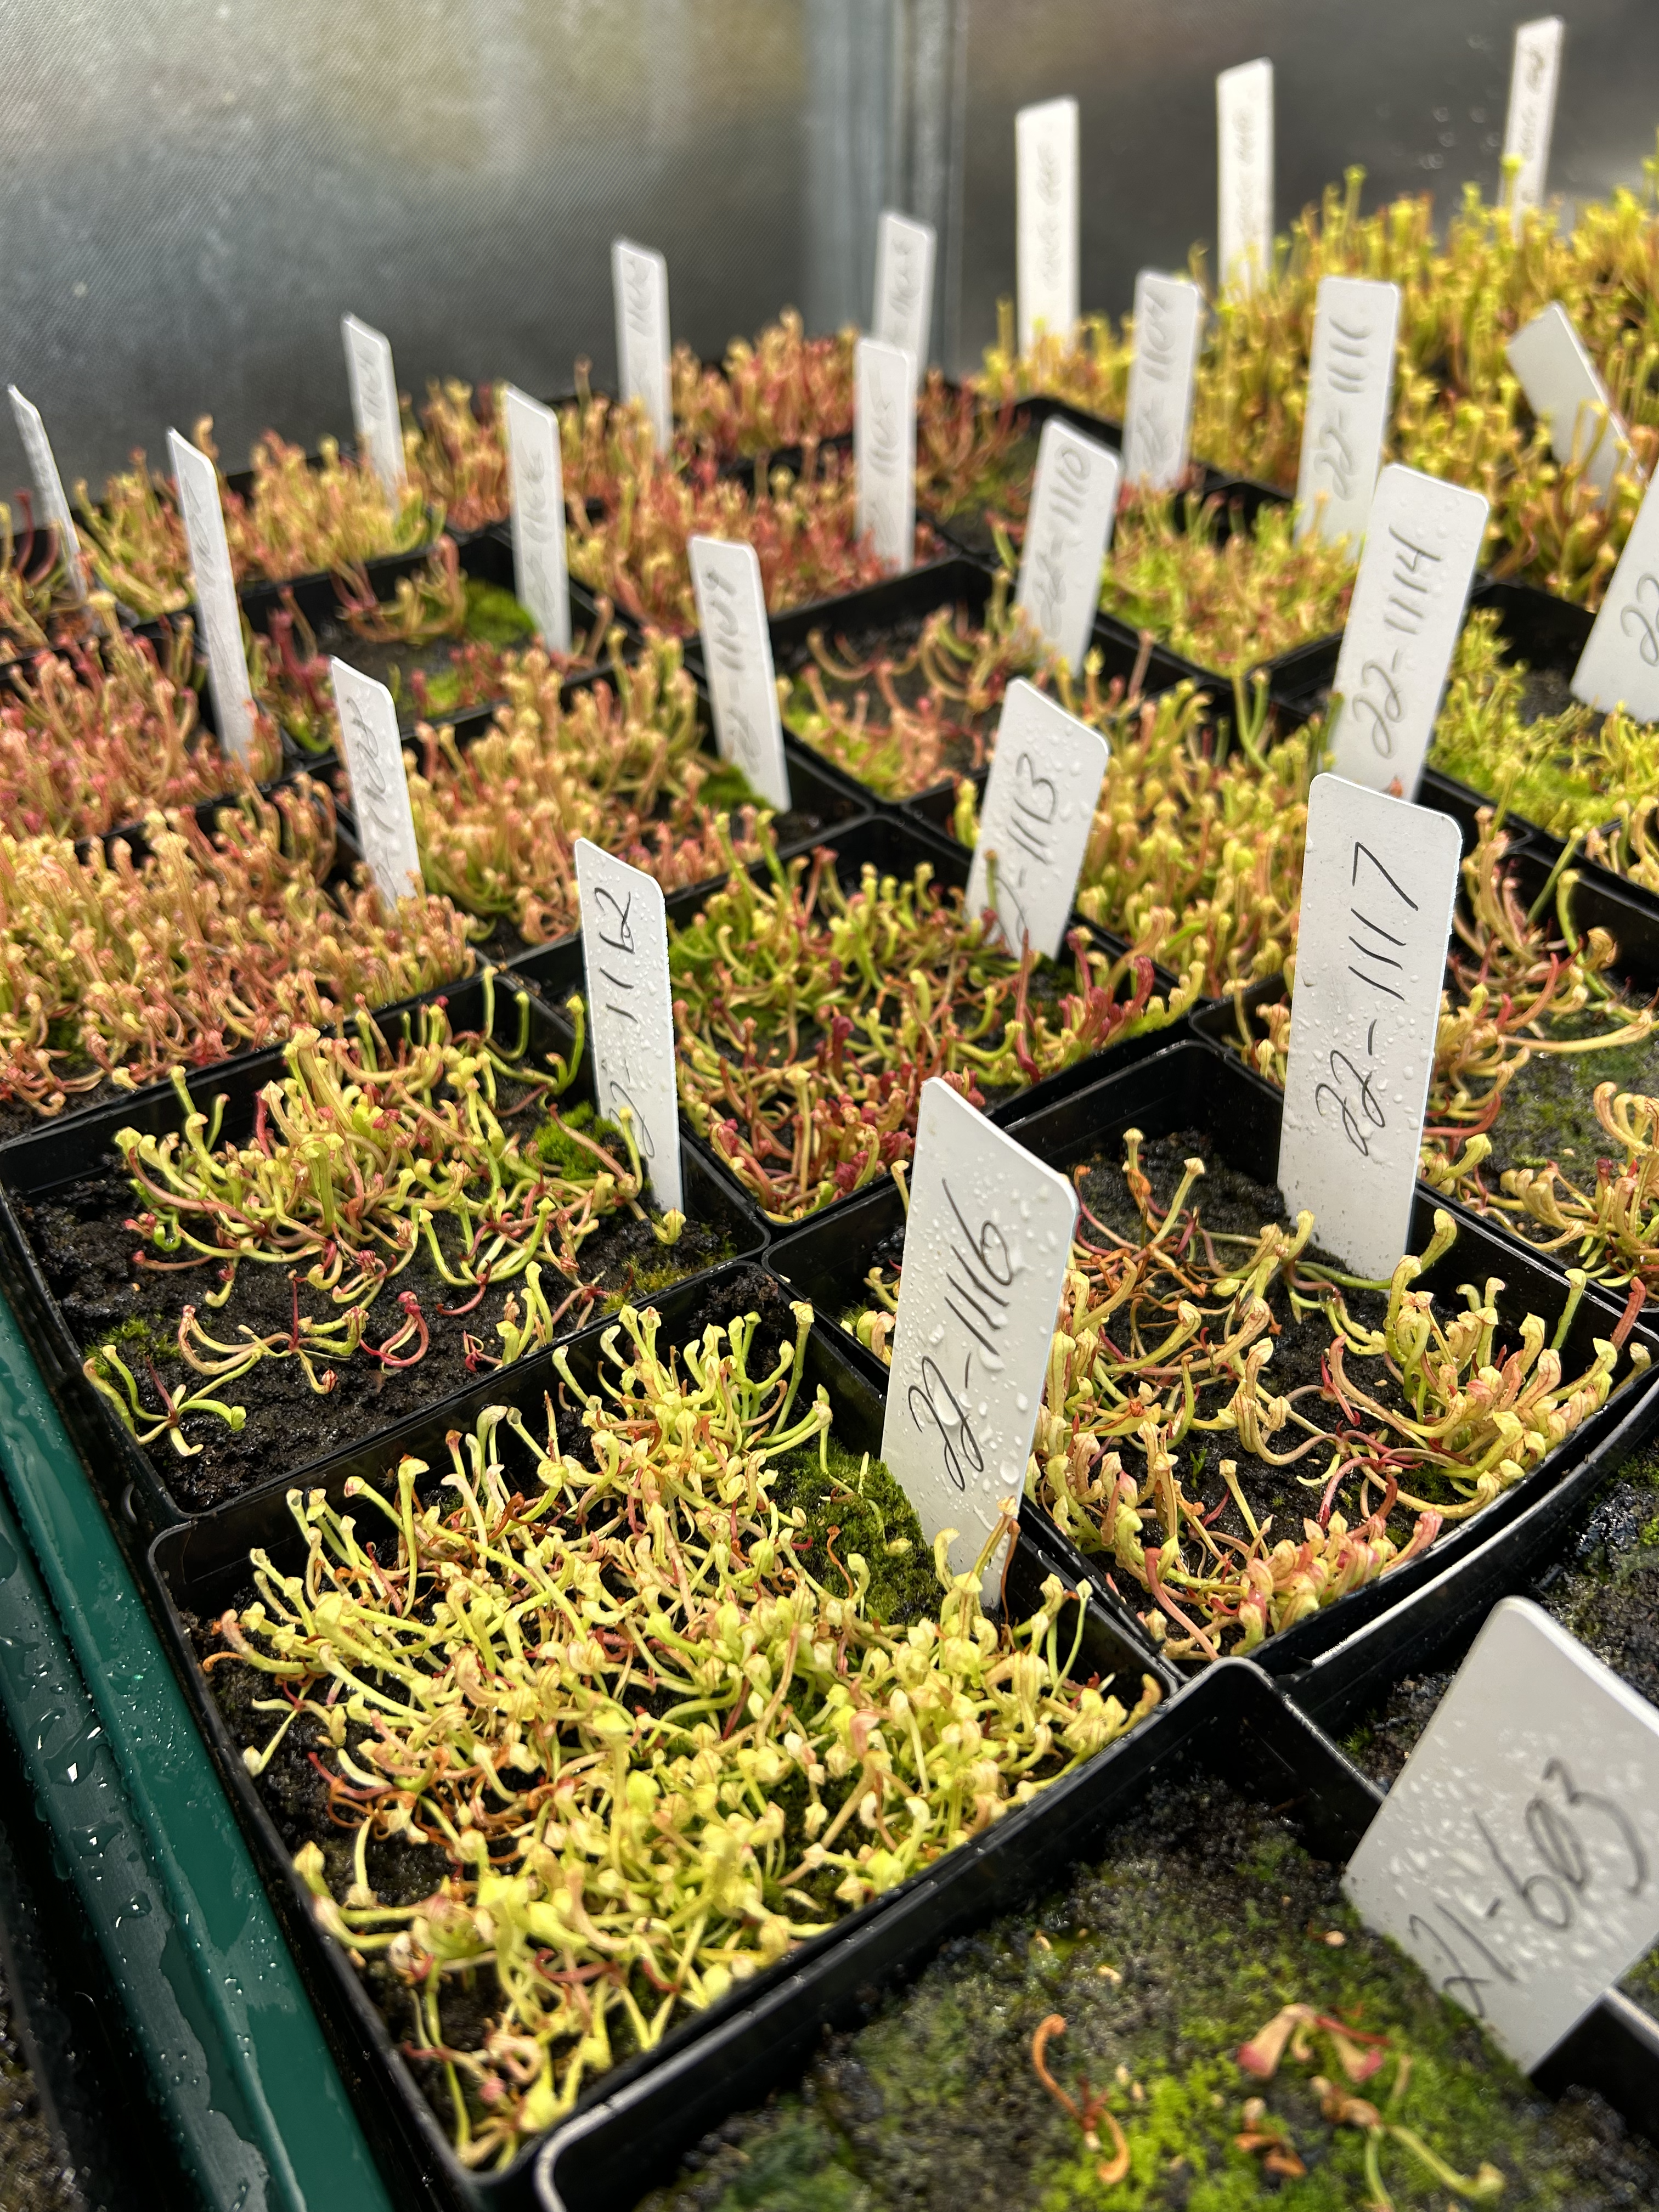
Sarracenia are easy to grow from seed when given the conditions they need,
and it's important to know a bit more about Sarracenia habitat to understand how best
to keep your seedlings (and adults) happy. Regardless of how they are started, they are very slow growing until fully established adults.
Sarracenia are bog plants, but really inhabit niche areas within Longleaf Pine habitat.
The plants are predominantly adapted to open, wet seepage slopes and wet prairie bottoms where they are constantly wet,
but also have gently flowing, very pure water. Their roots prefer to have access to good oxygen, and quickly break
down in stagnant conditions. Their habitat soil is very acidic, with low nutrients (hence the adaptation to carnivory for nitrogen). Their roots are adapted for extremely low levels of nutrient uptake, and can burn easily in high nutrient or hard water conditions.
Duplicating these conditions are the key to cultivating them: low nutrient and highly acidic soil, constant pure water moisture, and high light.
The other aspects of the habitat to keep in mind is Longleaf Pine savanna's are adapted to frequent fires. Sarracenia and associate species
rely on fire for keeping their growing areas open and free from shrubs, and will slow growth if shaded while waiting for fire. Located in zones 8-9, the temperate Longleaf forests have all four seasons,
with Sarracenia going dormant yearly during winter, dropping their leaves and awaiting spring for blooming and new leaf production all summer. While rain is frequent during summer, droughts cause the plants to shut down and preserve water in their rhizomes.
Plants can tolerate freezing conditions during dormancy, but extended freezing can be damaging to roots and rhizomes.
Why does this all matter? Well, the seedlings are adapted to these conditions, so conditions outside their preferred range often cause them to stall and wait for better conditions to continue growing.
In order to germinate Sarracenia seed, you'll need to simulate winter dormancy followed by the warm, sunny spring conditions. Low nutrient soil, paired with very pure water, constant moisture and constant temperature keep seedlings
in consistent growth mode. In fact, Sarracenia seedlings can be pushed to grow non stop under 24hr light for 2 years straight before requiring any dormancy.
Water Quality
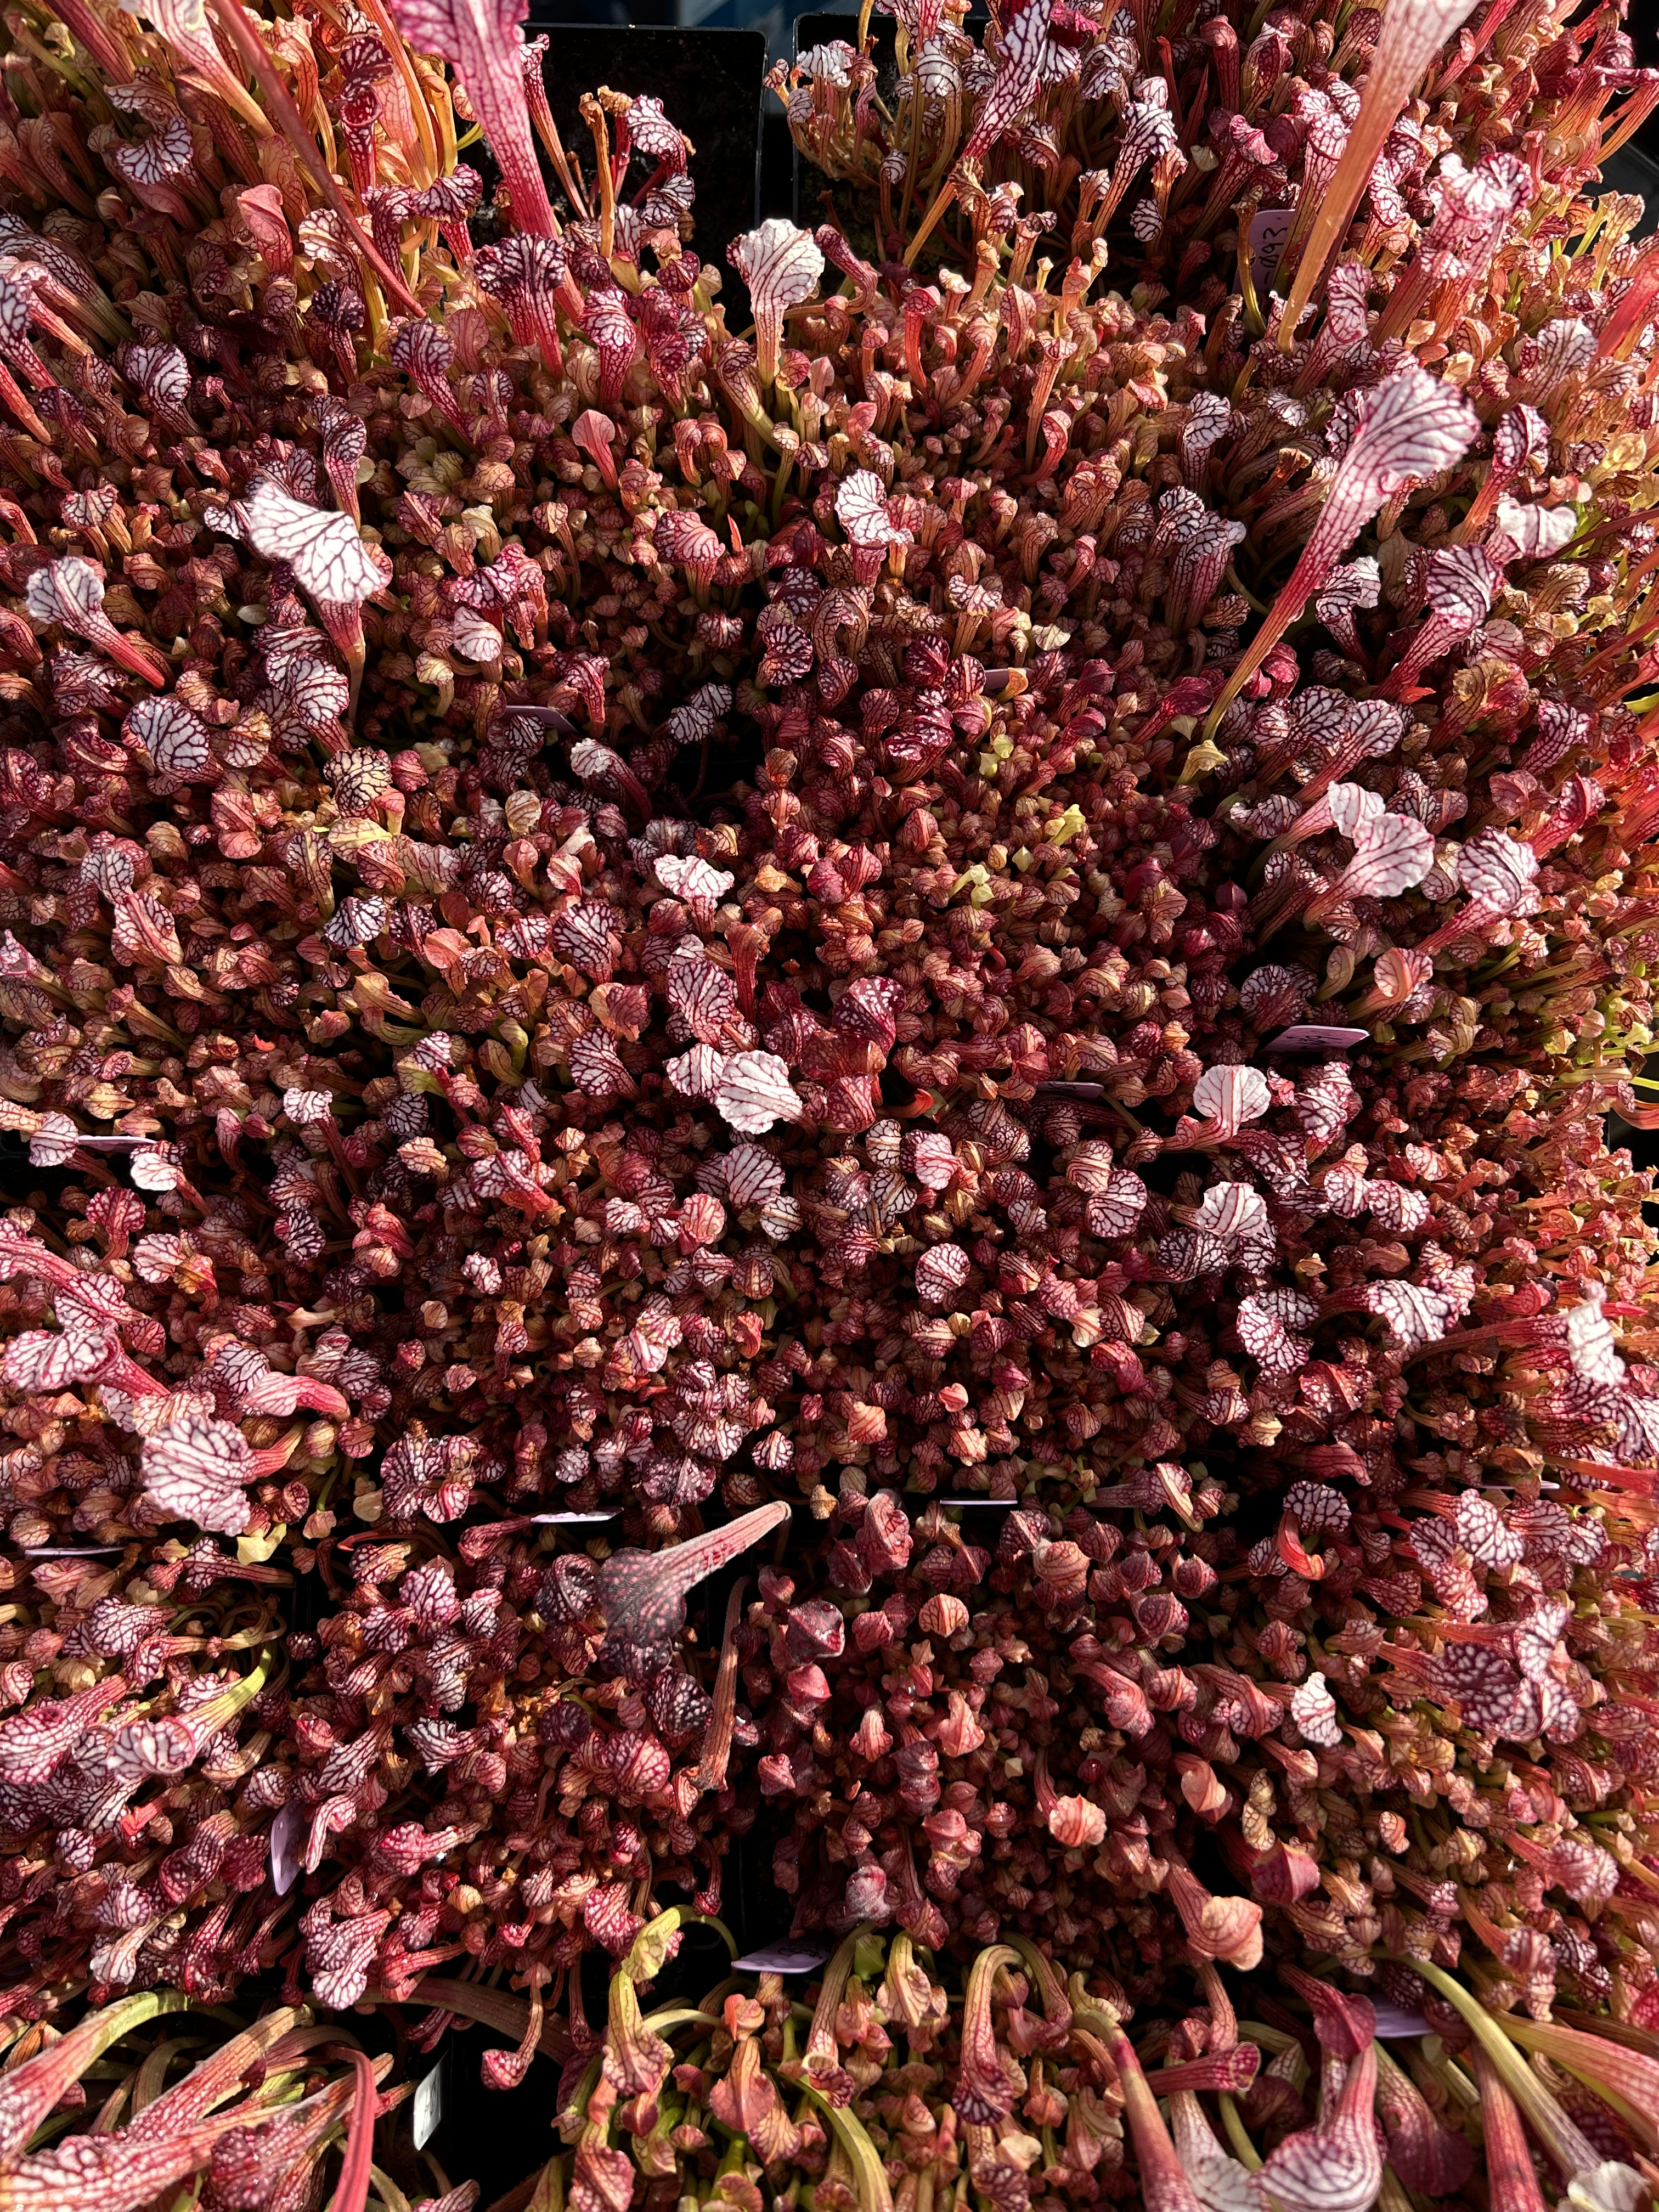
Sarracenia require very pure water at all stages of their growth. Rainwater, distilled or reverse osmosis water is generally used, or if your water is under 150ppm TDS it can work as well for Sarracenia. Ideally, your water should be under 100ppm
for starting sarracenia seeds and low in any dissolved salts or lime. Water quality is the key to successfully growing Sarracenia.
At Fox Leaf Farm, we store a significant amount of rainwater, as well as leverage a large Reverse Osmosis system to keep our water trays filled and plants happy.
Inducing dormancy for seeds: Stratification
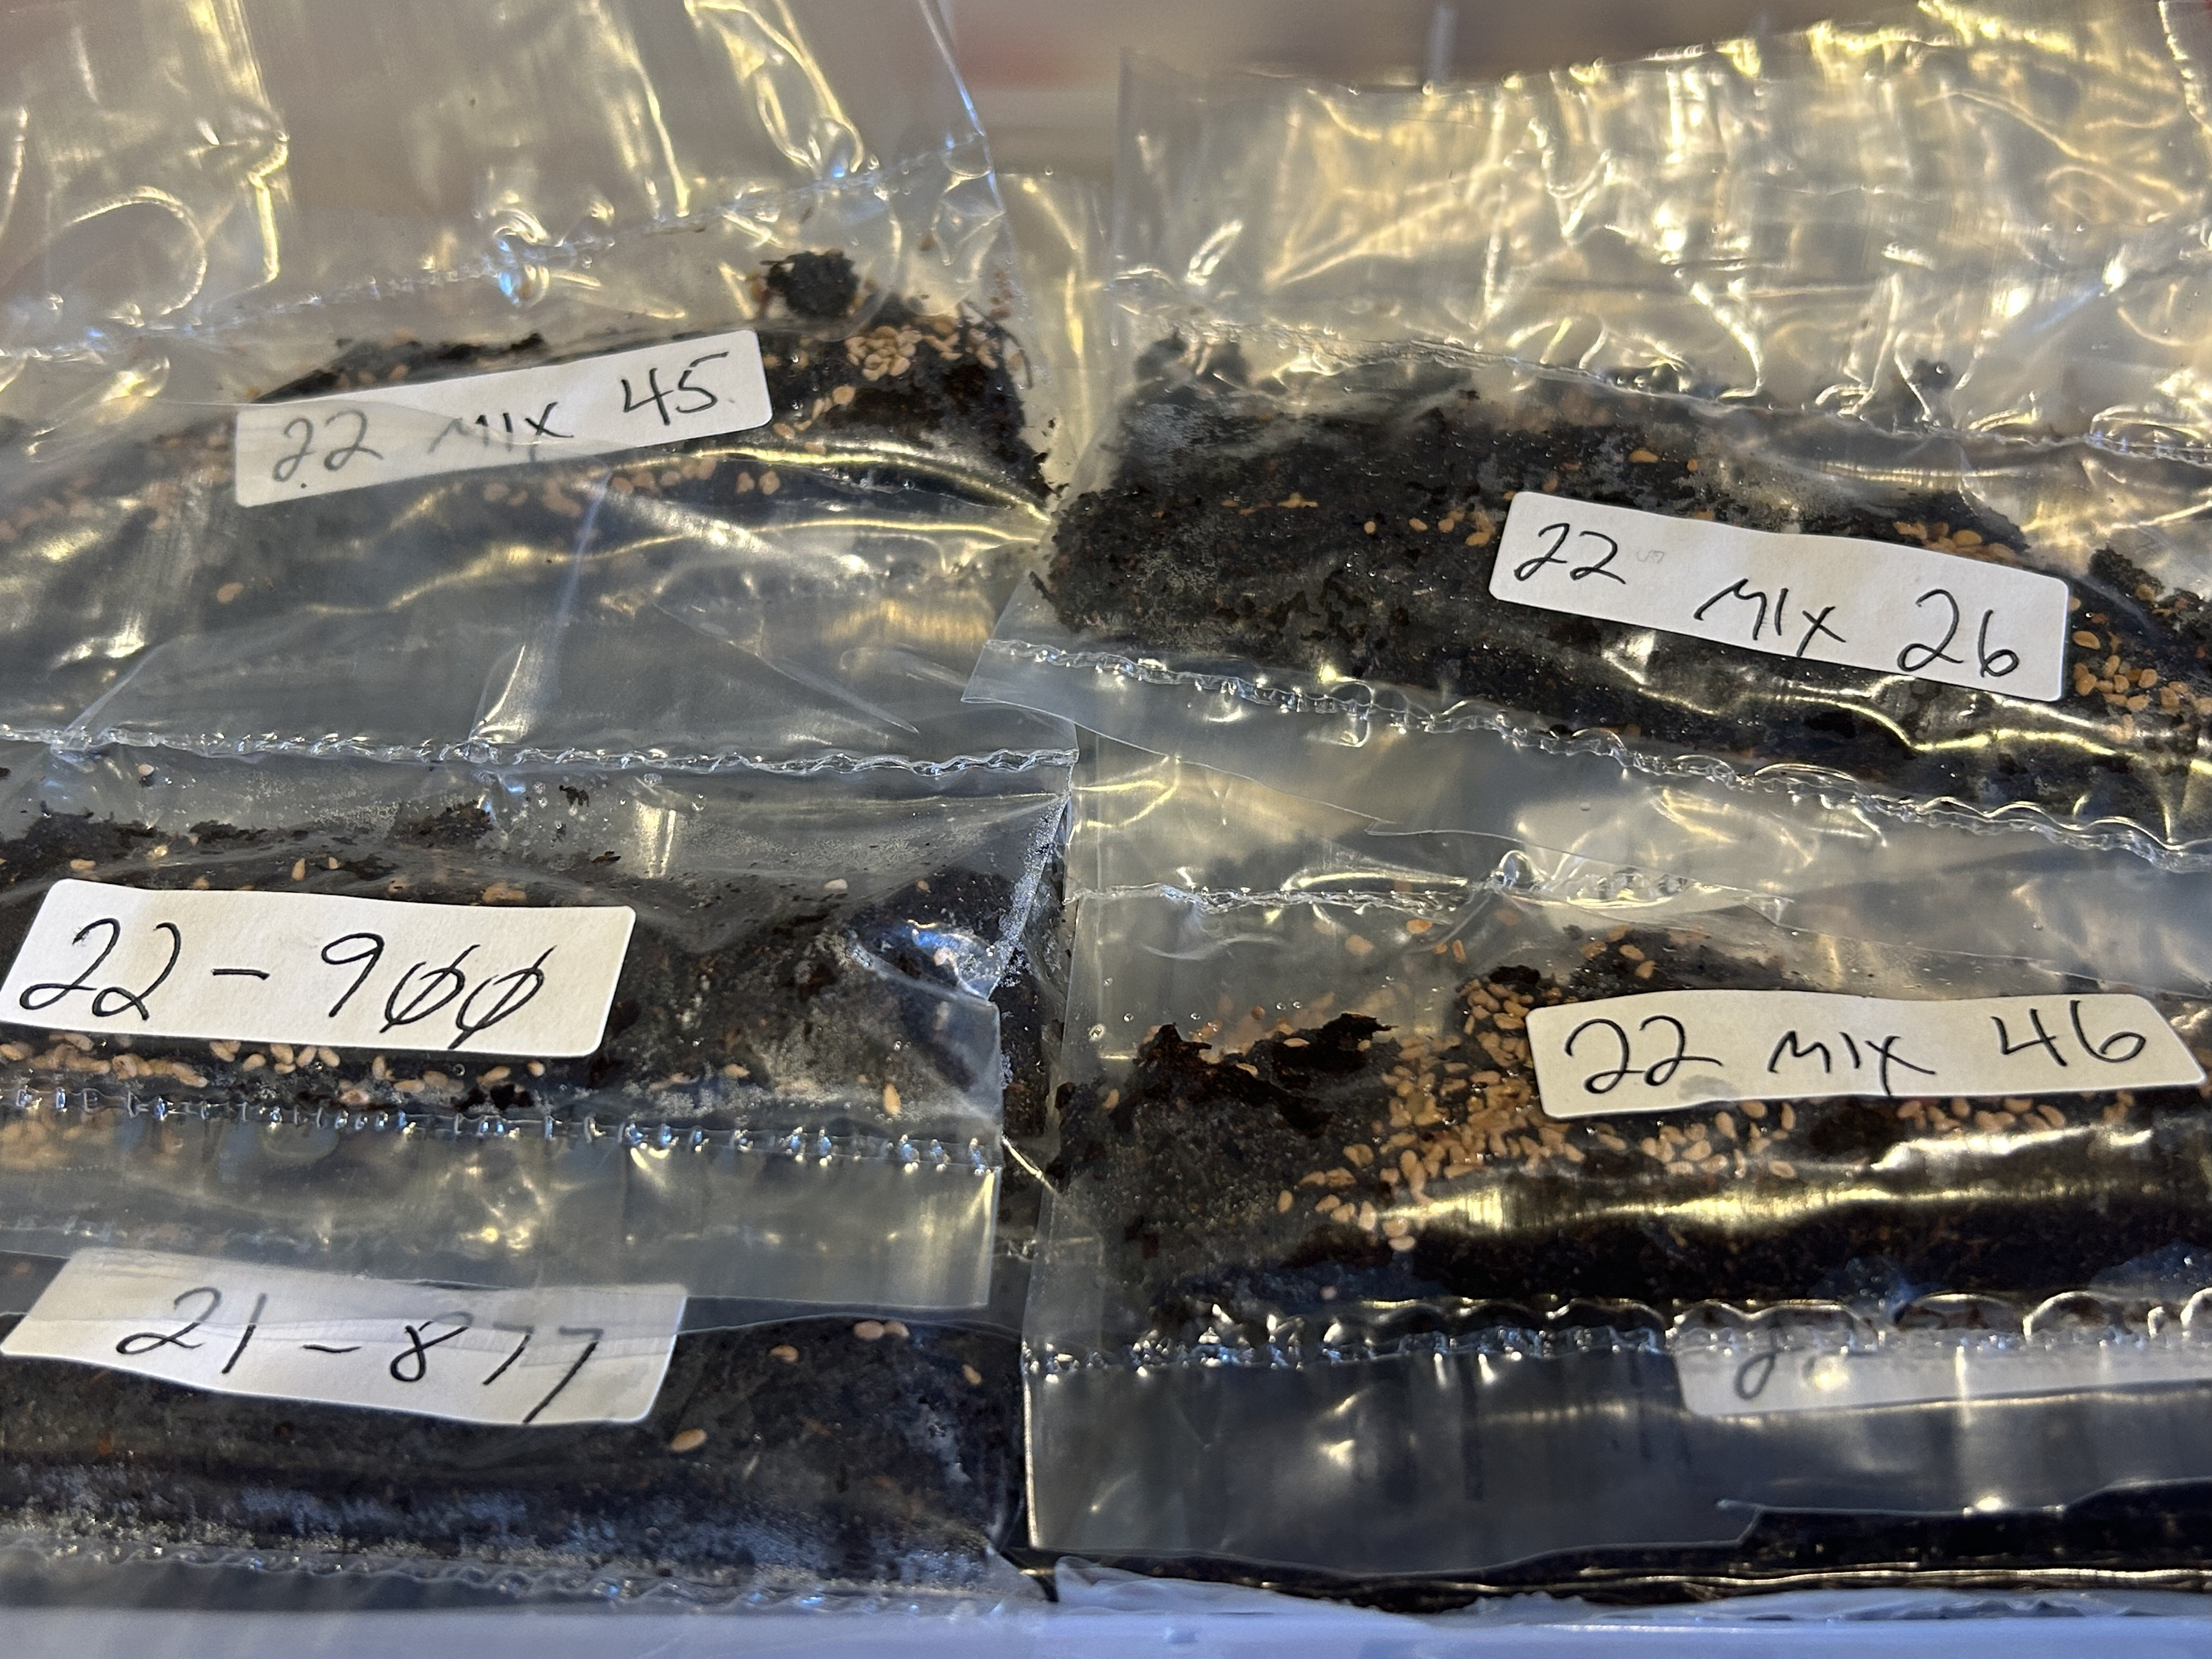
The first step in germinating seeds is stratification of the seeds. If you have purchased seed from us, they are unstratified and will need to undergo a cold, wet dormancy. Sarracenia seeds have a waxy coating and are fairly hydrophobic.
In nature, seed drops in late fall/winter and has a few months of colder, wet conditions to complete the breakdown of the coating and allow the seed to germinate once warmer conditions return. In cultivation, there are three
general methods of inducing this dormancy on your seeds. The longest method is to sow the seeds when you receive them onto the surface of pots for a full winter dormancy, bagging them to retain moisture. The pots can be stored in a cold place for the duration of winter, placed outside in spring, and the seeds will germinate once spring warmth returns.
A quicker method is to induce dormancy with one of two stratification methods involving 4-6 week dormancy in the fridge. You can place a small portion of your soil in a sealed bag with the seeds, mixing them to ensure the seeds
are all in contact with the soil. Placed in the fridge for 4-6 weeks, the seeds will be ready to sow once removed. An alternate method is to spread seed out on a moist paper towel, and fold it over and place in a bag. The paper towel method works just as well, but beware paper towels can break down over time unless strong ones are used.
Soil Selection
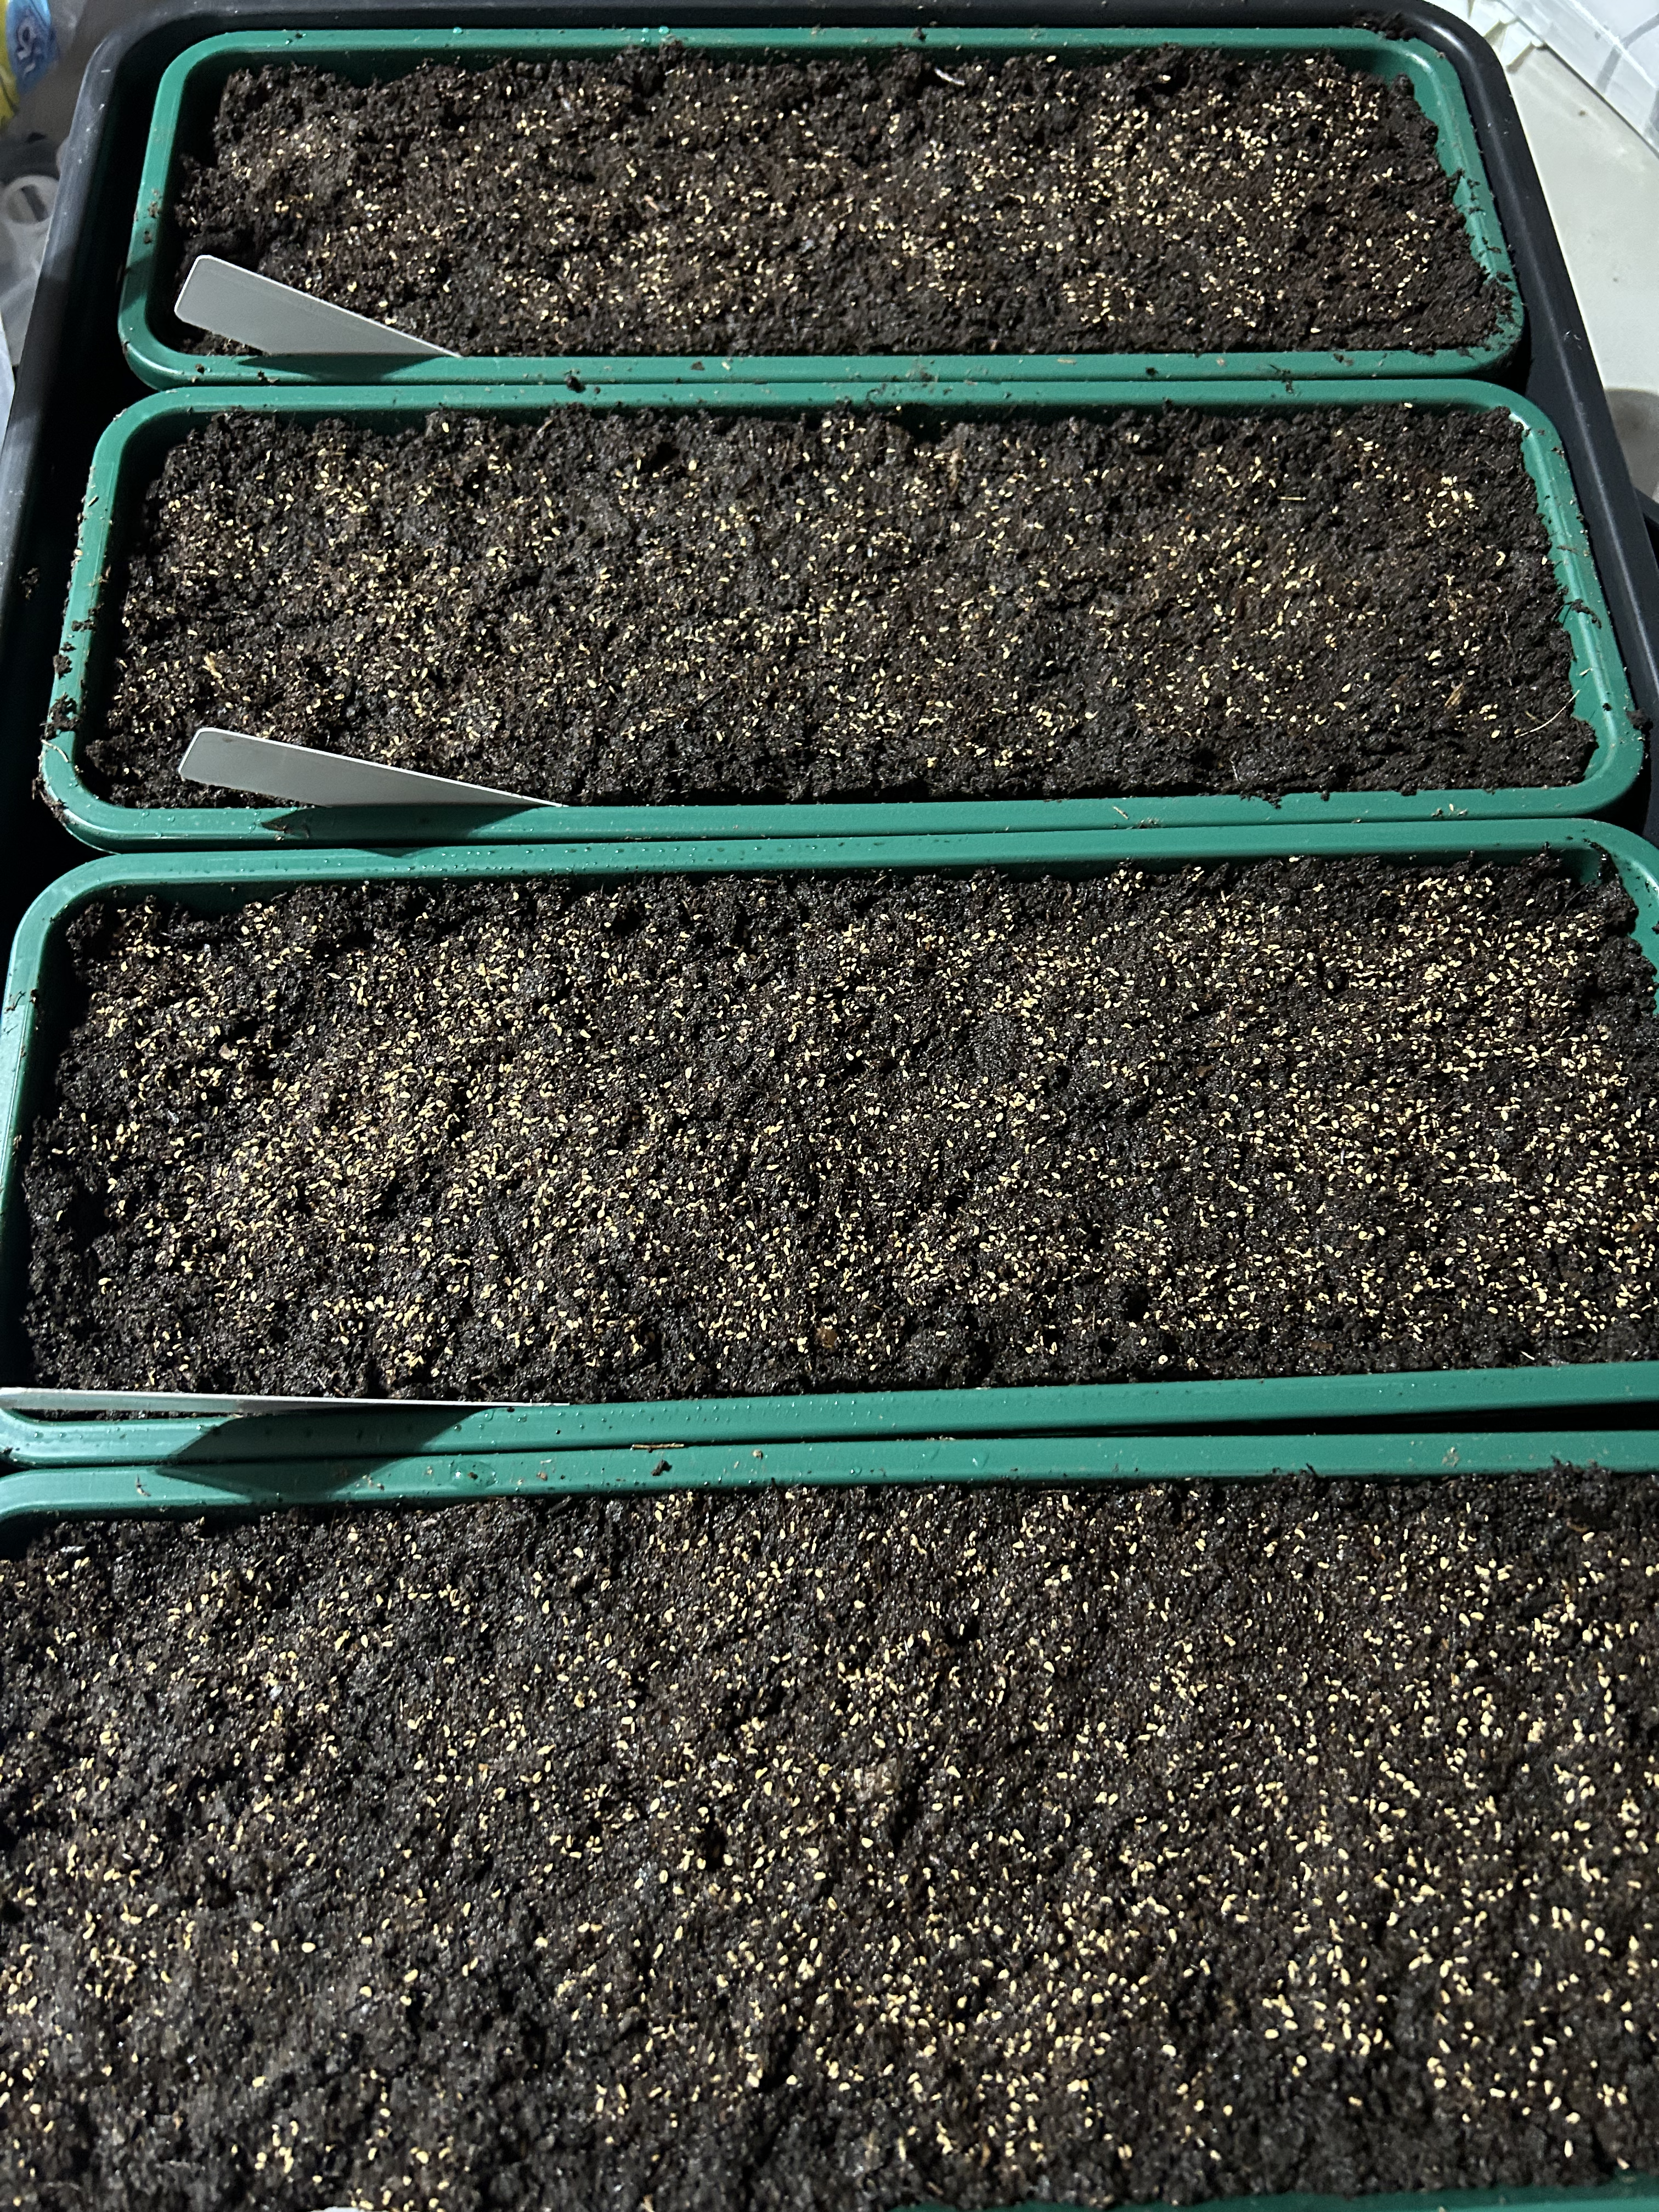
High quality Peat Moss (check for any additives) mixed 50-50 with pearlite or sand, or chopped long fiber sphagnum
are the standard growing media for Sarracenia. Double check that there are no PH buffers added if you are using Peat Moss - only use pure Peat Moss.
As Sarracenia are wetland plants, they will need to sit in a small amount of pure water during their growth. Choose pots around 2-5" tall
Sowing Seed
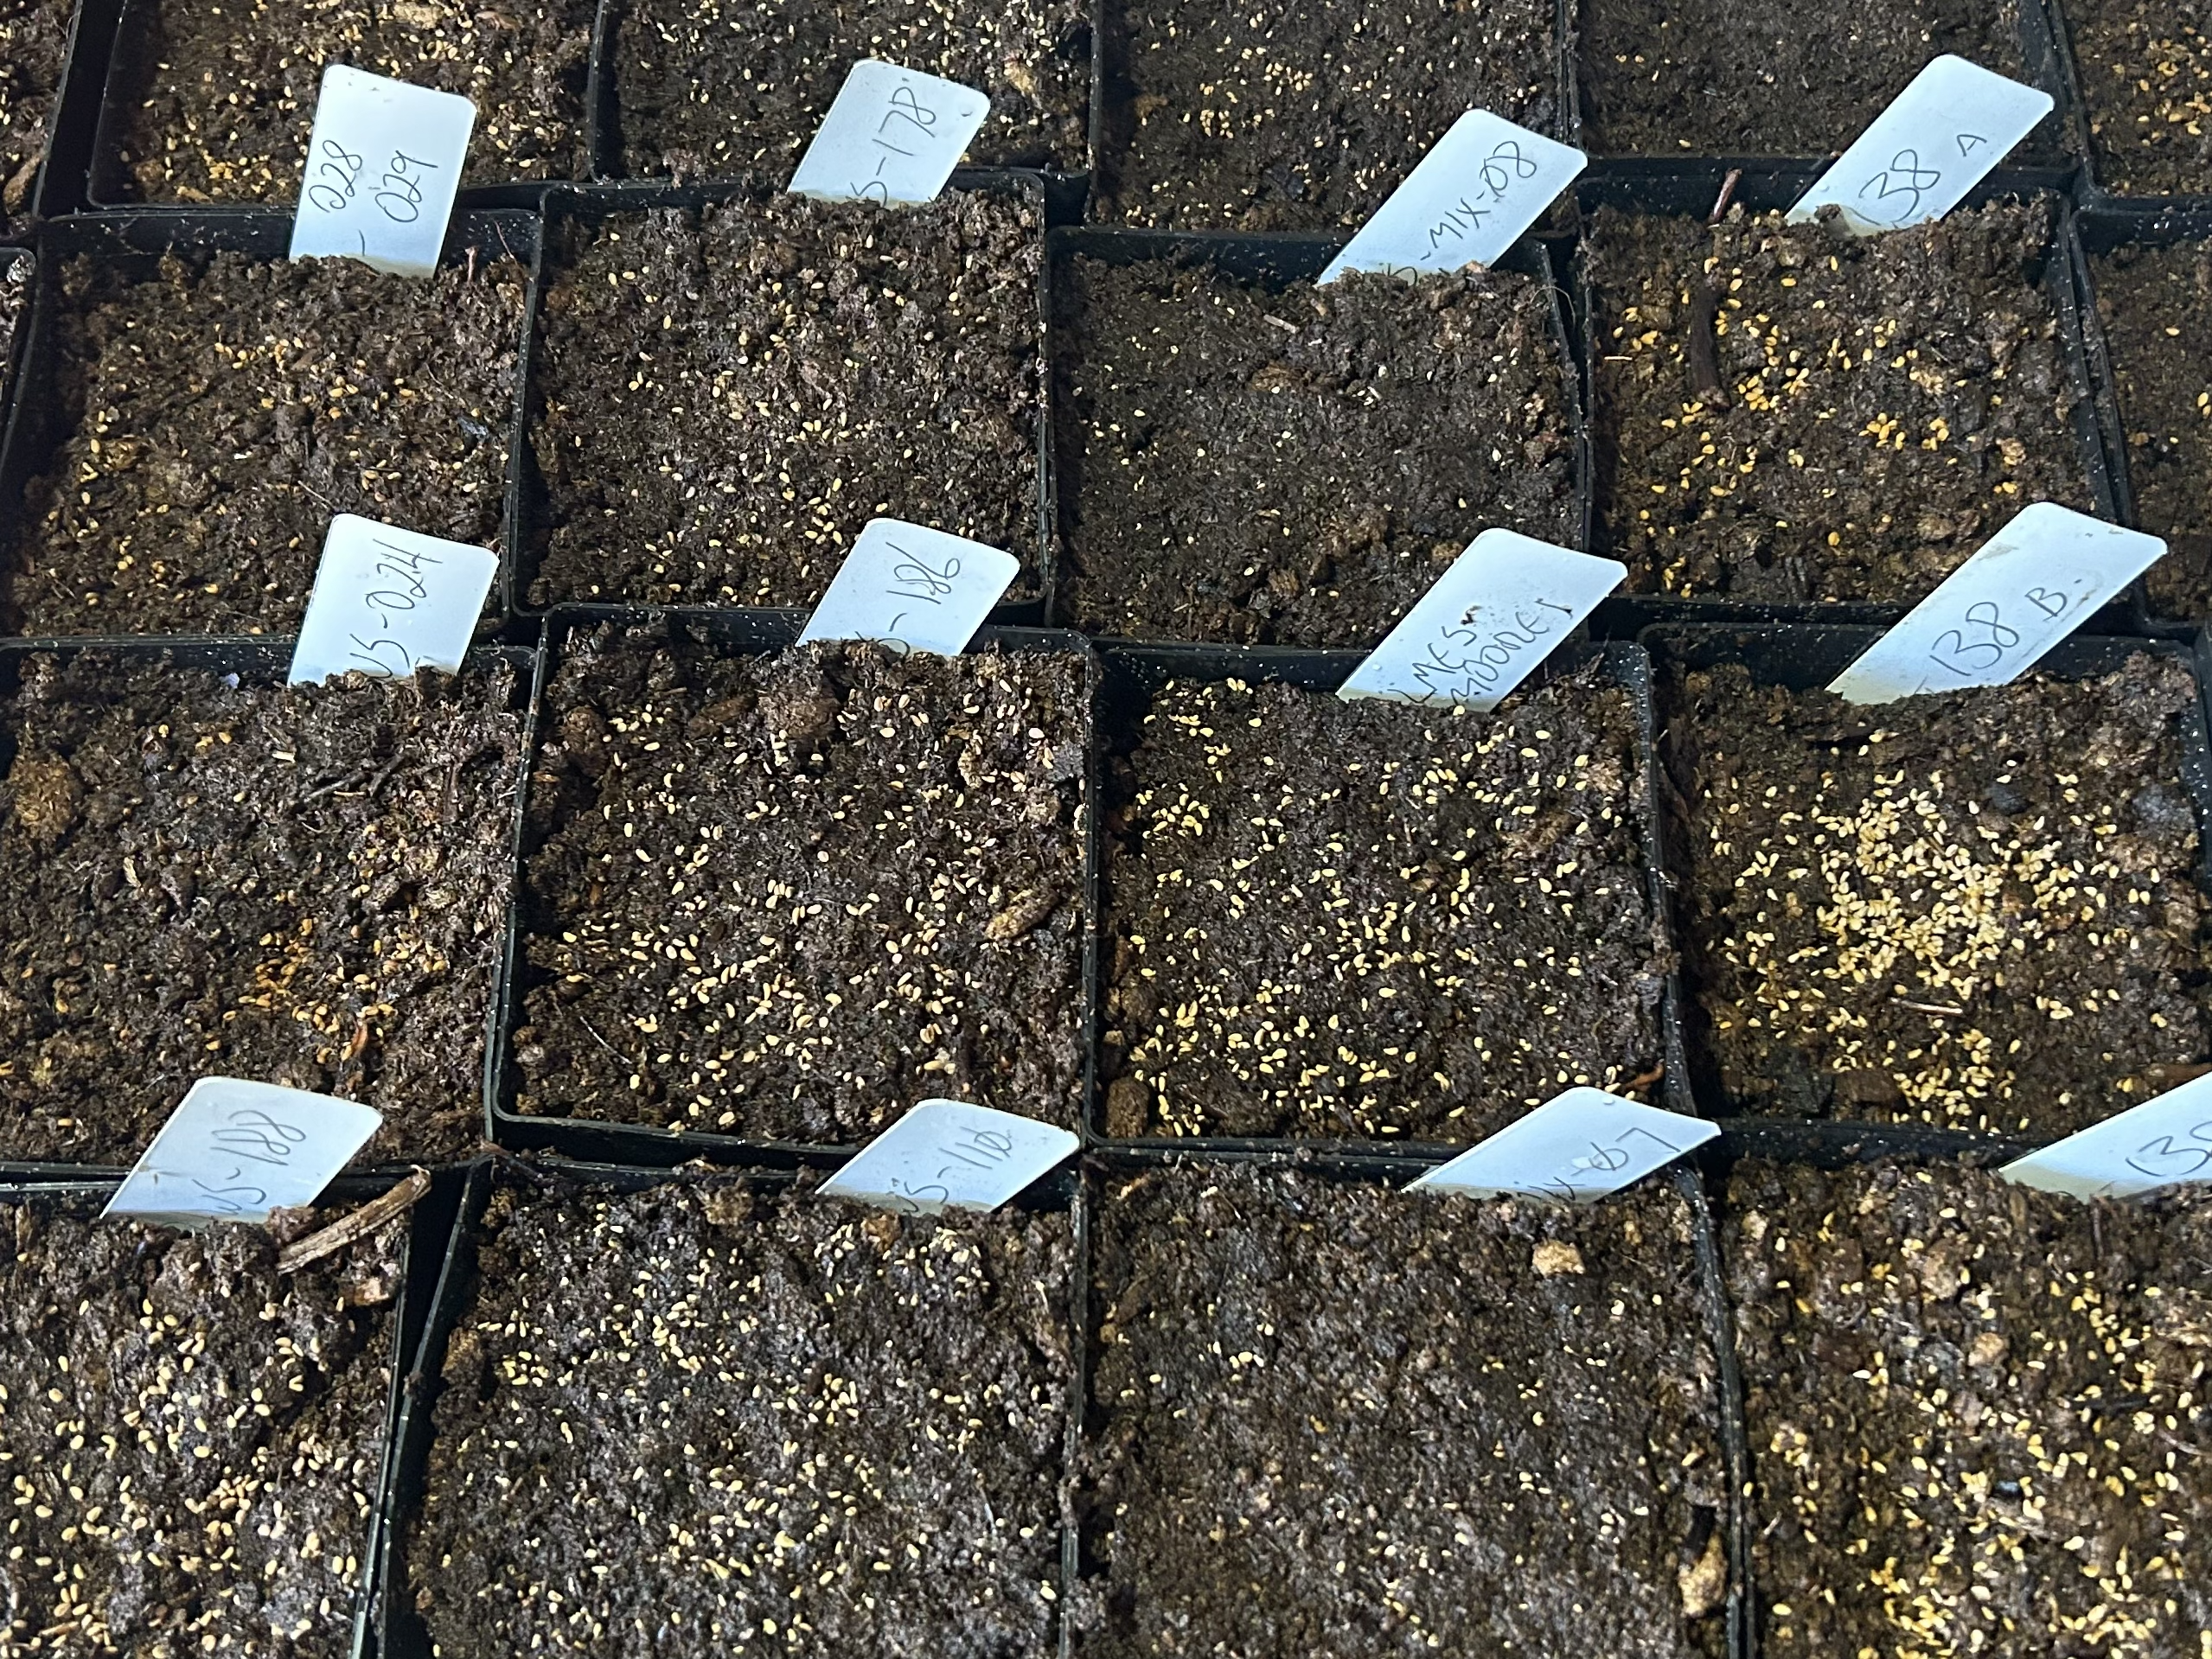
Sarracenia seed requires light and warm temperatures to germinate. After taking your seeds out of their 4-6 week stratification, spread them around evenly across the surface of
your prepared pots. Make sure the seeds aren't buried as those will not germinate. Keep the surface of the seeds moist. I generally mist them with r/o water once planted, and then continue to mist every day or so
until germination begins around 1-2 weeks later. Maintain high humidity with a covering or humidity dome. Not all the seeds will germinate at once, so it is worth gently misting even as some seeds are germinating.
Captan can be used if there are any signs of fungus on the surface, or a slightly heavier misting.
After a few weeks any seed that has not germinated can be collected and placed back into another 4 weeks of stratification to potentially get them to germinate as well.
The First Few Months
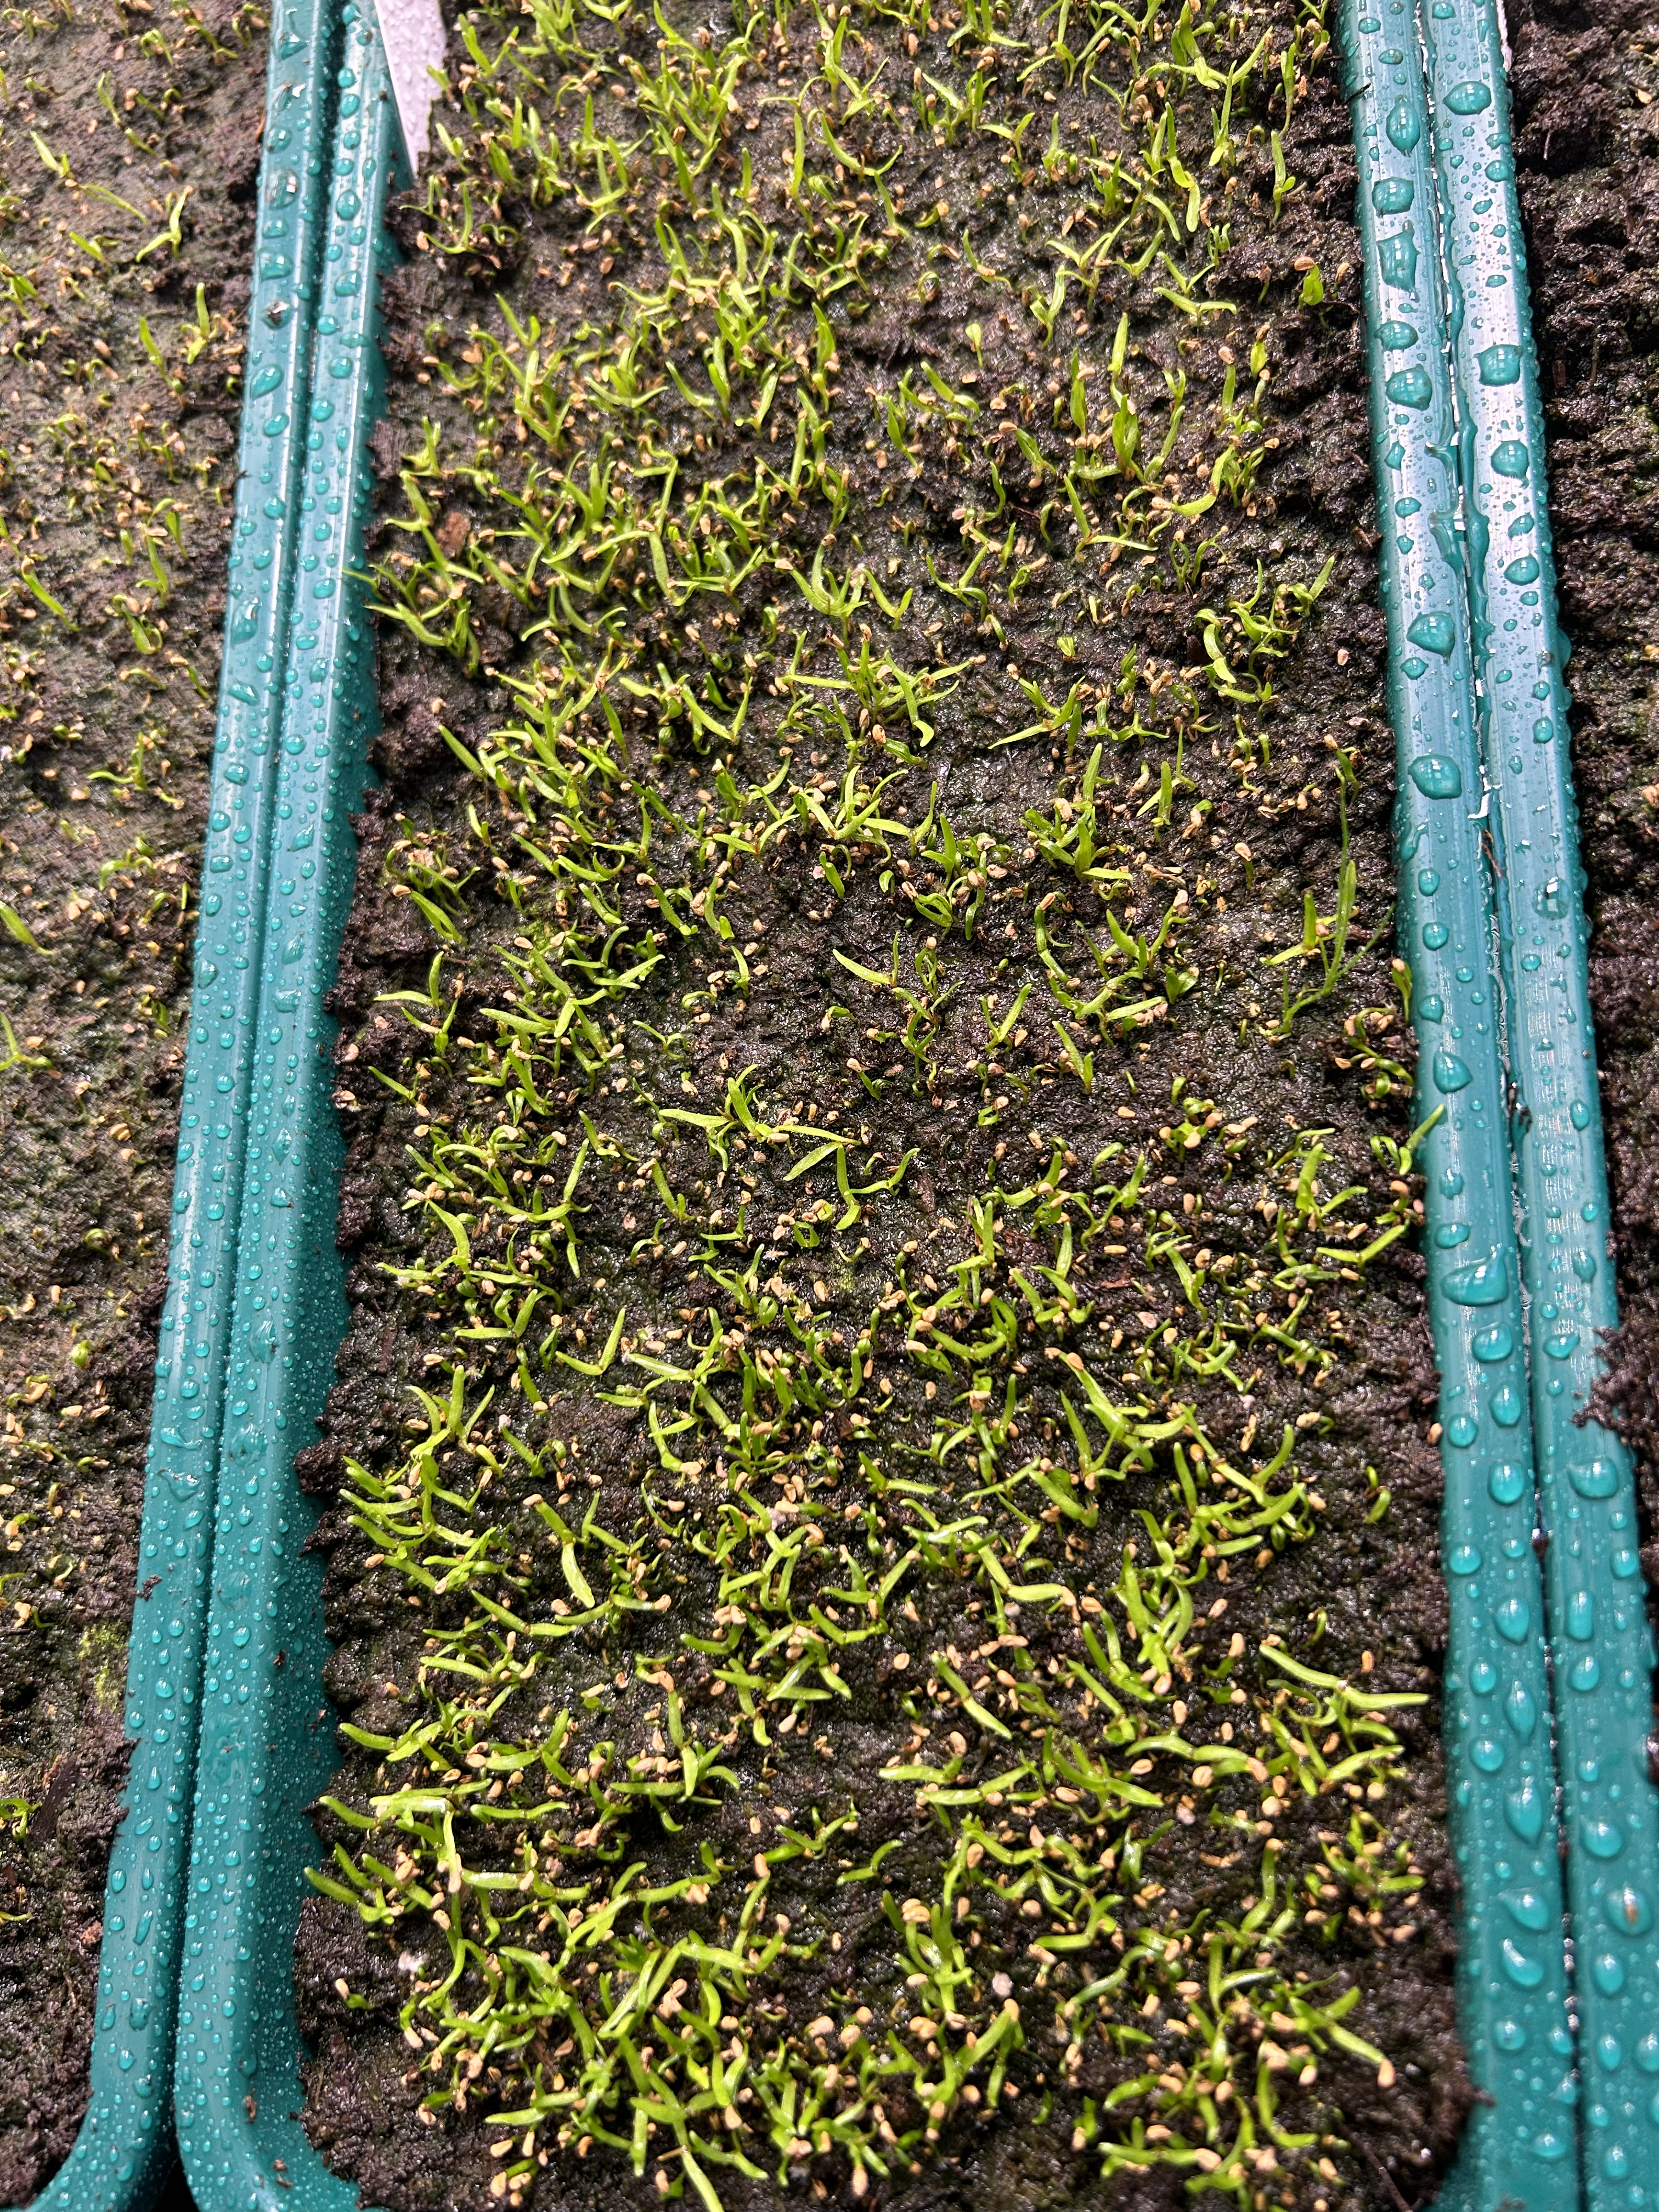
Upon germination, a fuzzy root will emerge to establish the plant and a pair of cotyledons will emerge from the seed. The first true leaf will actually be a tiny pitcher.
Once the majority of seedlings have their first pitcher, you can slowly aclimatize your seedlings to lower humidity. Your seedlings will begin photosynthesizing right away, and don't
require any fertilizer until they get a couple pitchers grown. Sarracenia seedlings can take low concentrations (starting at 50ppm) of non urea based fertilizer. We use MaxSea 16-16-16 on our Sarracenia. At all times seedling pots should be sitting in a small amount of pure water.
It is critical, if fertilizing, to ensure there is no fertilizer buildup in the top layers of the pot. Doing a flush of plain water every few weeks if you are fertilizing ensures no buildup occurs. There is a balance of keeping the sufrace of the pots just moist enough but not too wet that it encourages algae growth.
Another thing to watch out for is too intense light. Sarracenia seedlings should for the most part show some green color in the pitchers. Unless it is cross of pure red flava, if your seedlings are solid red at a
very small size it is an indication that lights may be too high. Plants under too high light can stall their growth. If a newly emerging pitcher is red and then turns more yellow/green when inflating and opening, you have the right amount of light.
6 months in
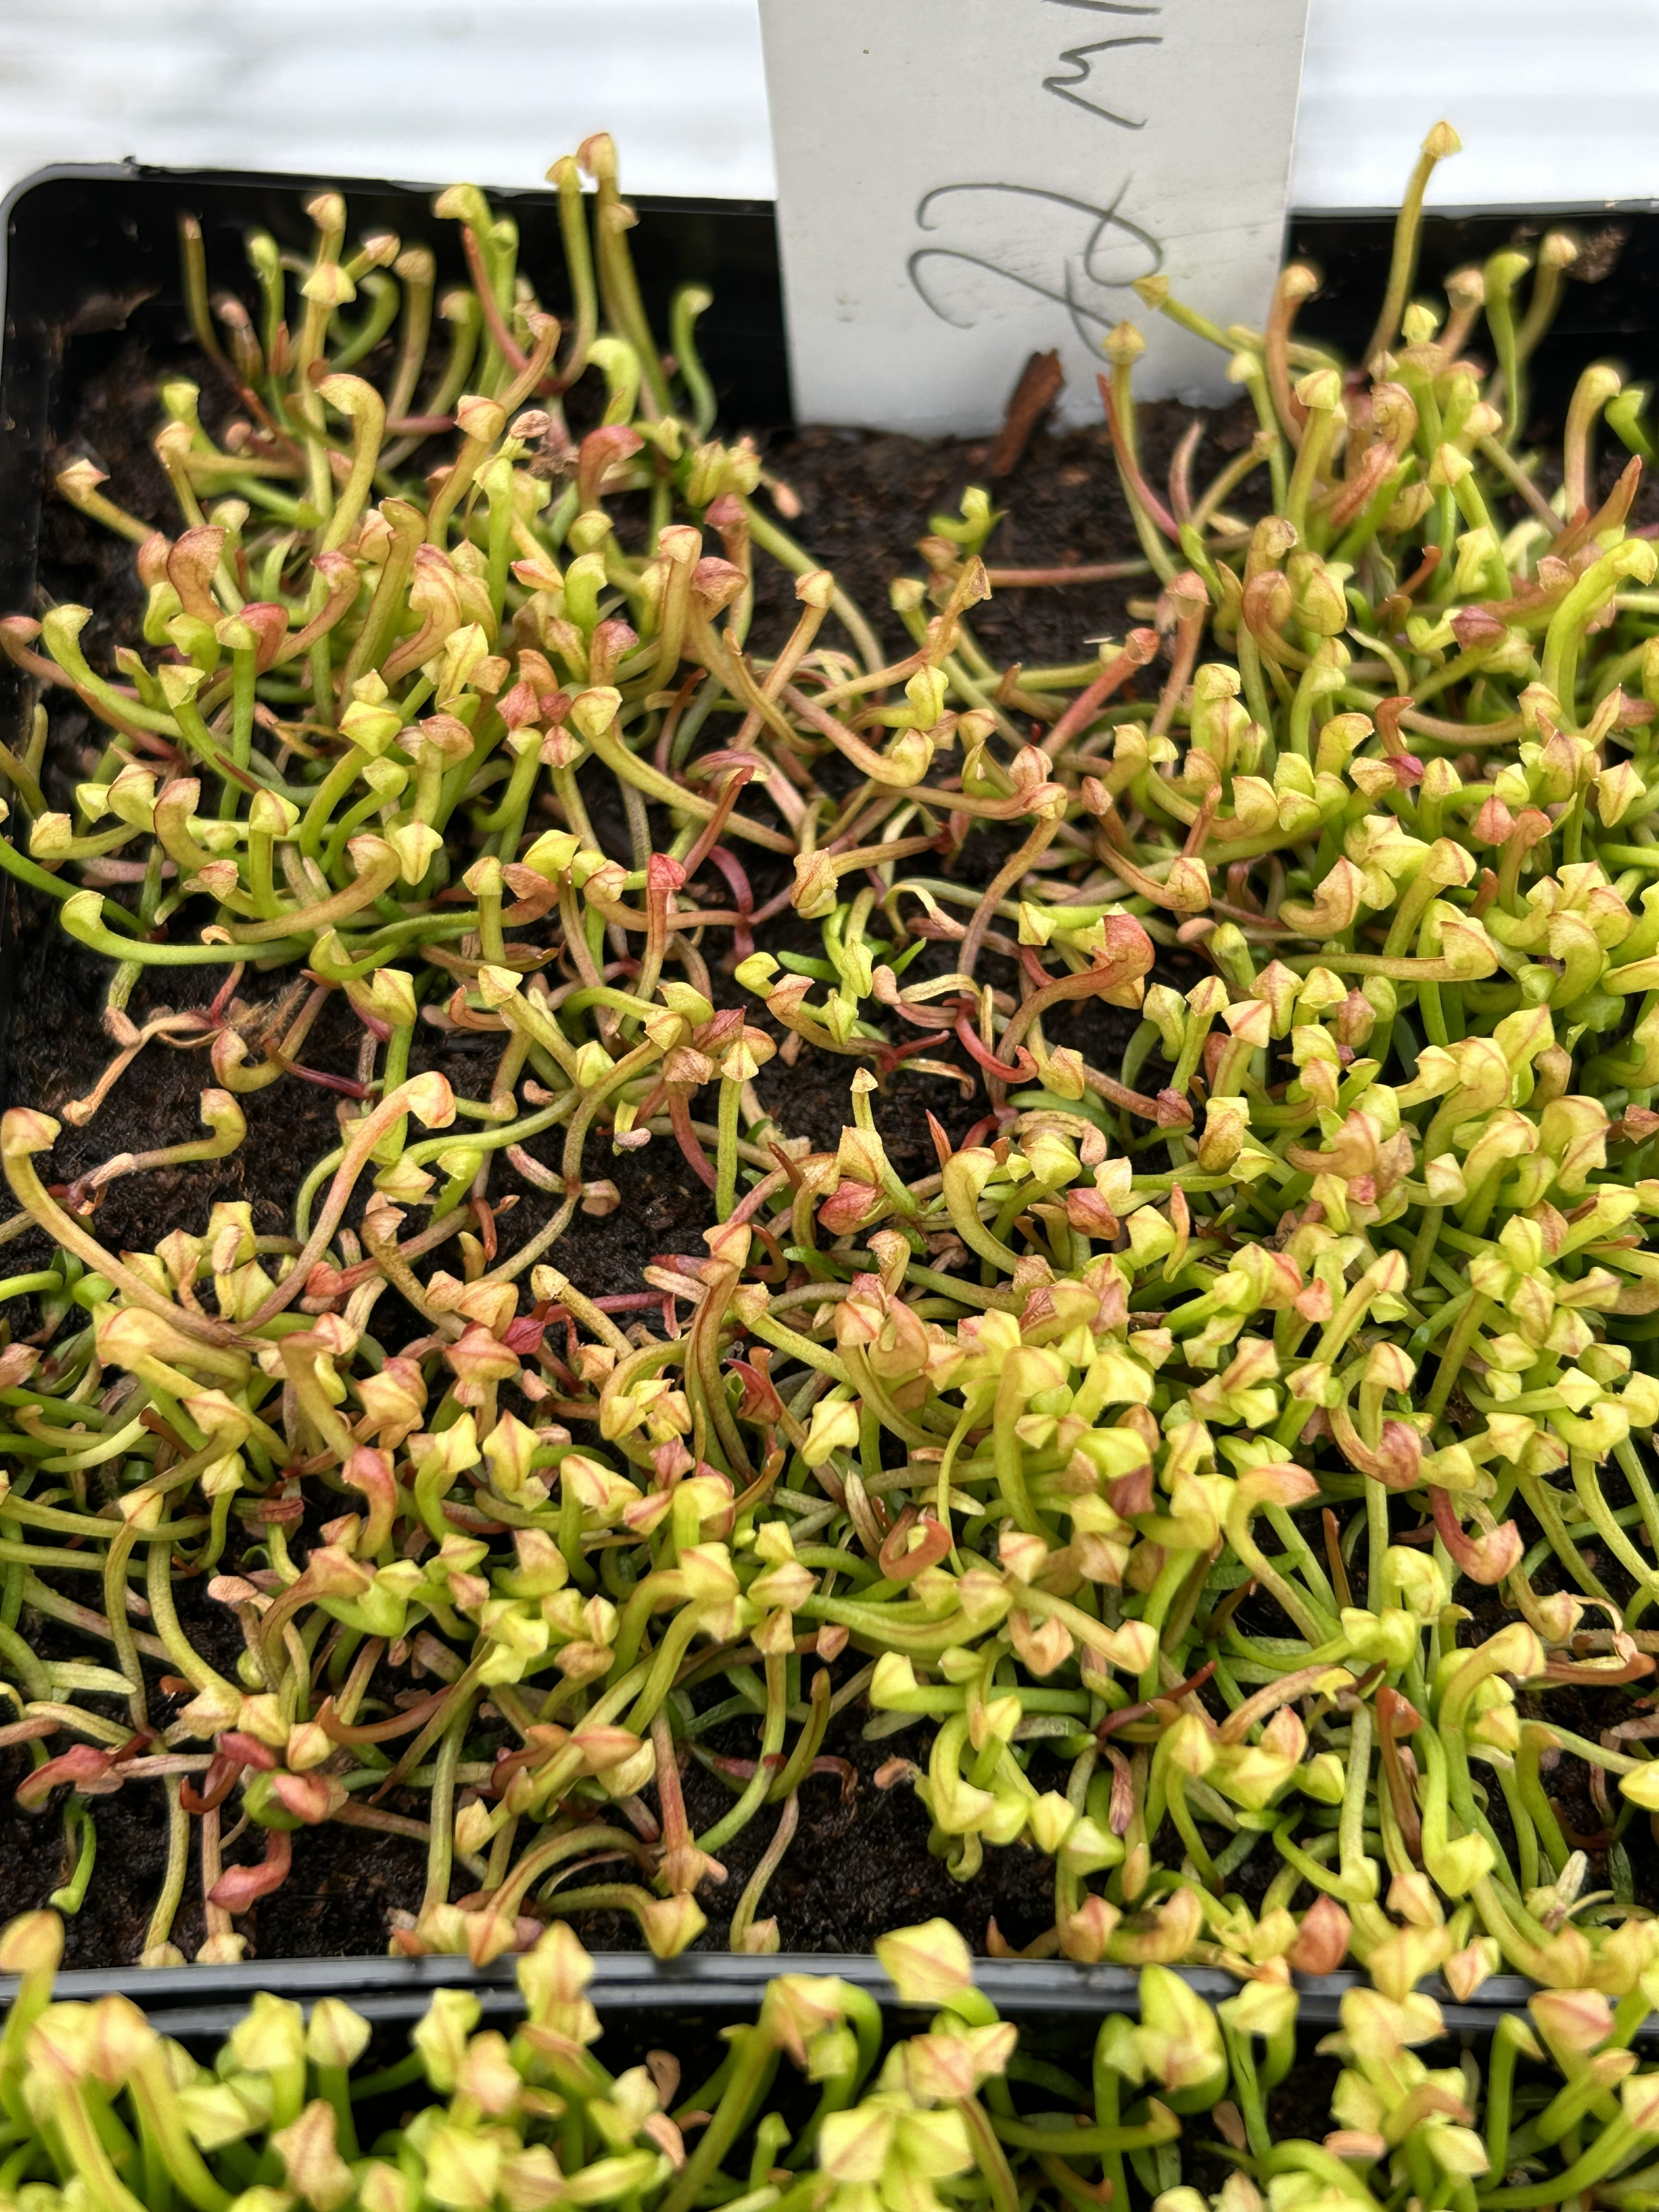
Seedlings initially have a single long thin tap root, but as they grow they begin growing a larger rhizome and additional thicker roots.
At around the 4-6 month mark your seedlings should have grown a few pitchers each, and substantial root growth begins if you have been foliar feeding.
With a few pitchers per rhizome, you can begin tray water fertilization at around 100ppm. Seedlings will begin growing larger once tray water fertilization begins
but be consistent with your flushing to ensure no excessive fertilizer buildup occurs in the top layers of the media. At this stage, seedling can be separated and planted for an additional boost of growth. For an extra boost of growth, we often inject fertilizer directly into the pitchers (100-150ppm to start), which can root and pitcher growth significantly.
A year post sowing
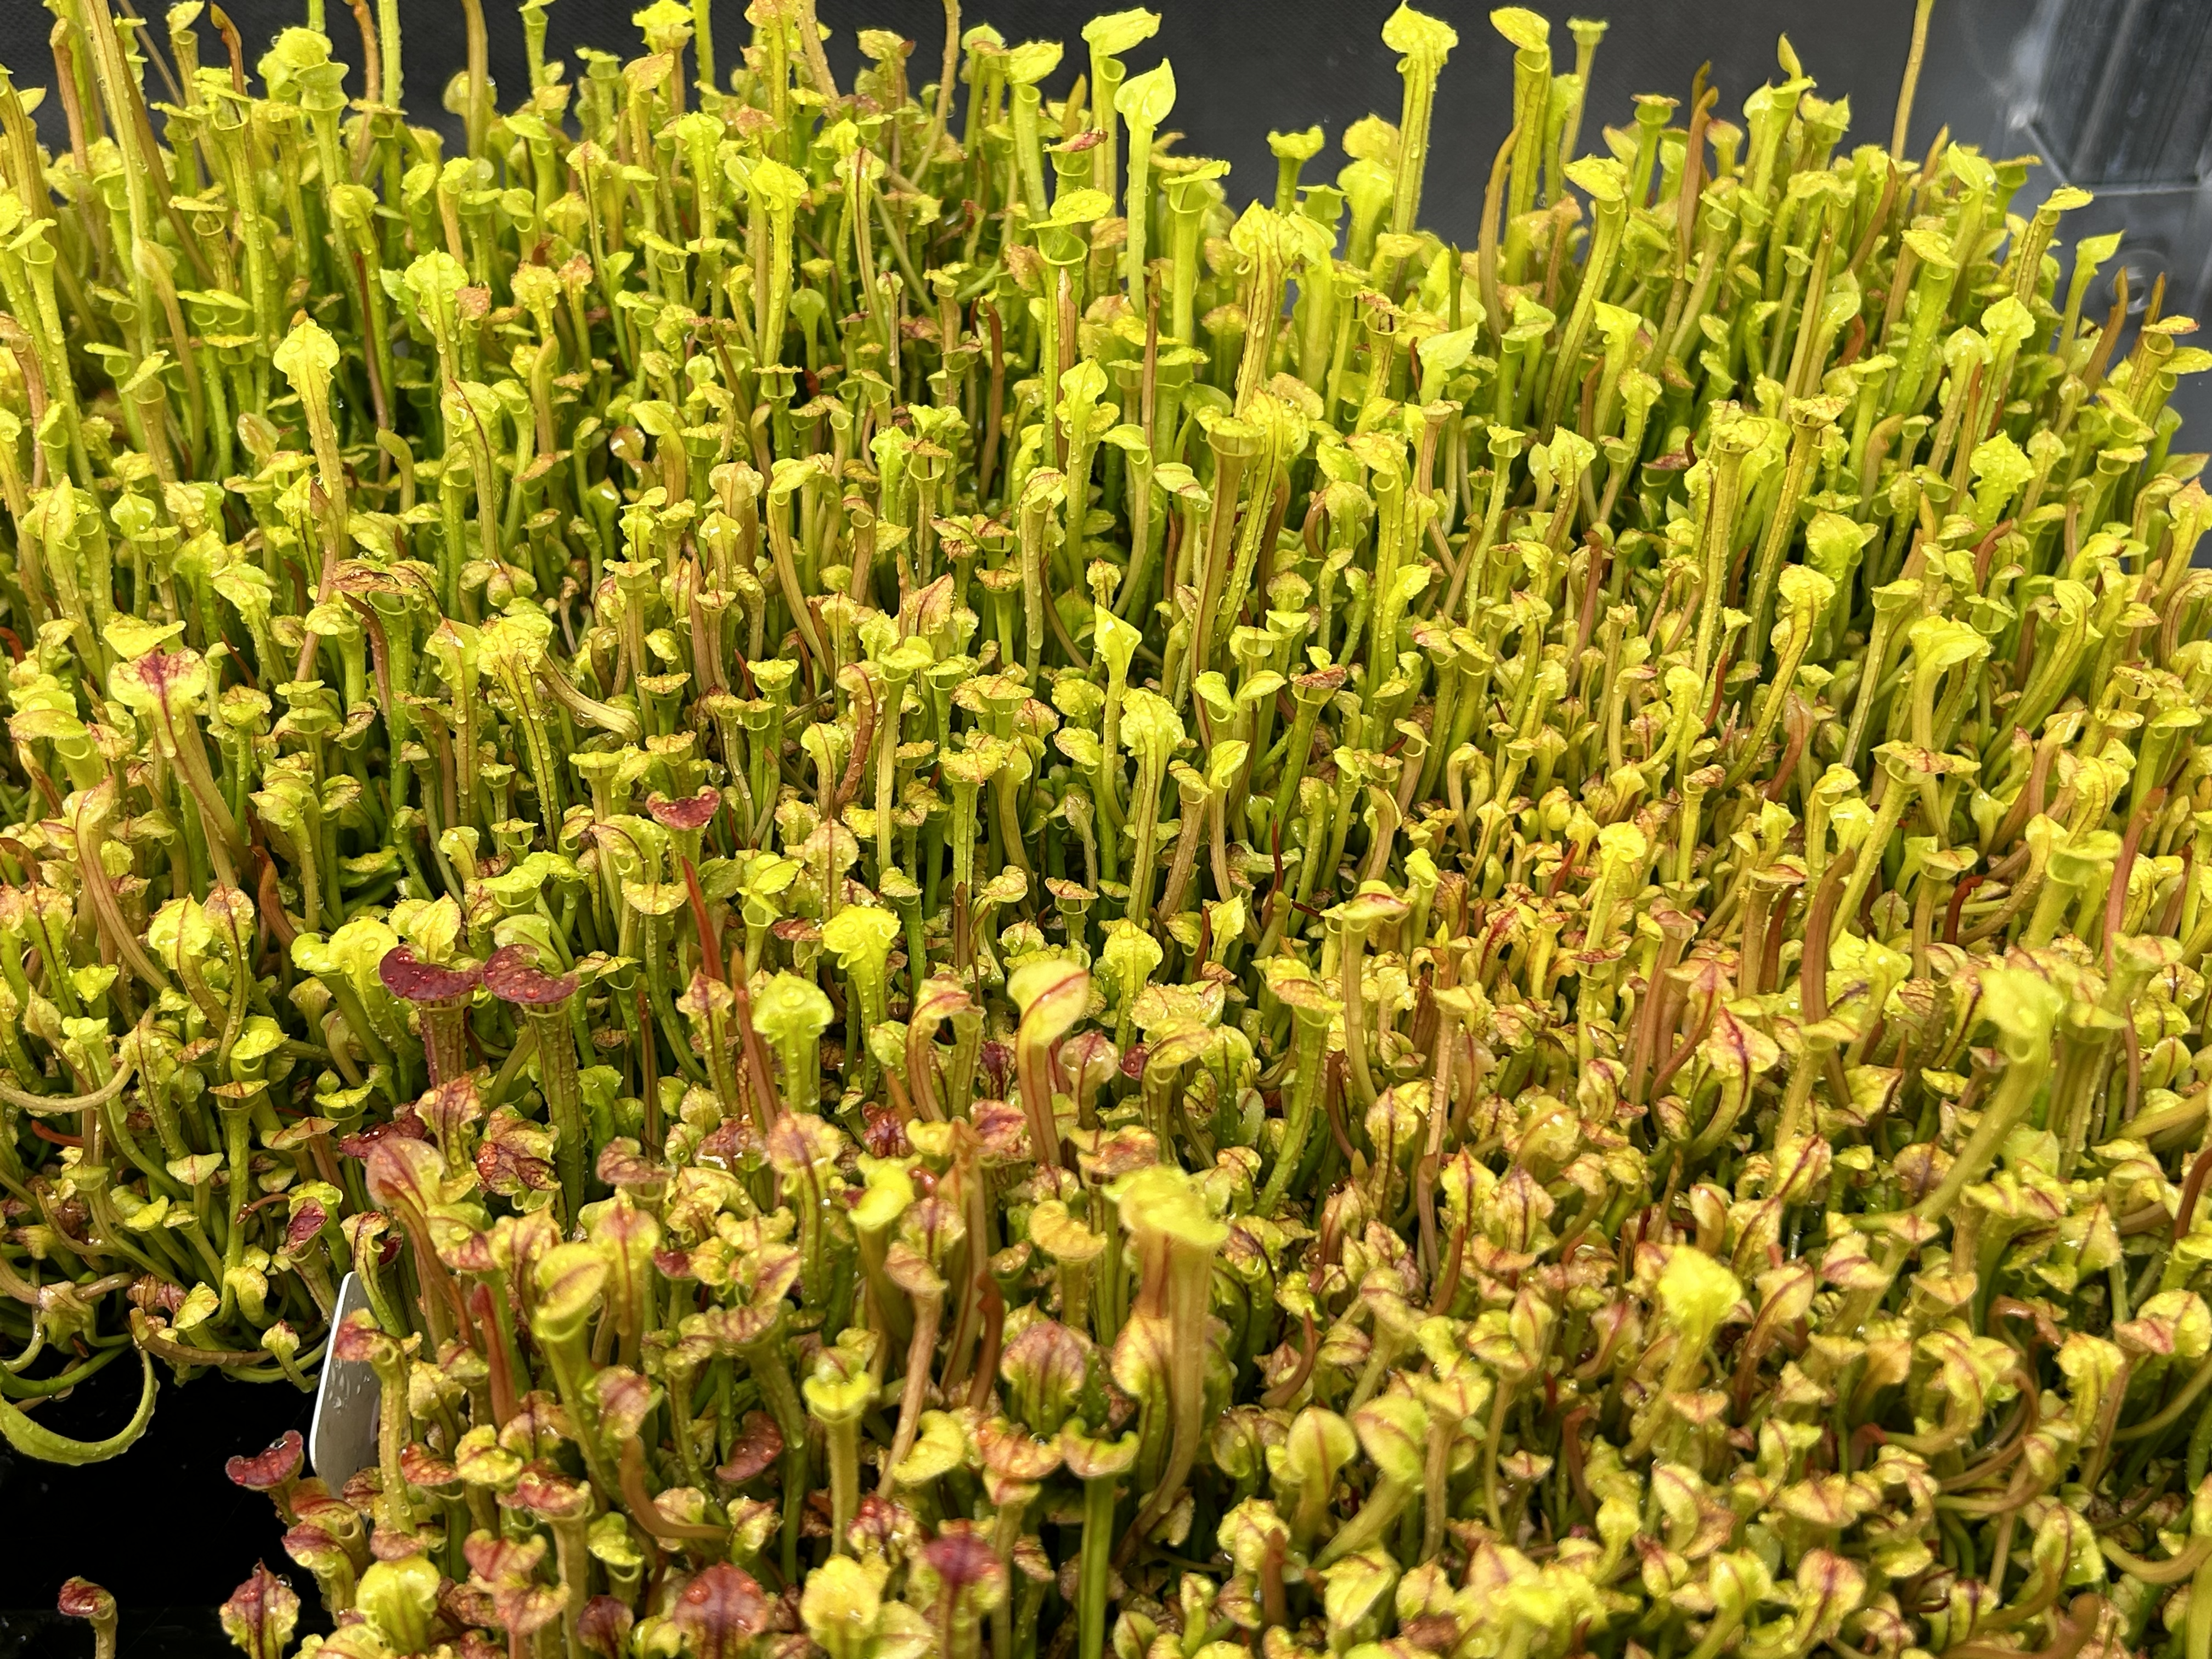
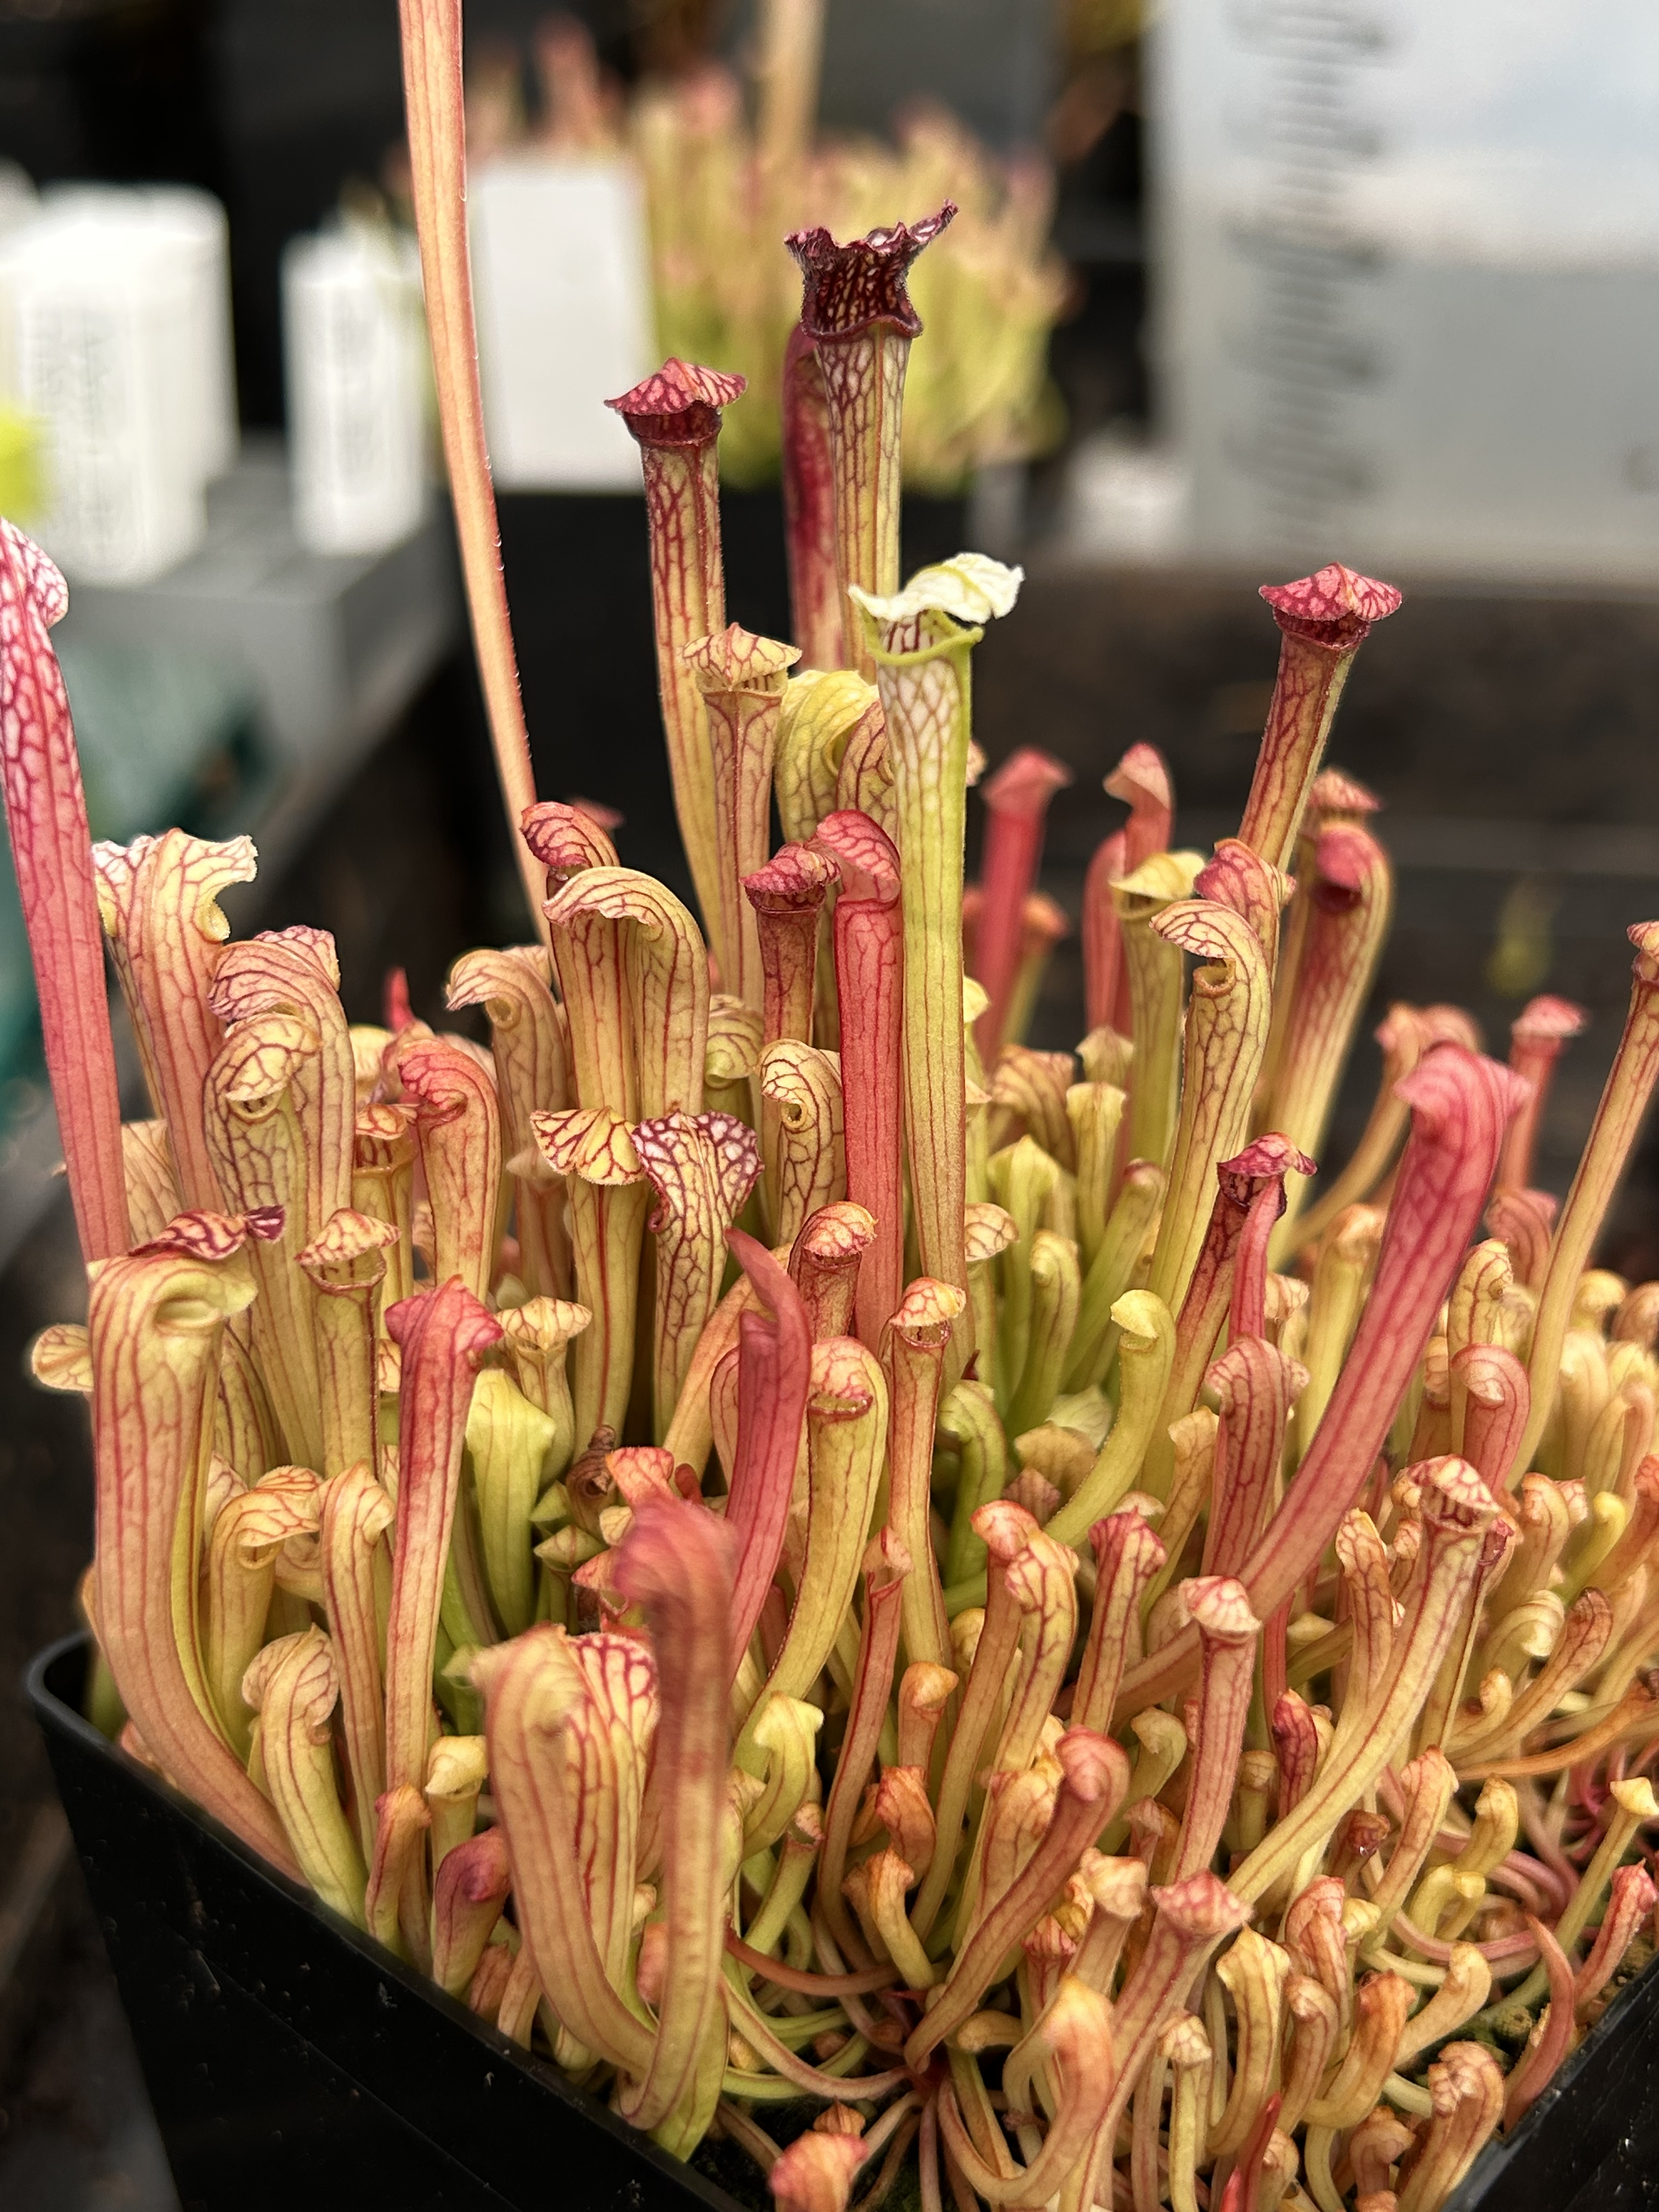
Seedlings can continue to grow in community pots, or can be separated out to grow faster. Transplanting seedlings generally triggers more growth. A balance of foliar spray, fertilized tray water, and occasional pitcher feeding can really accelerate growth. Even with accelerated growth, Sarracenia are still very slow to grow.
2 year old seedlings
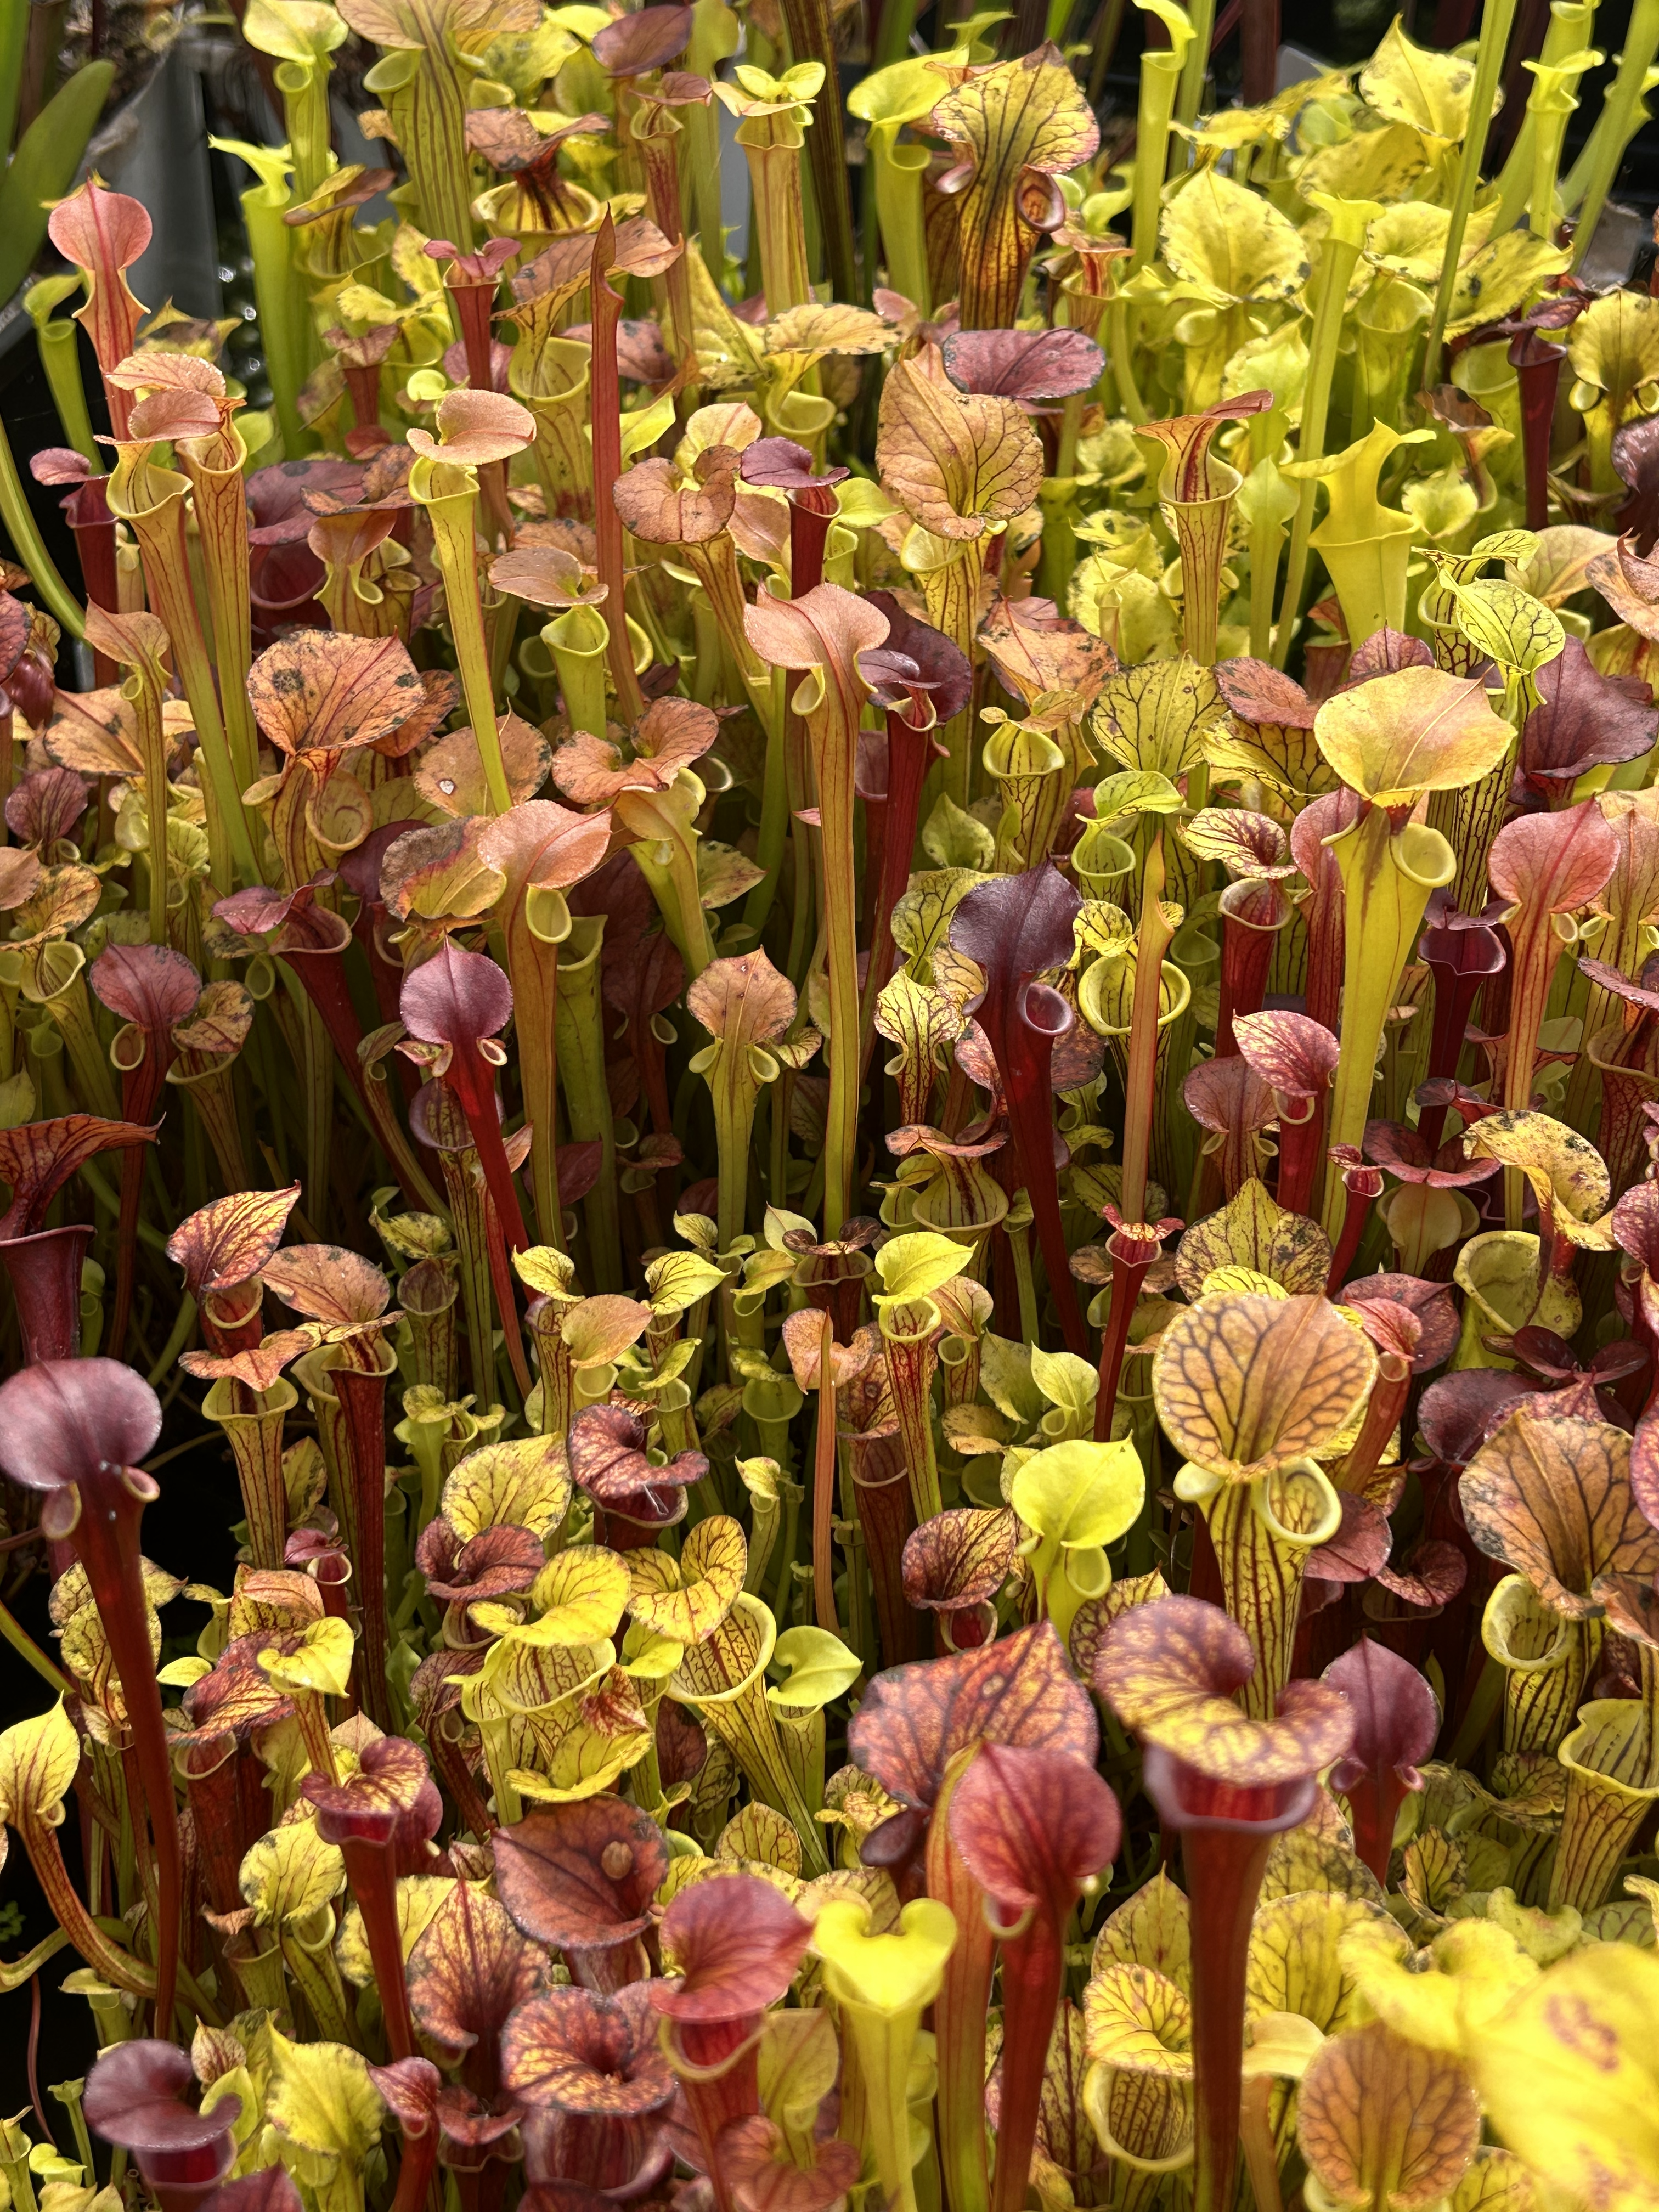
Around the 2 year mark, the seedlings will need to undergo their first dormancy period. It is recommended to allow seedlings to undergo a fall transition period out from under lights to get them to harden off ahead of full winter dormancy.
Quick Indoor Seed Growing Guide
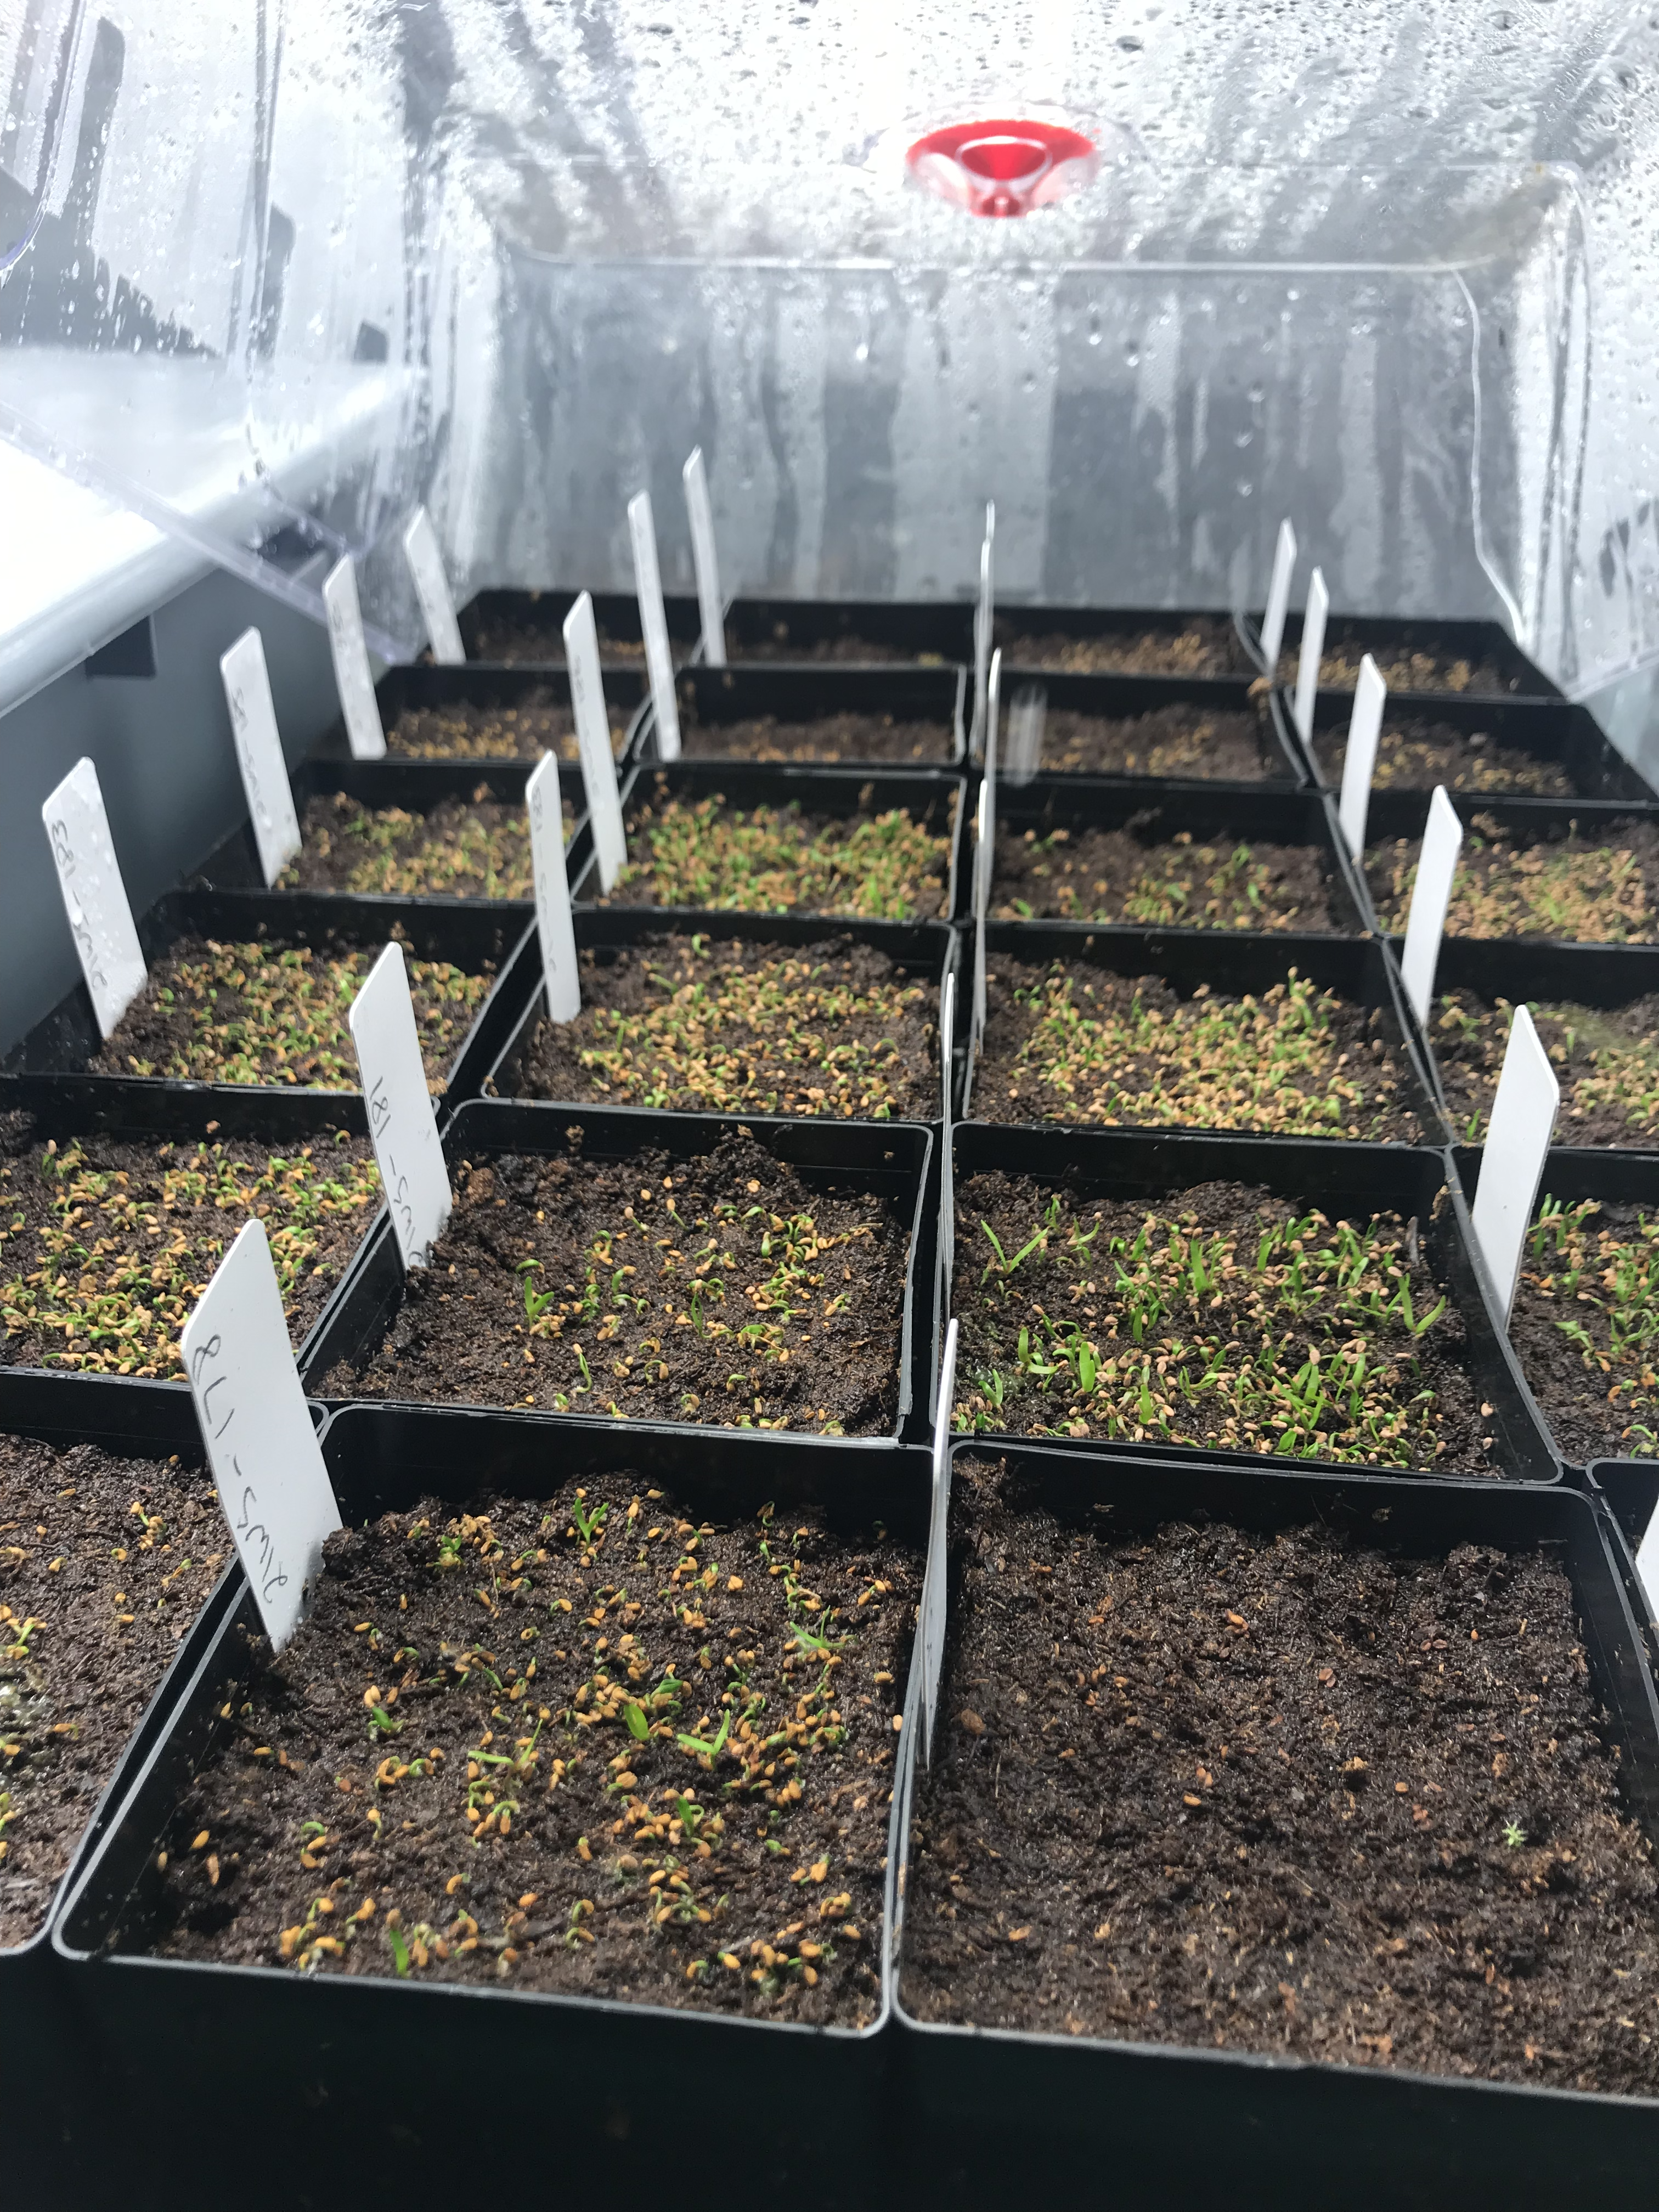
- 1 - Stratify your seed. 4-6 weeks at fridge temperatures, cold and wet
- 2 - Prepare your media. Pure Peat Moss with no additives, or a 50-50 peat/pearlite mix. Pots should be standing in 1/4" of water constantly once sown.
- 3 - Sow your seed. Seeds need a few weeks of warm (70f+) temps and light to germinate. Sow on top of your media.
- 4 - Keep your seed humid once sown. Seeds will germinate in 2 weeks or so on average. Keep them misted. Captan can be used if any fungus appears - never use neem. Germination is not simultaneous, and continues for a few weeks.
- 5 - Slowly acclimate seedlings to regular humidity once first pitchers appear.
- 6 - Very light, non urea fertilizer (50ppm of MaxSea 16-16-16 or an orchid fertilizer) can be introduced as foliar once all plants have pitchers.
- 7 - Once plants have multiple small pitchers, fertilized tray water (100ppm) can be introduced. Top water to flush pots every 6 weeks with plain water to limit fertilizer buildup.
- Practice aggressive patience! The plants will continue to grow each new pitcher slightly larger than the previous one. Over fertilization can cause root loss and stunt growth.
Sowing small Sarracenia Seedlings Guide
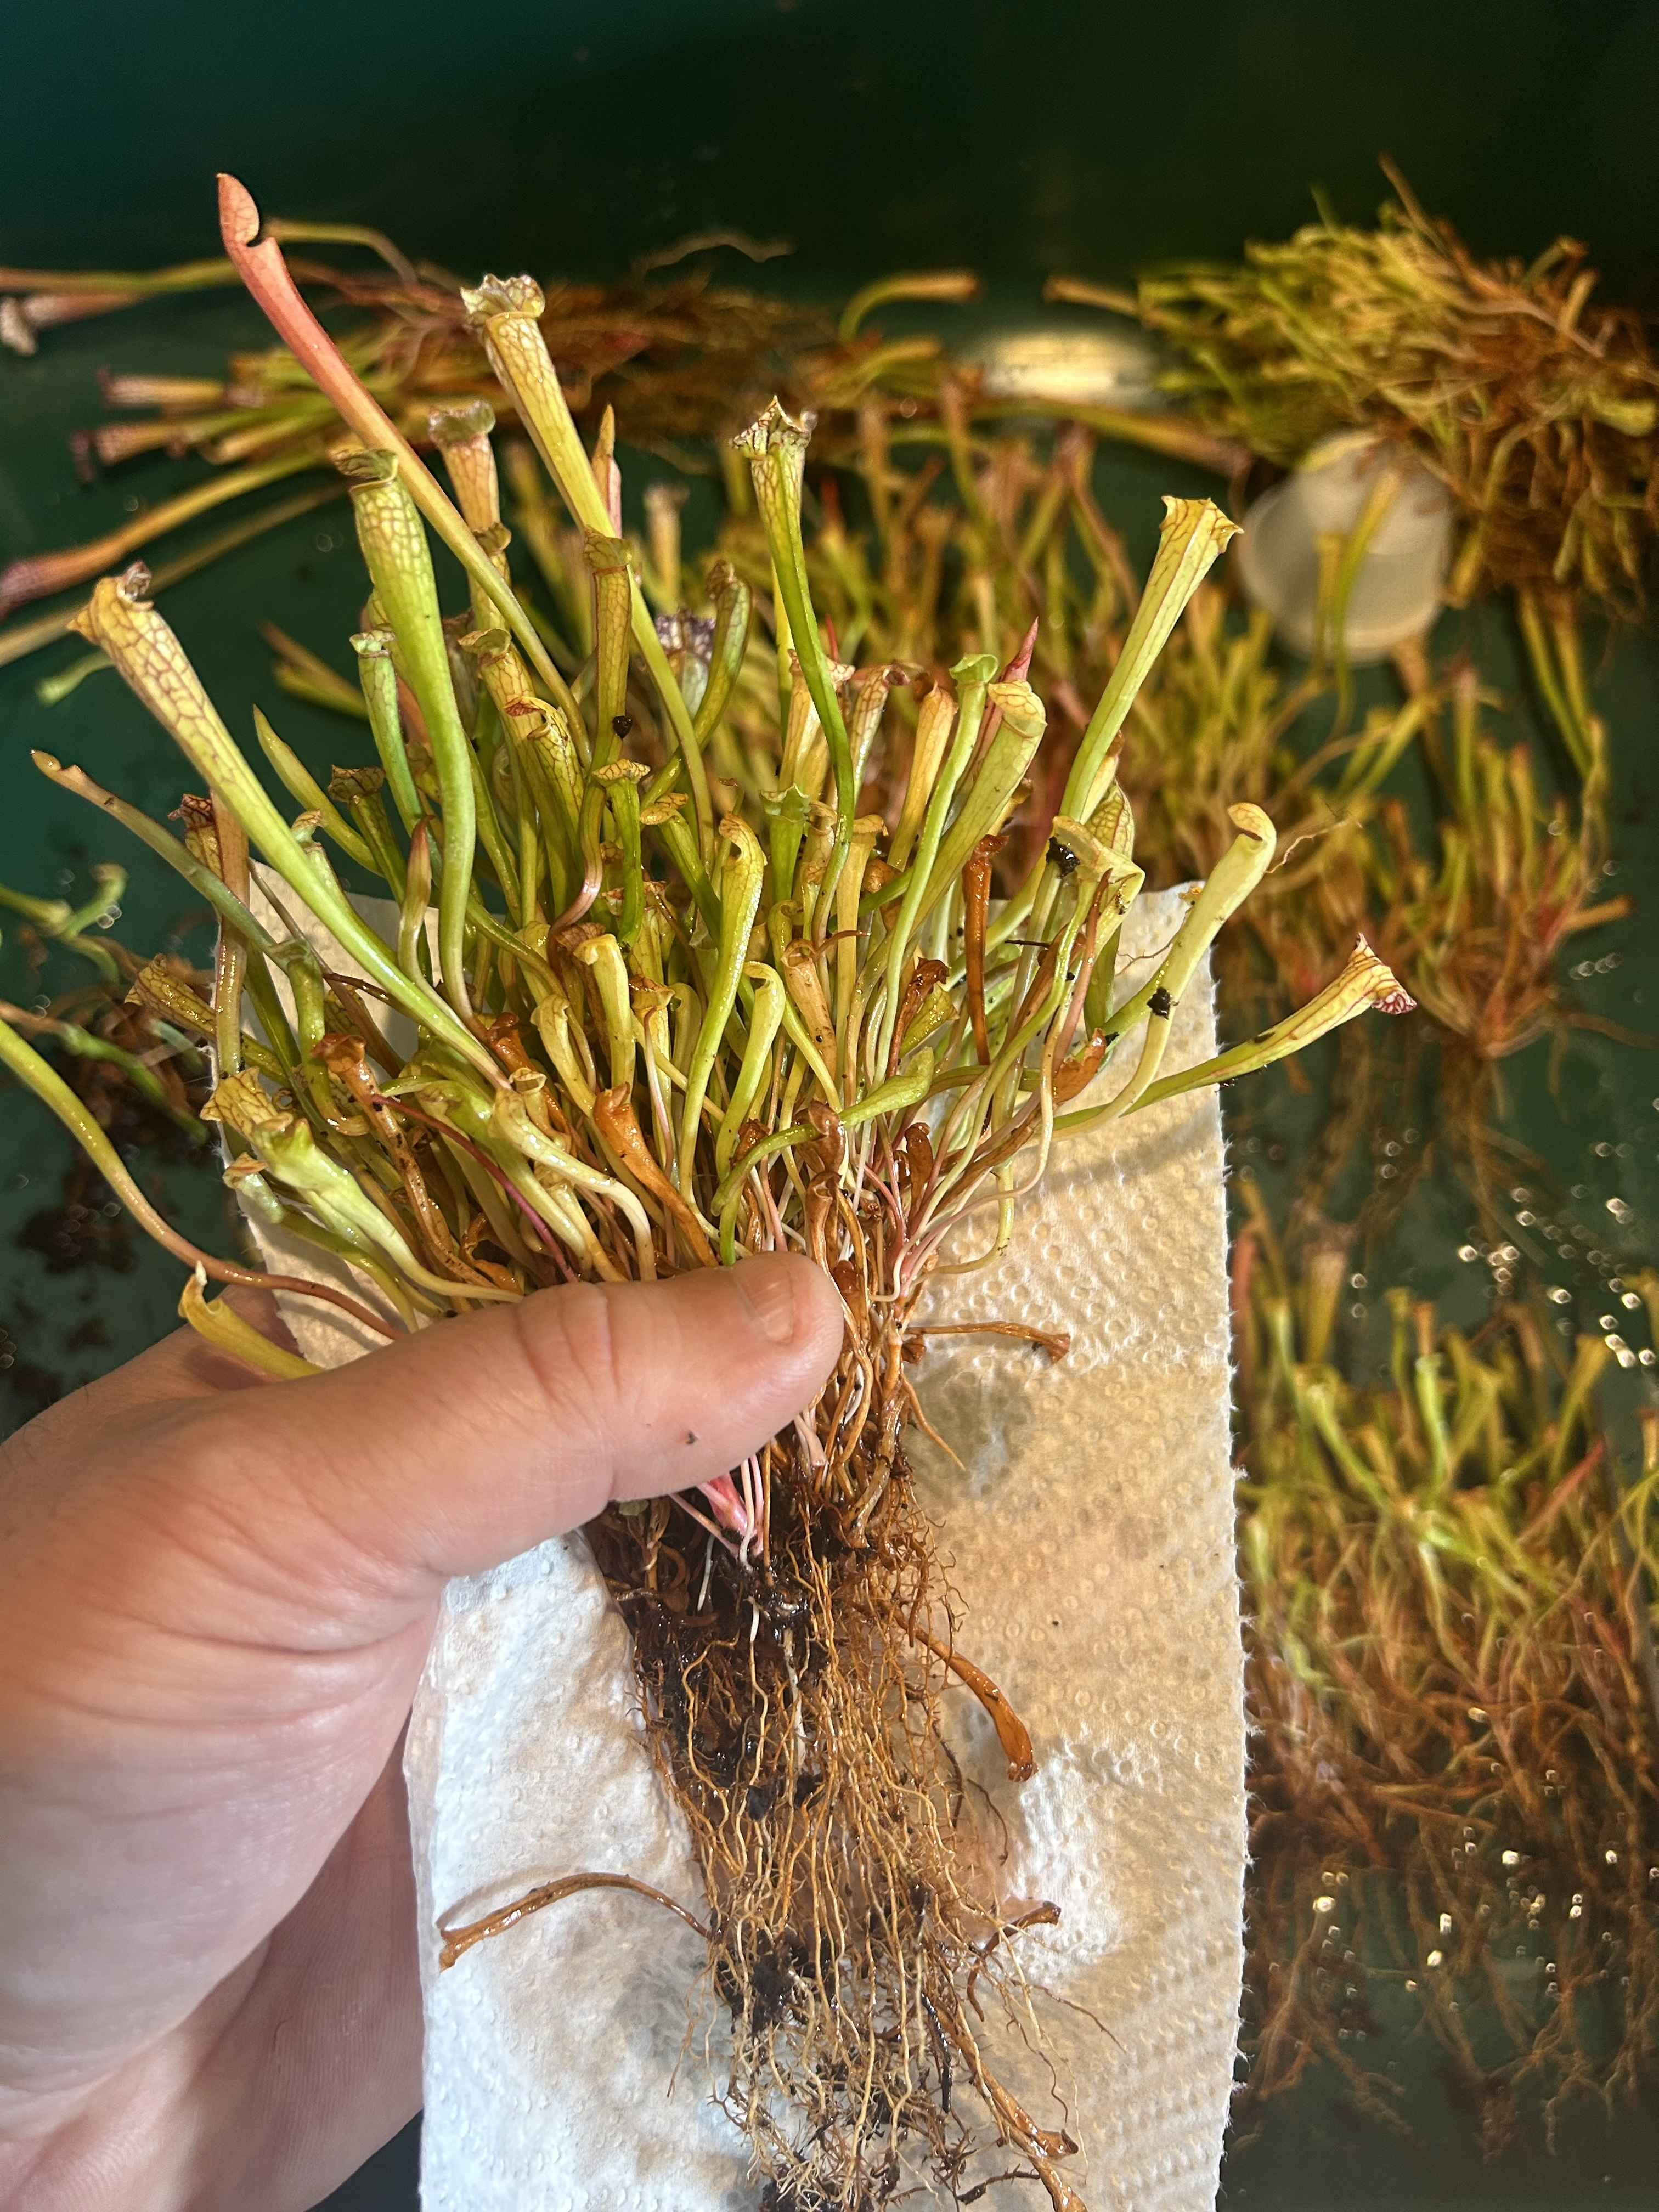
If you've purchased a seedling bundle from us, it likely looked like the photo above. Seedlings at this stage are upwards of a year old, just getting past the super small seedling/delicate root stage, and are just beginning to develop their adult root systems and growing larger pitchers.
Seedlings of this size are best planted in compots (community pots), as they do not need much space per rhizome for the next year or two. We like to plant them either in shallow trays, 3.5" square pots (3" to 6" tall), or in larger 6" square pots (6" tall). Each seedling only needs about a square inch of space at this size. So for a 3.5" pot, you can plant 4 to 6 seedlings, and up to a dozen seedlings in a 6" pot. Media should be the standard carnivorous plant mix: pure peat moss mixed with sand/perlite 50-50 or just peat moss if you have cooler summer nights. Double check that your peat moss is completely free of any additives; only use pure sphagnum peat moss in your mix as the seedlings have especially sensitive roots at this stage. Coconut Coir is not a great medium for Sarracenia as it often has a significant amount of minerals and salts that are detrimental to Sarracenia roots and should be avoided.
Root systems are fairly robust at this size but slightly brittle, and the easiest way to plant them is to use a pair of tweezers to gently grab the roots and pull the plant down into the pot:
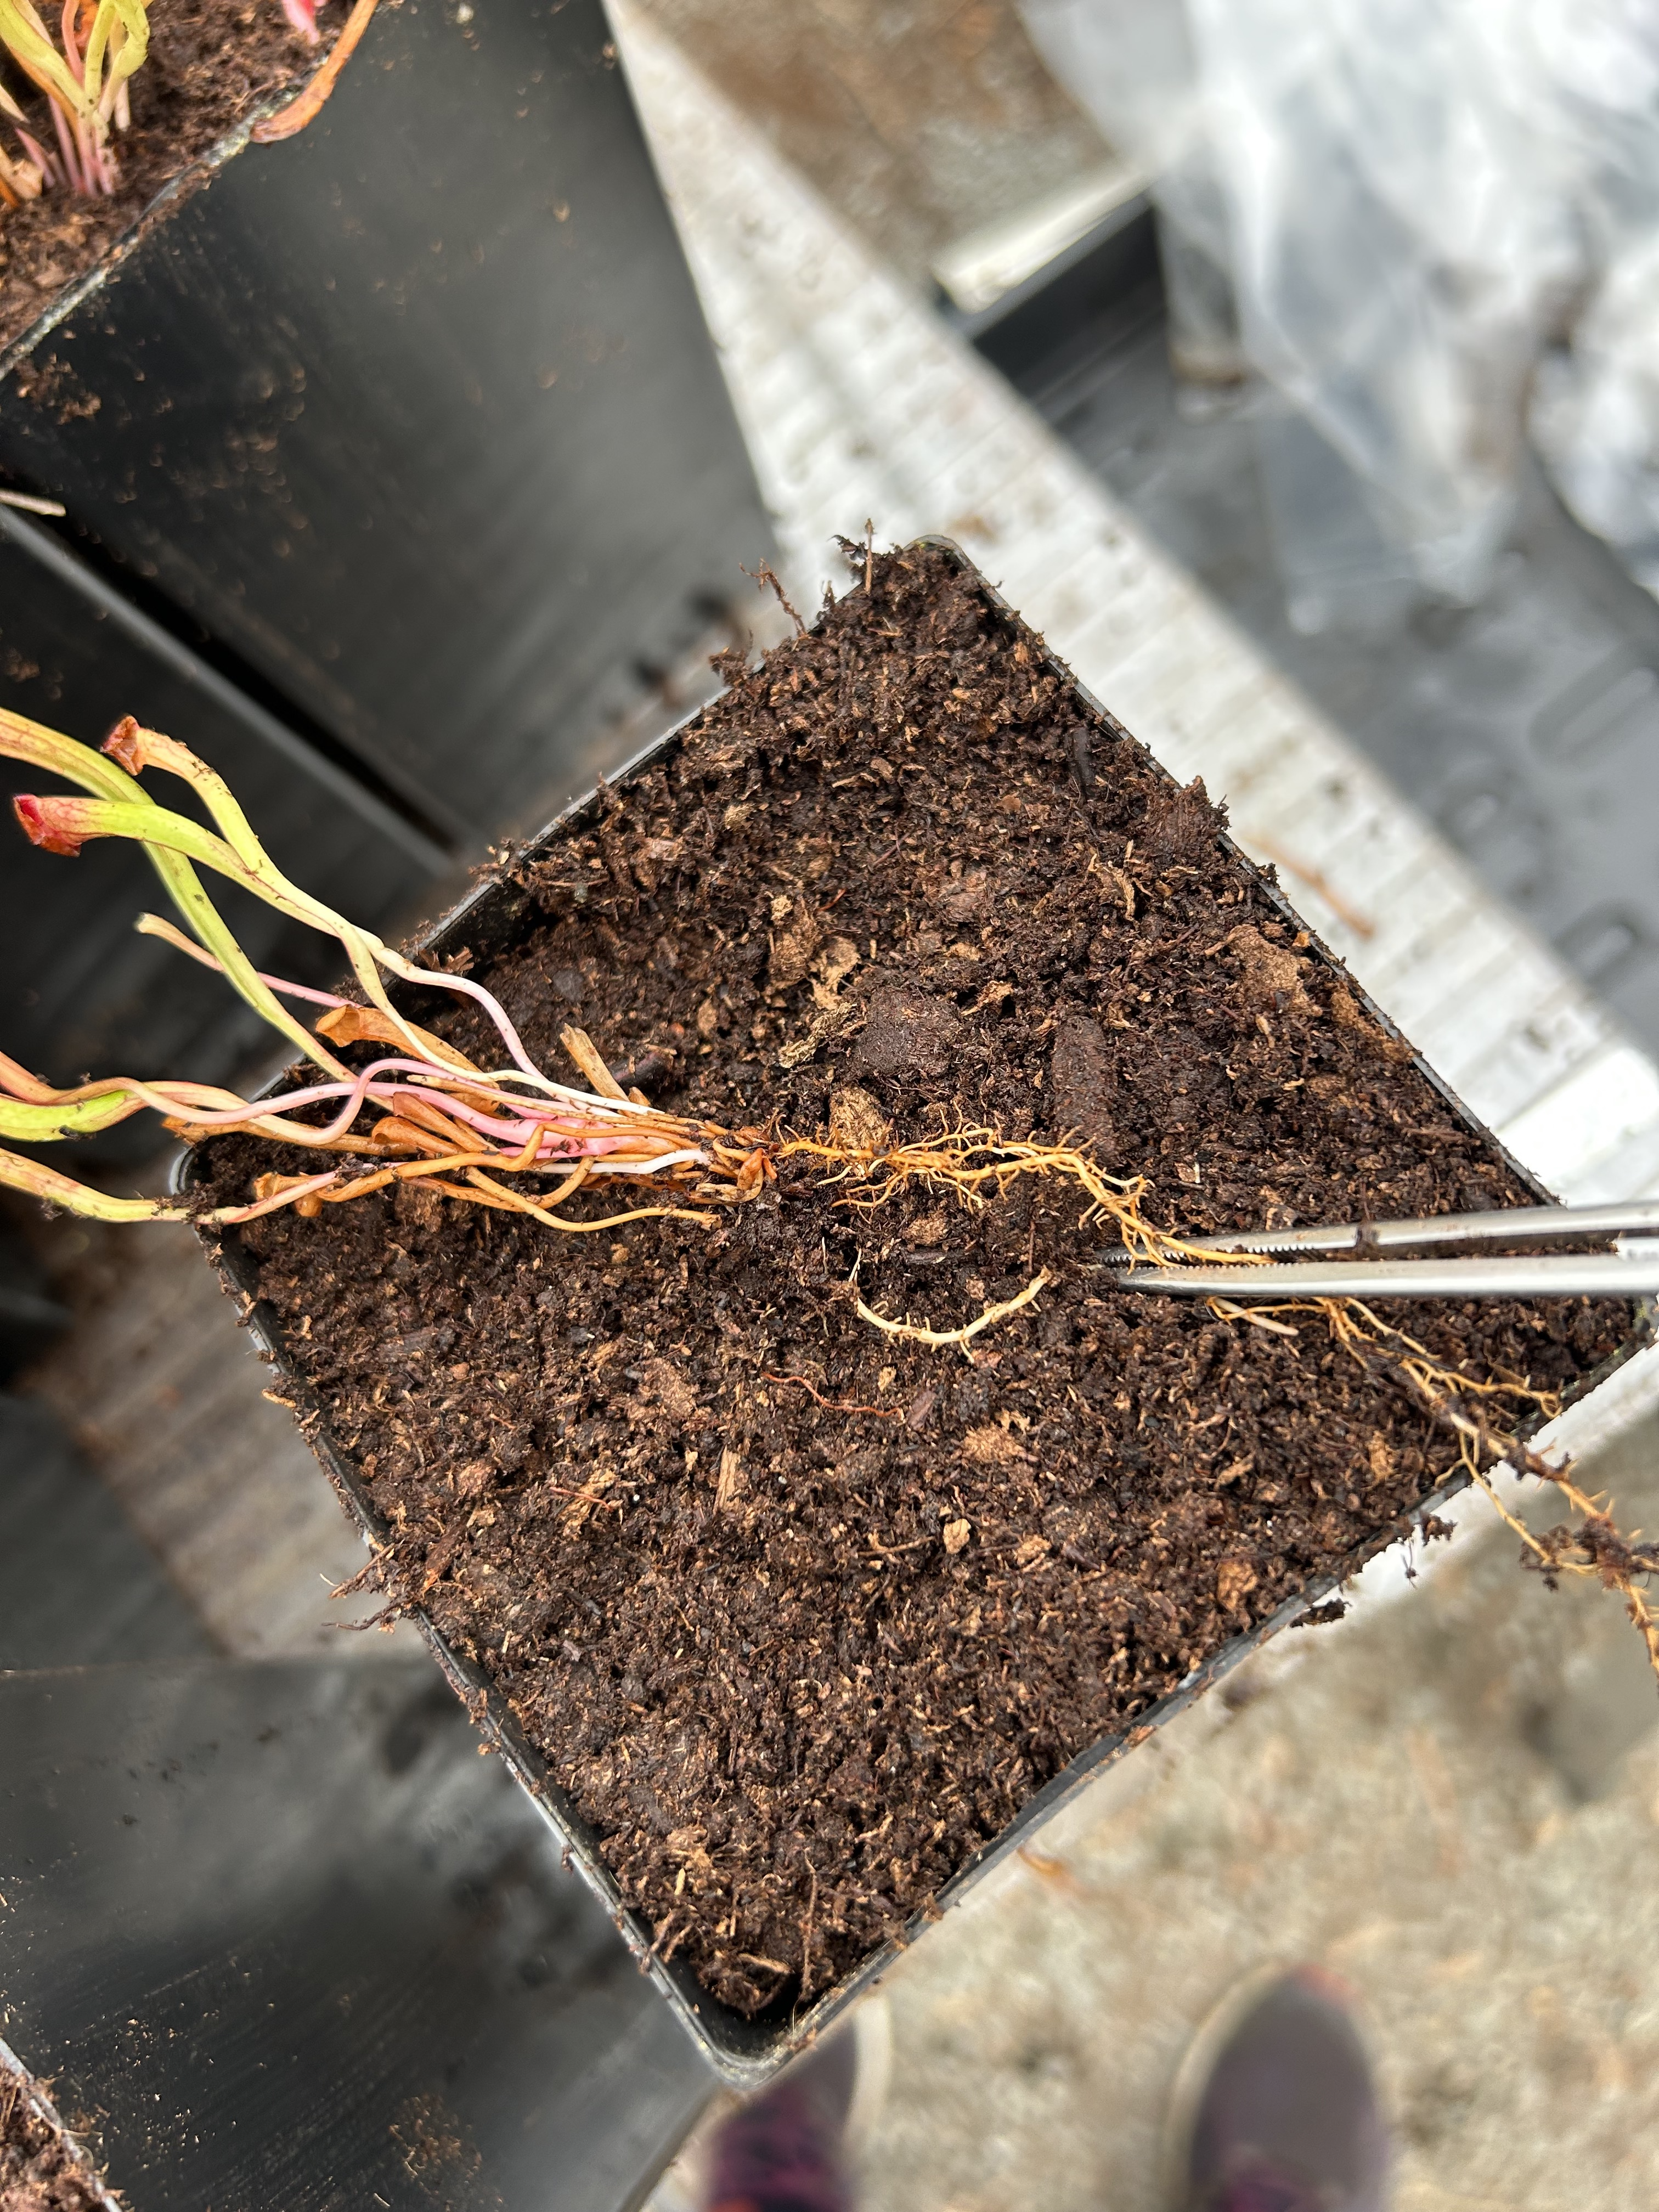
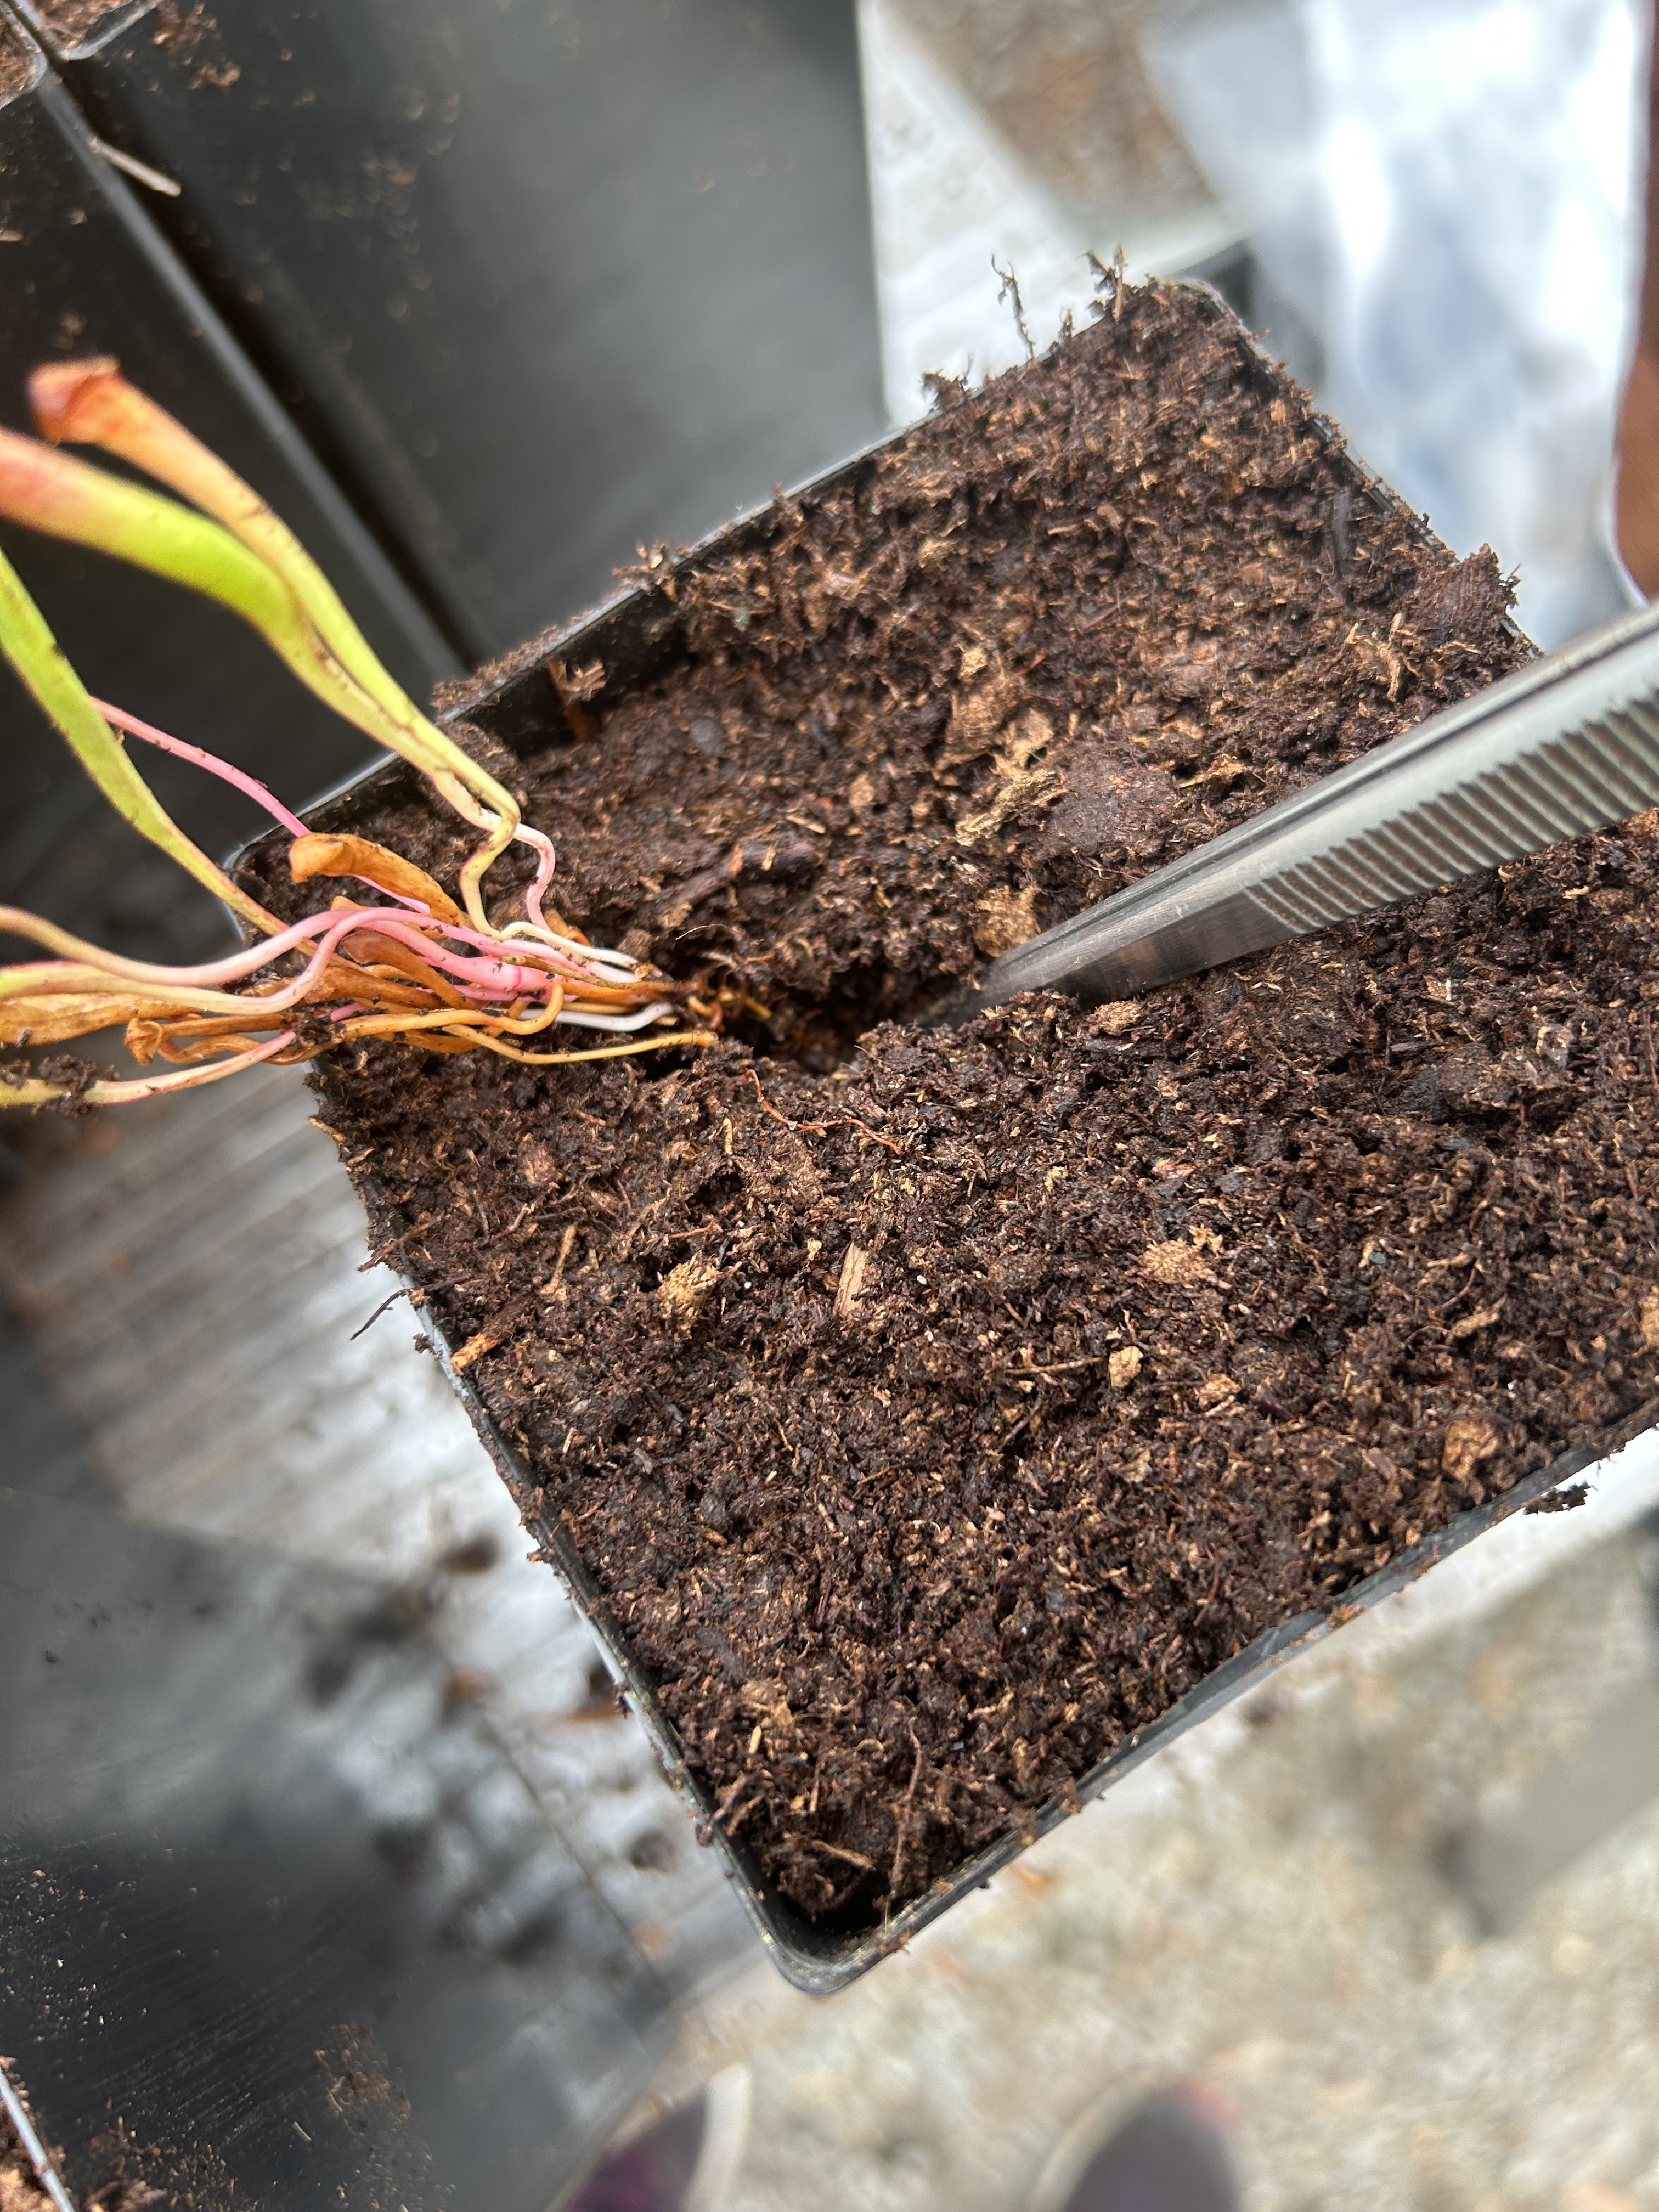
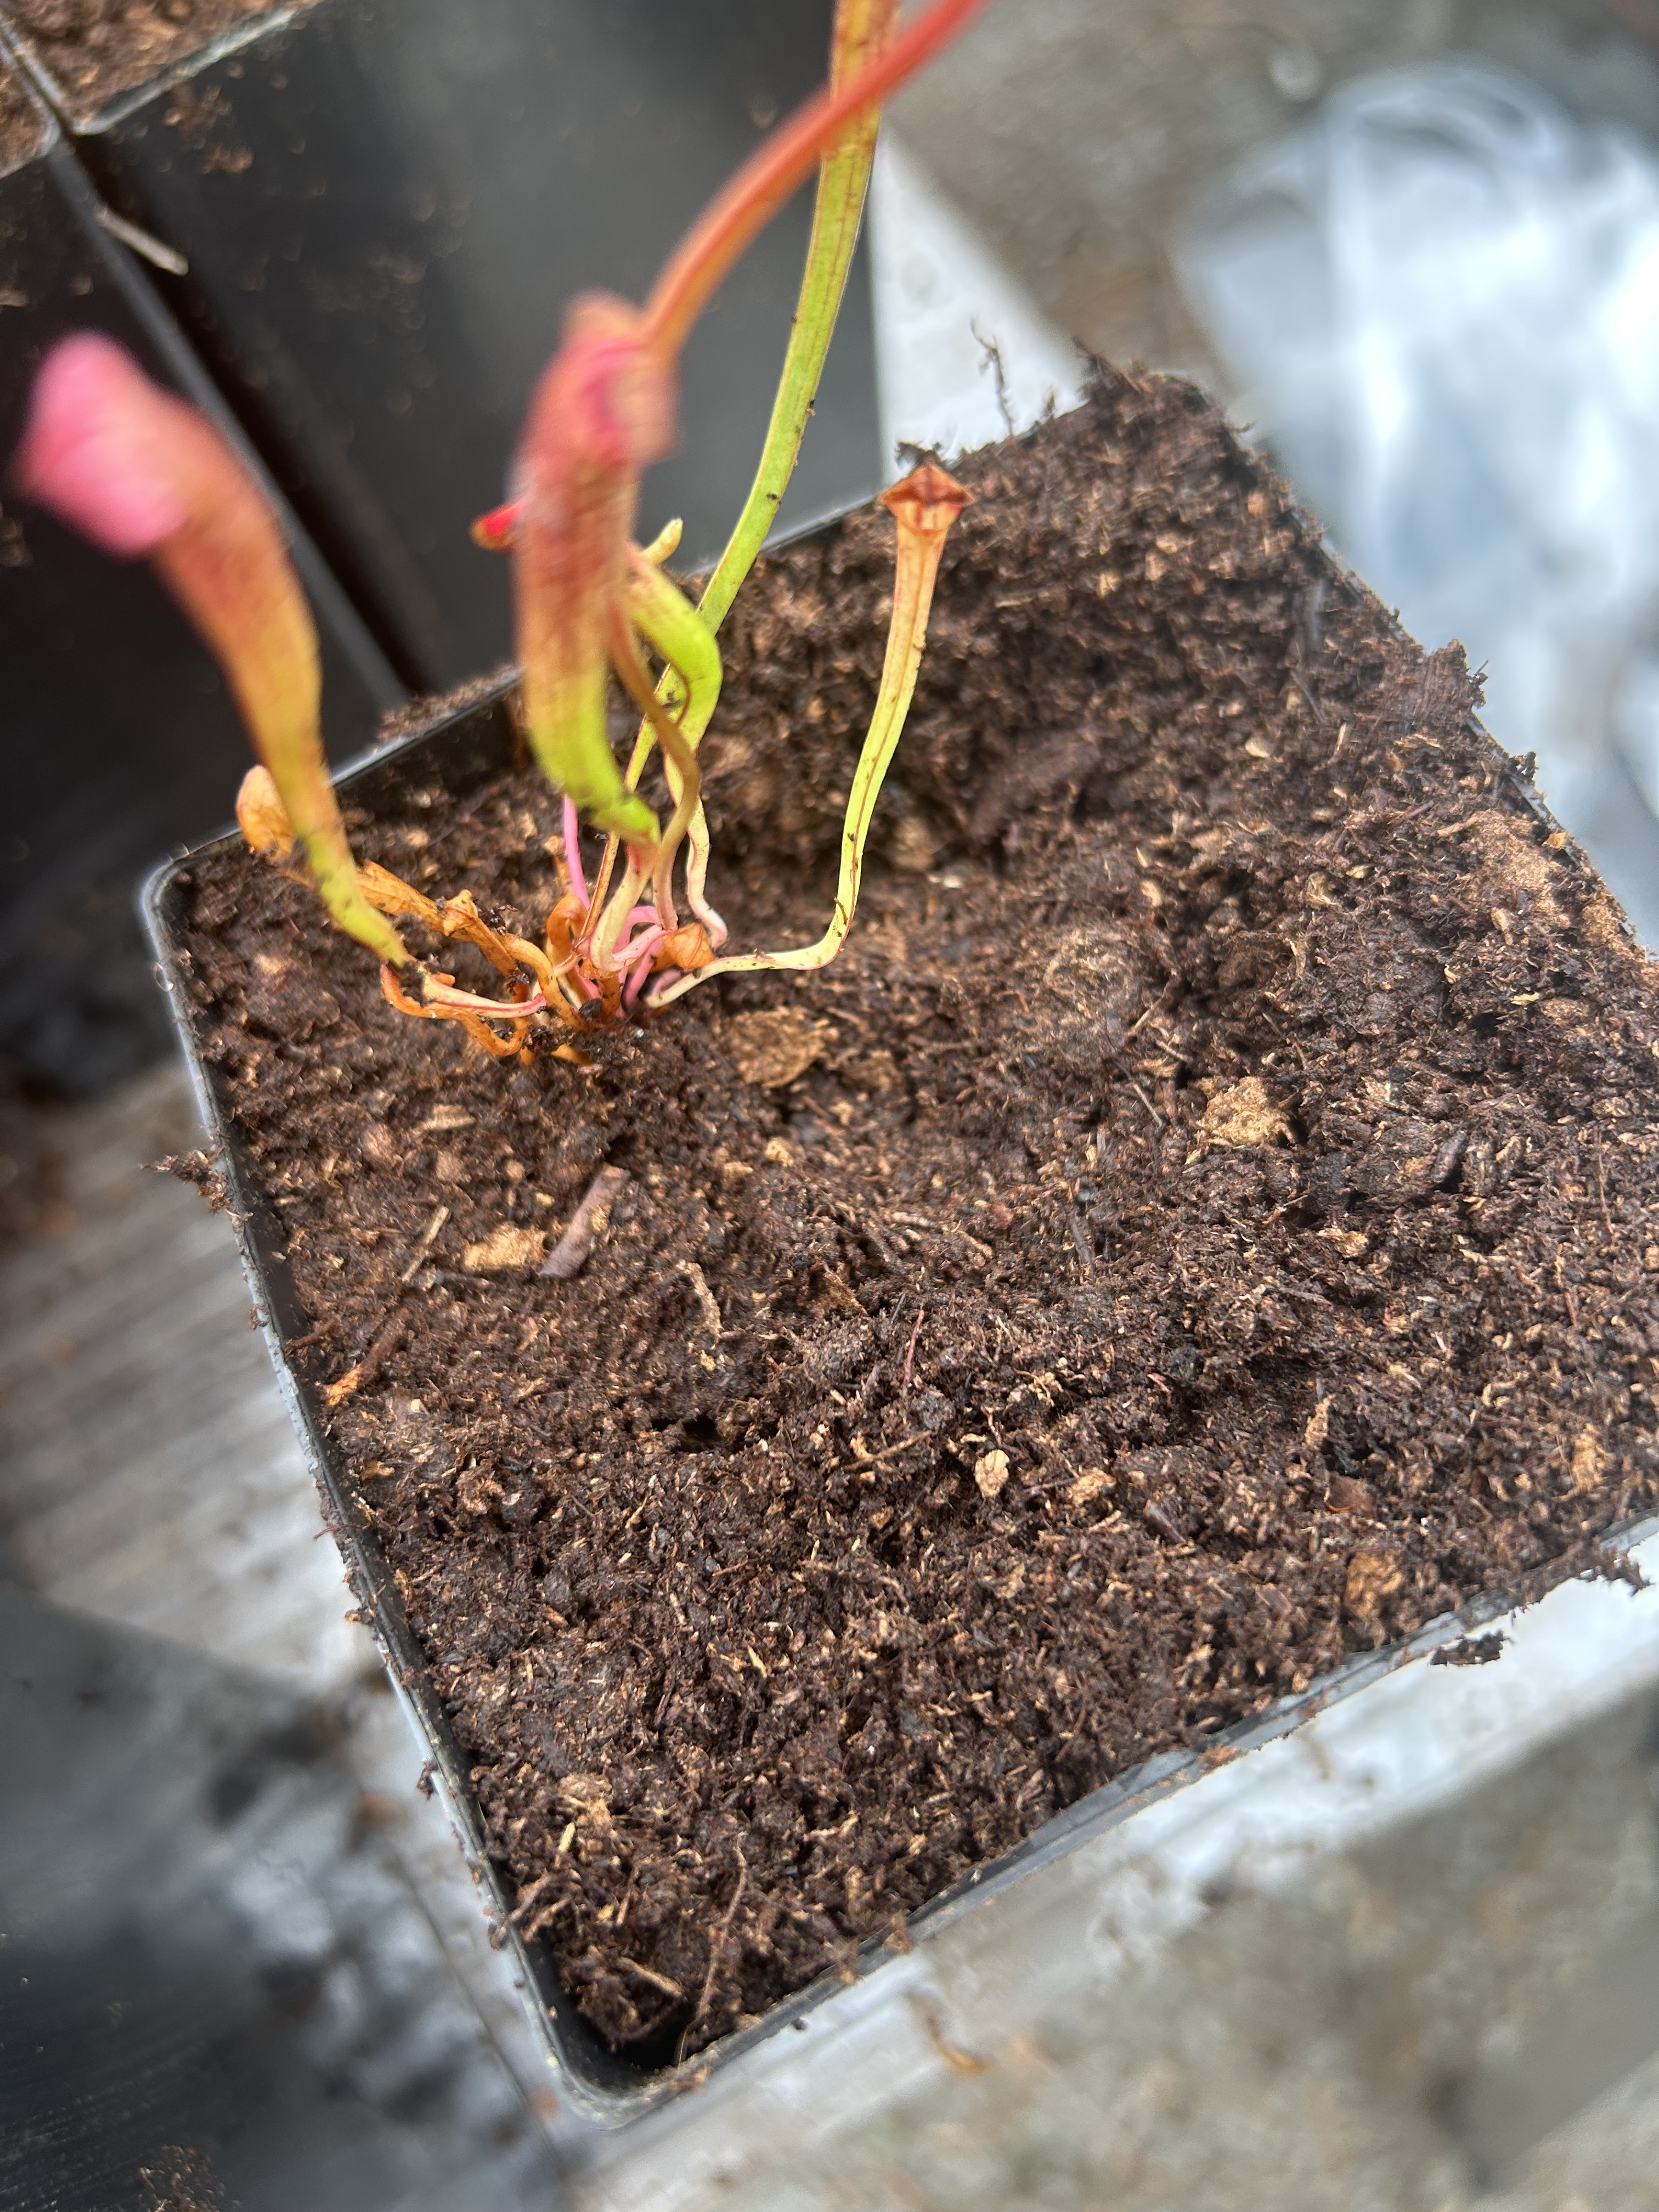
You will want the top of the small rhizome (the point where all the pitchers are emerging from) to be just lightly below the soil surface. Once planted, pinch the soil to help stabilize the rhizome from shifting. Seedlings at this size will often flop their pitchers which is totally fine. The next pitcher to grow will be upright and the plant will right itself with all new growth.
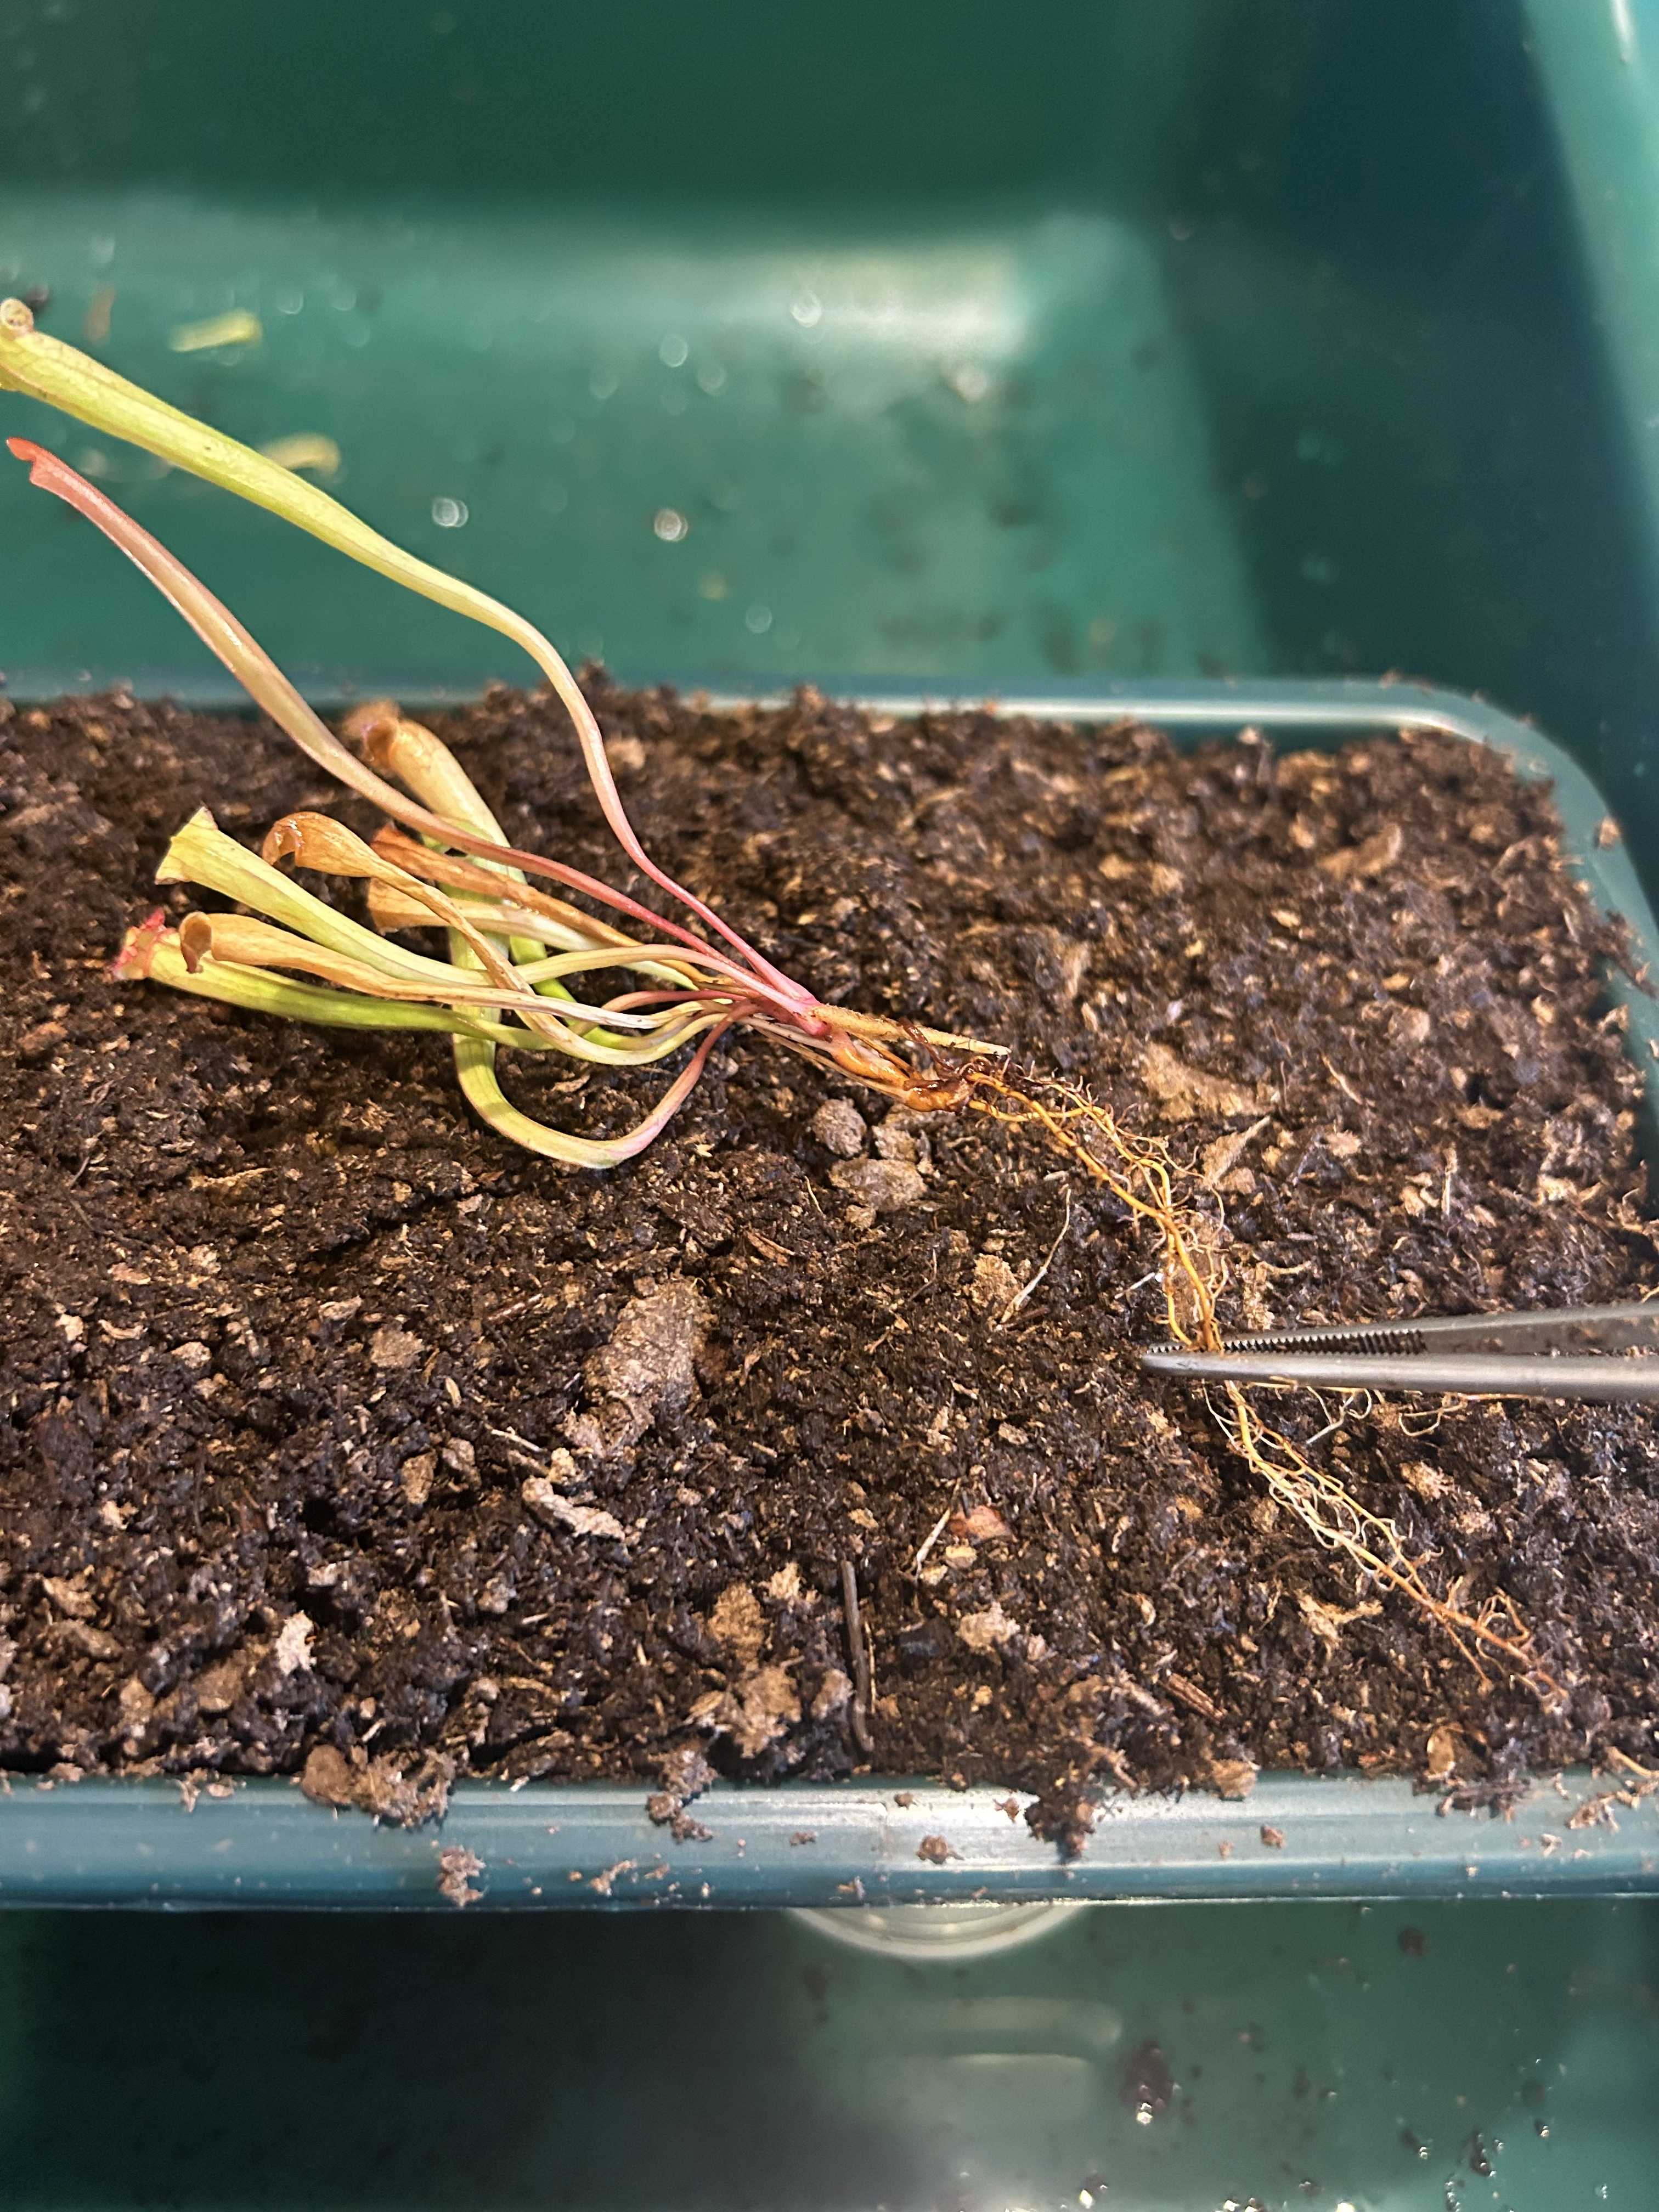

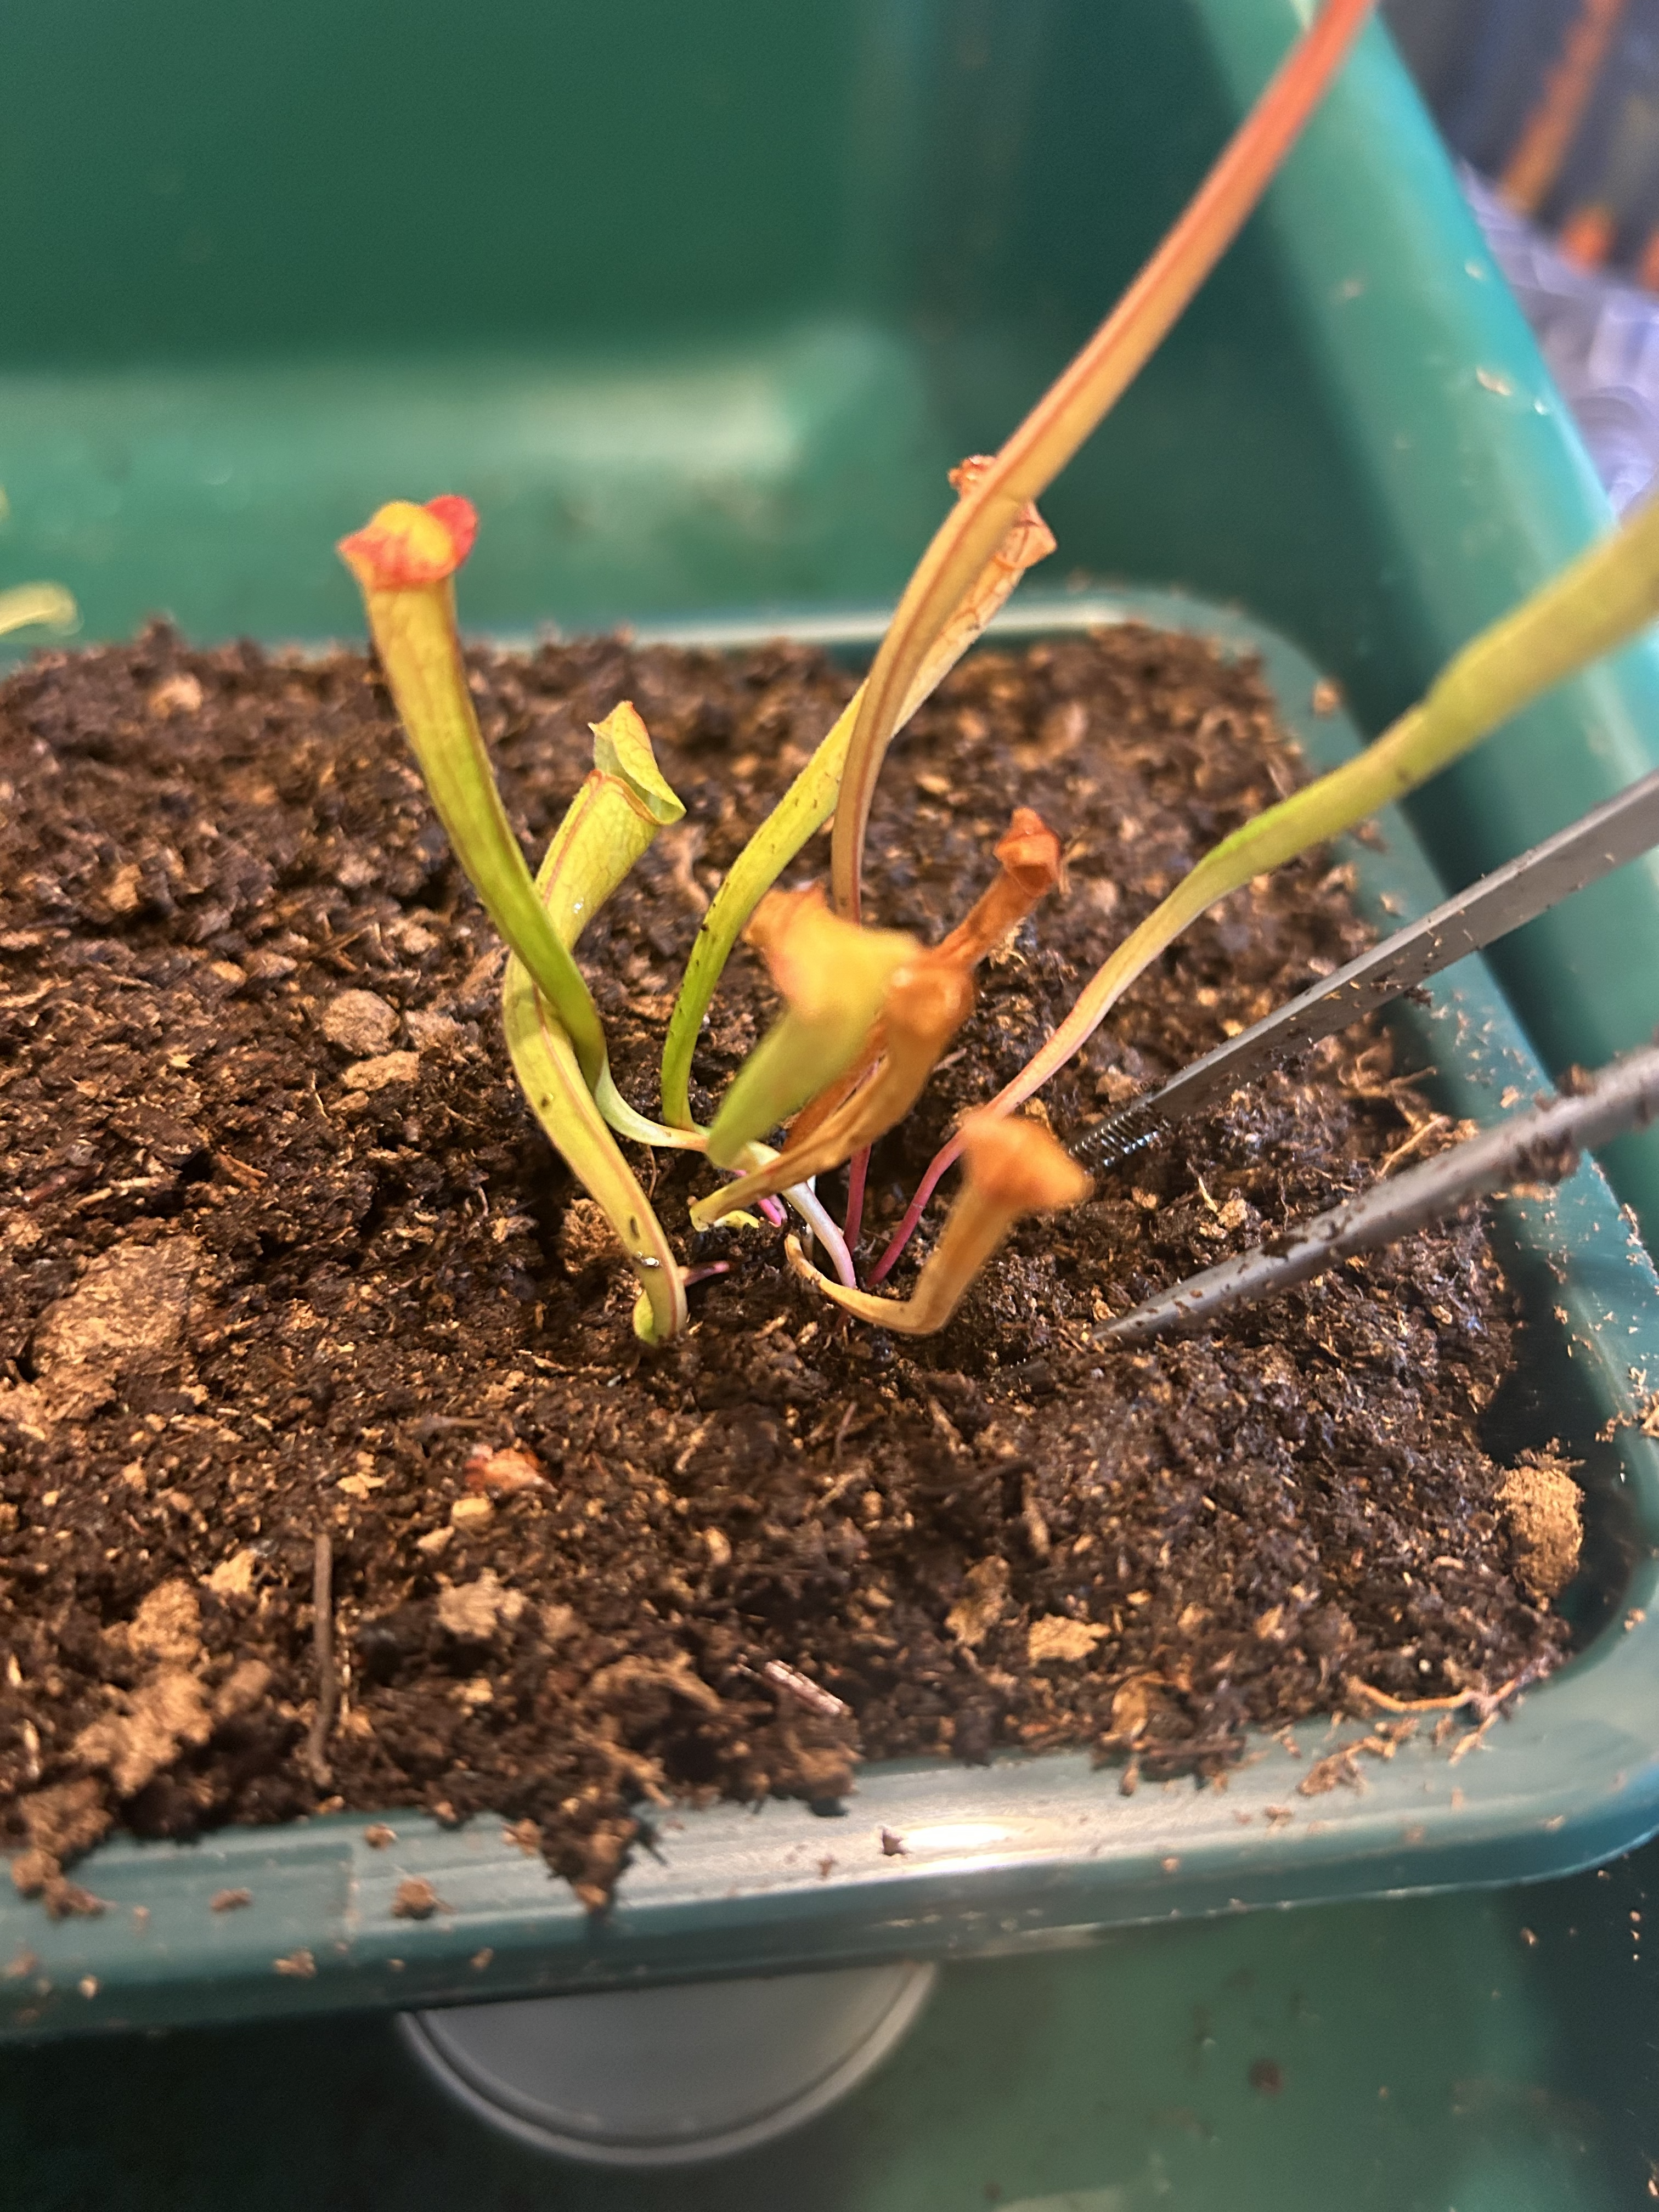
Continue planting your compot of seedlings until the pot is full. At smaller stages, the tiny rhizome is upright but as the plant gets larger it may begin growing in a pointed direction. If your seedling already has begun to grow a horizontal rhizome as an adult, just be sure to point the growth direction towards the center of the pot and not the edge of the pot to buy yourself more compot growth time before they need to be repotted.
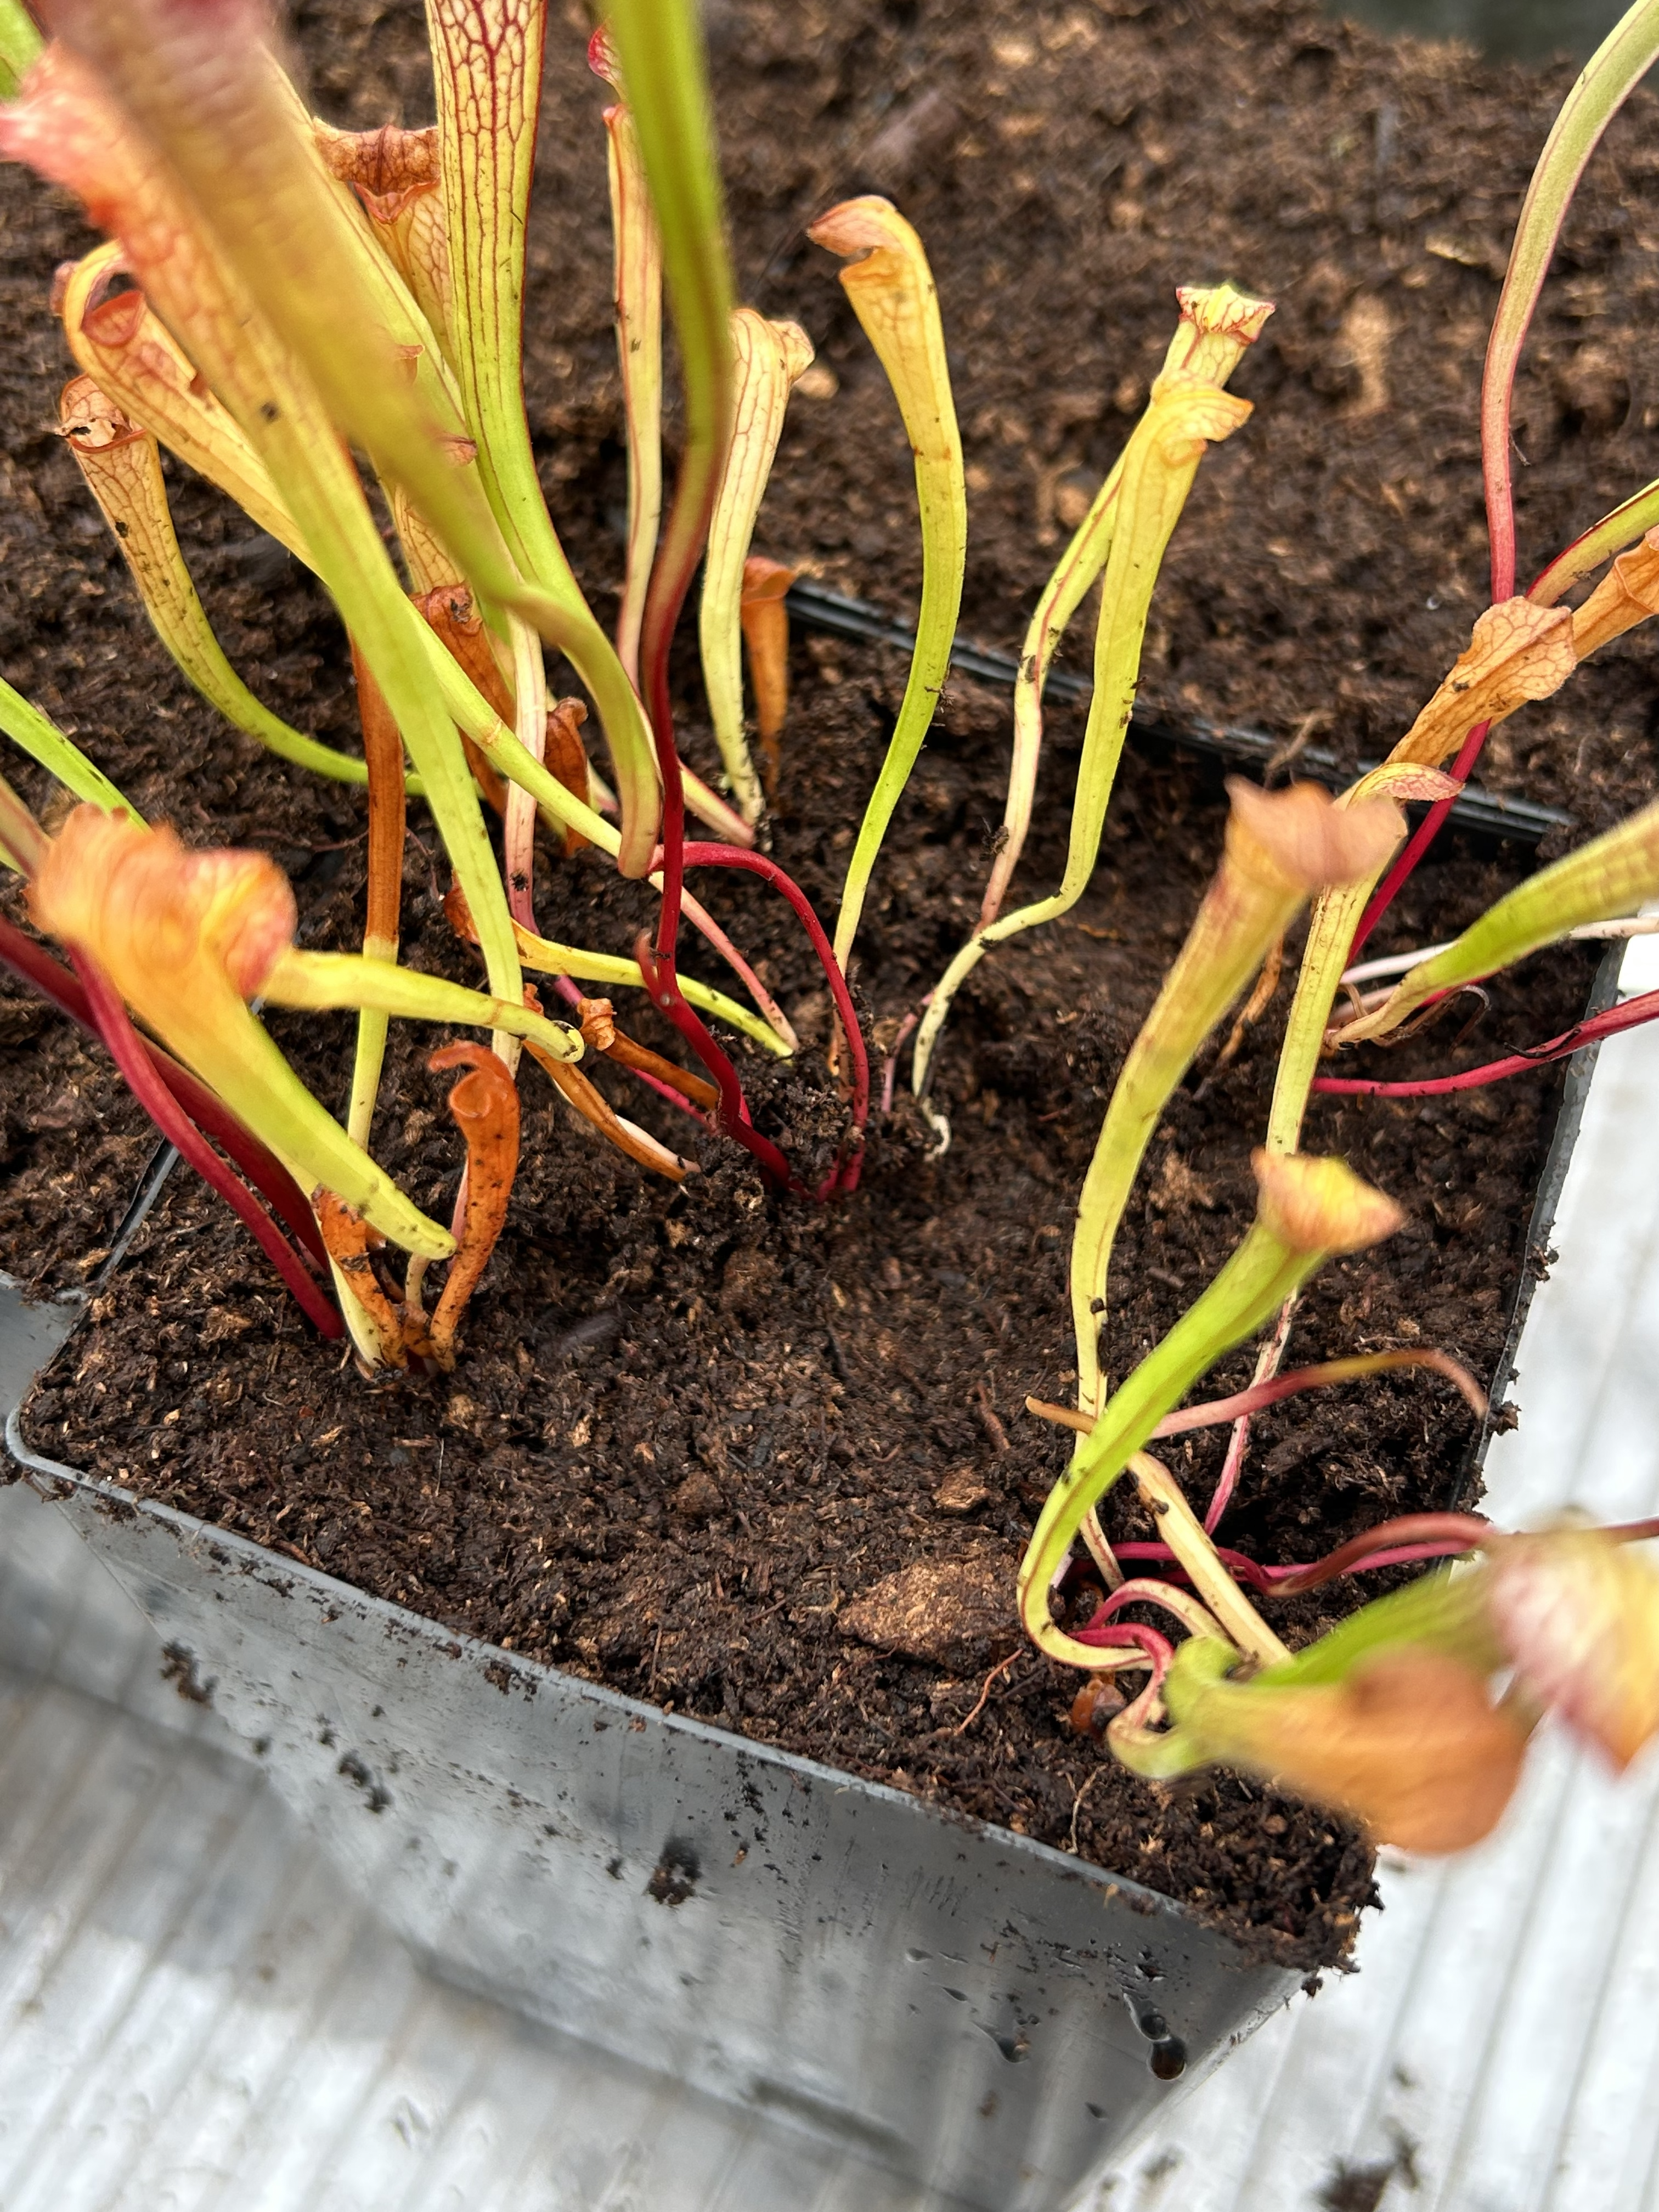
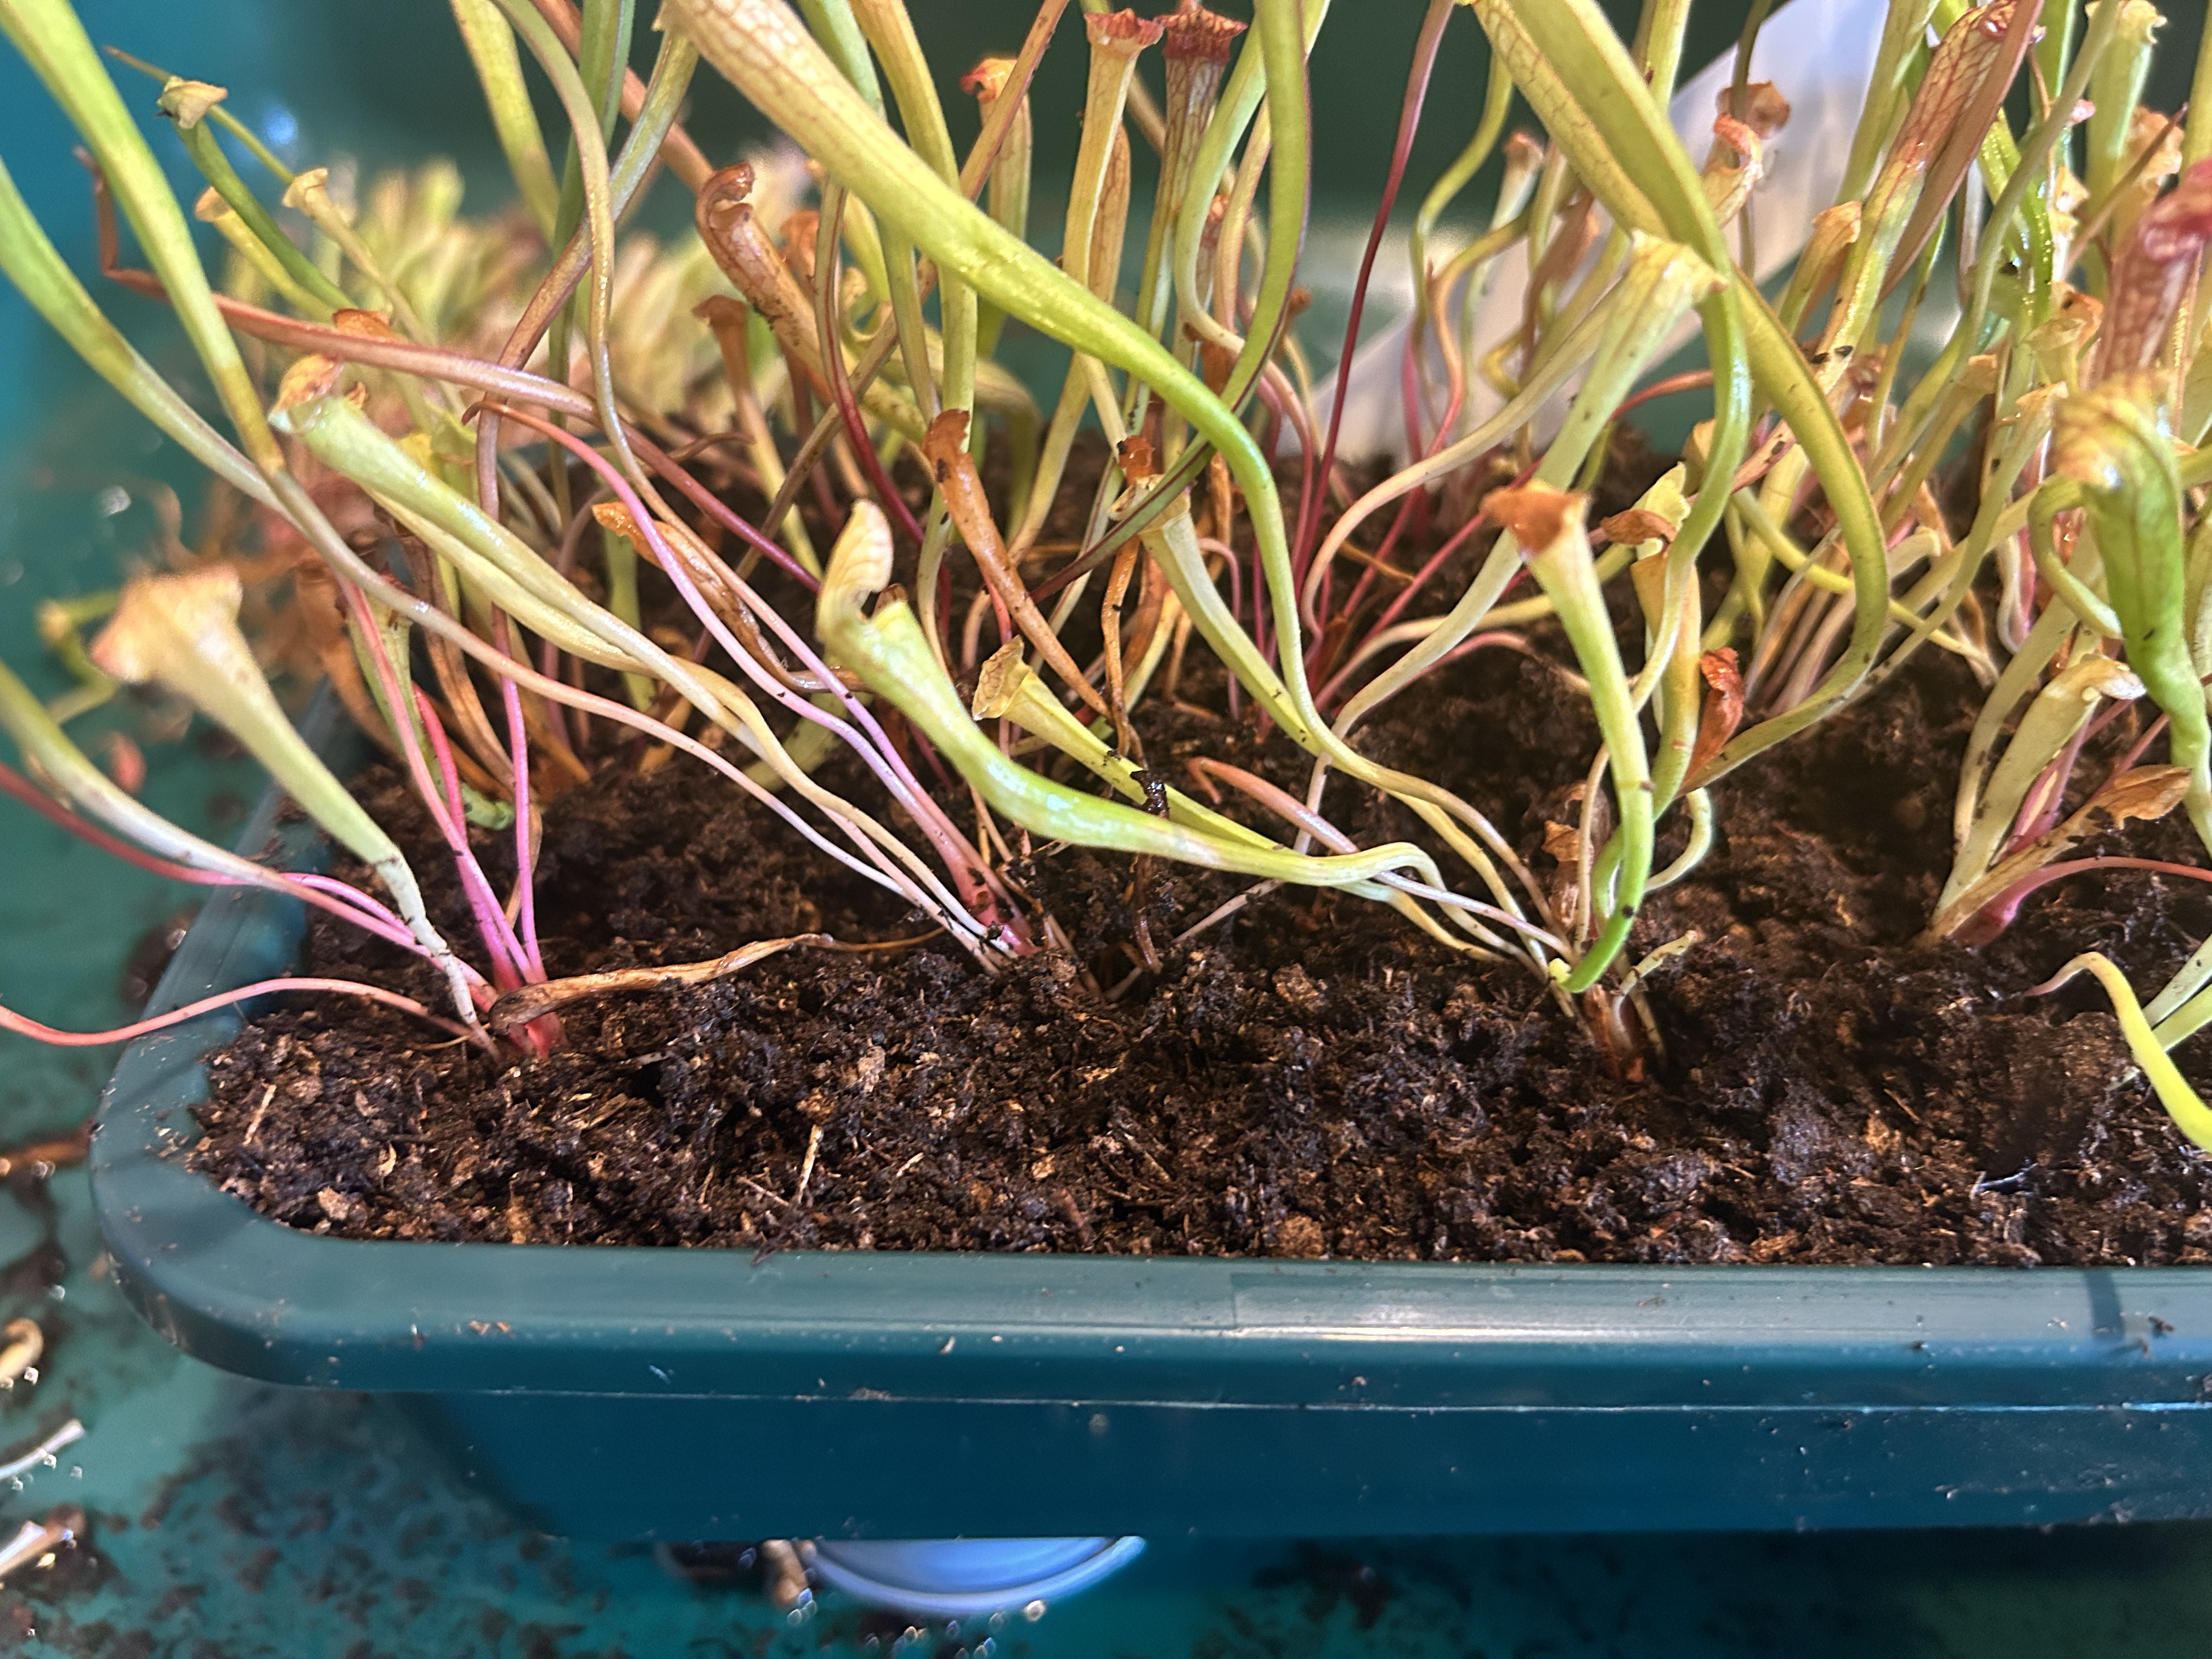
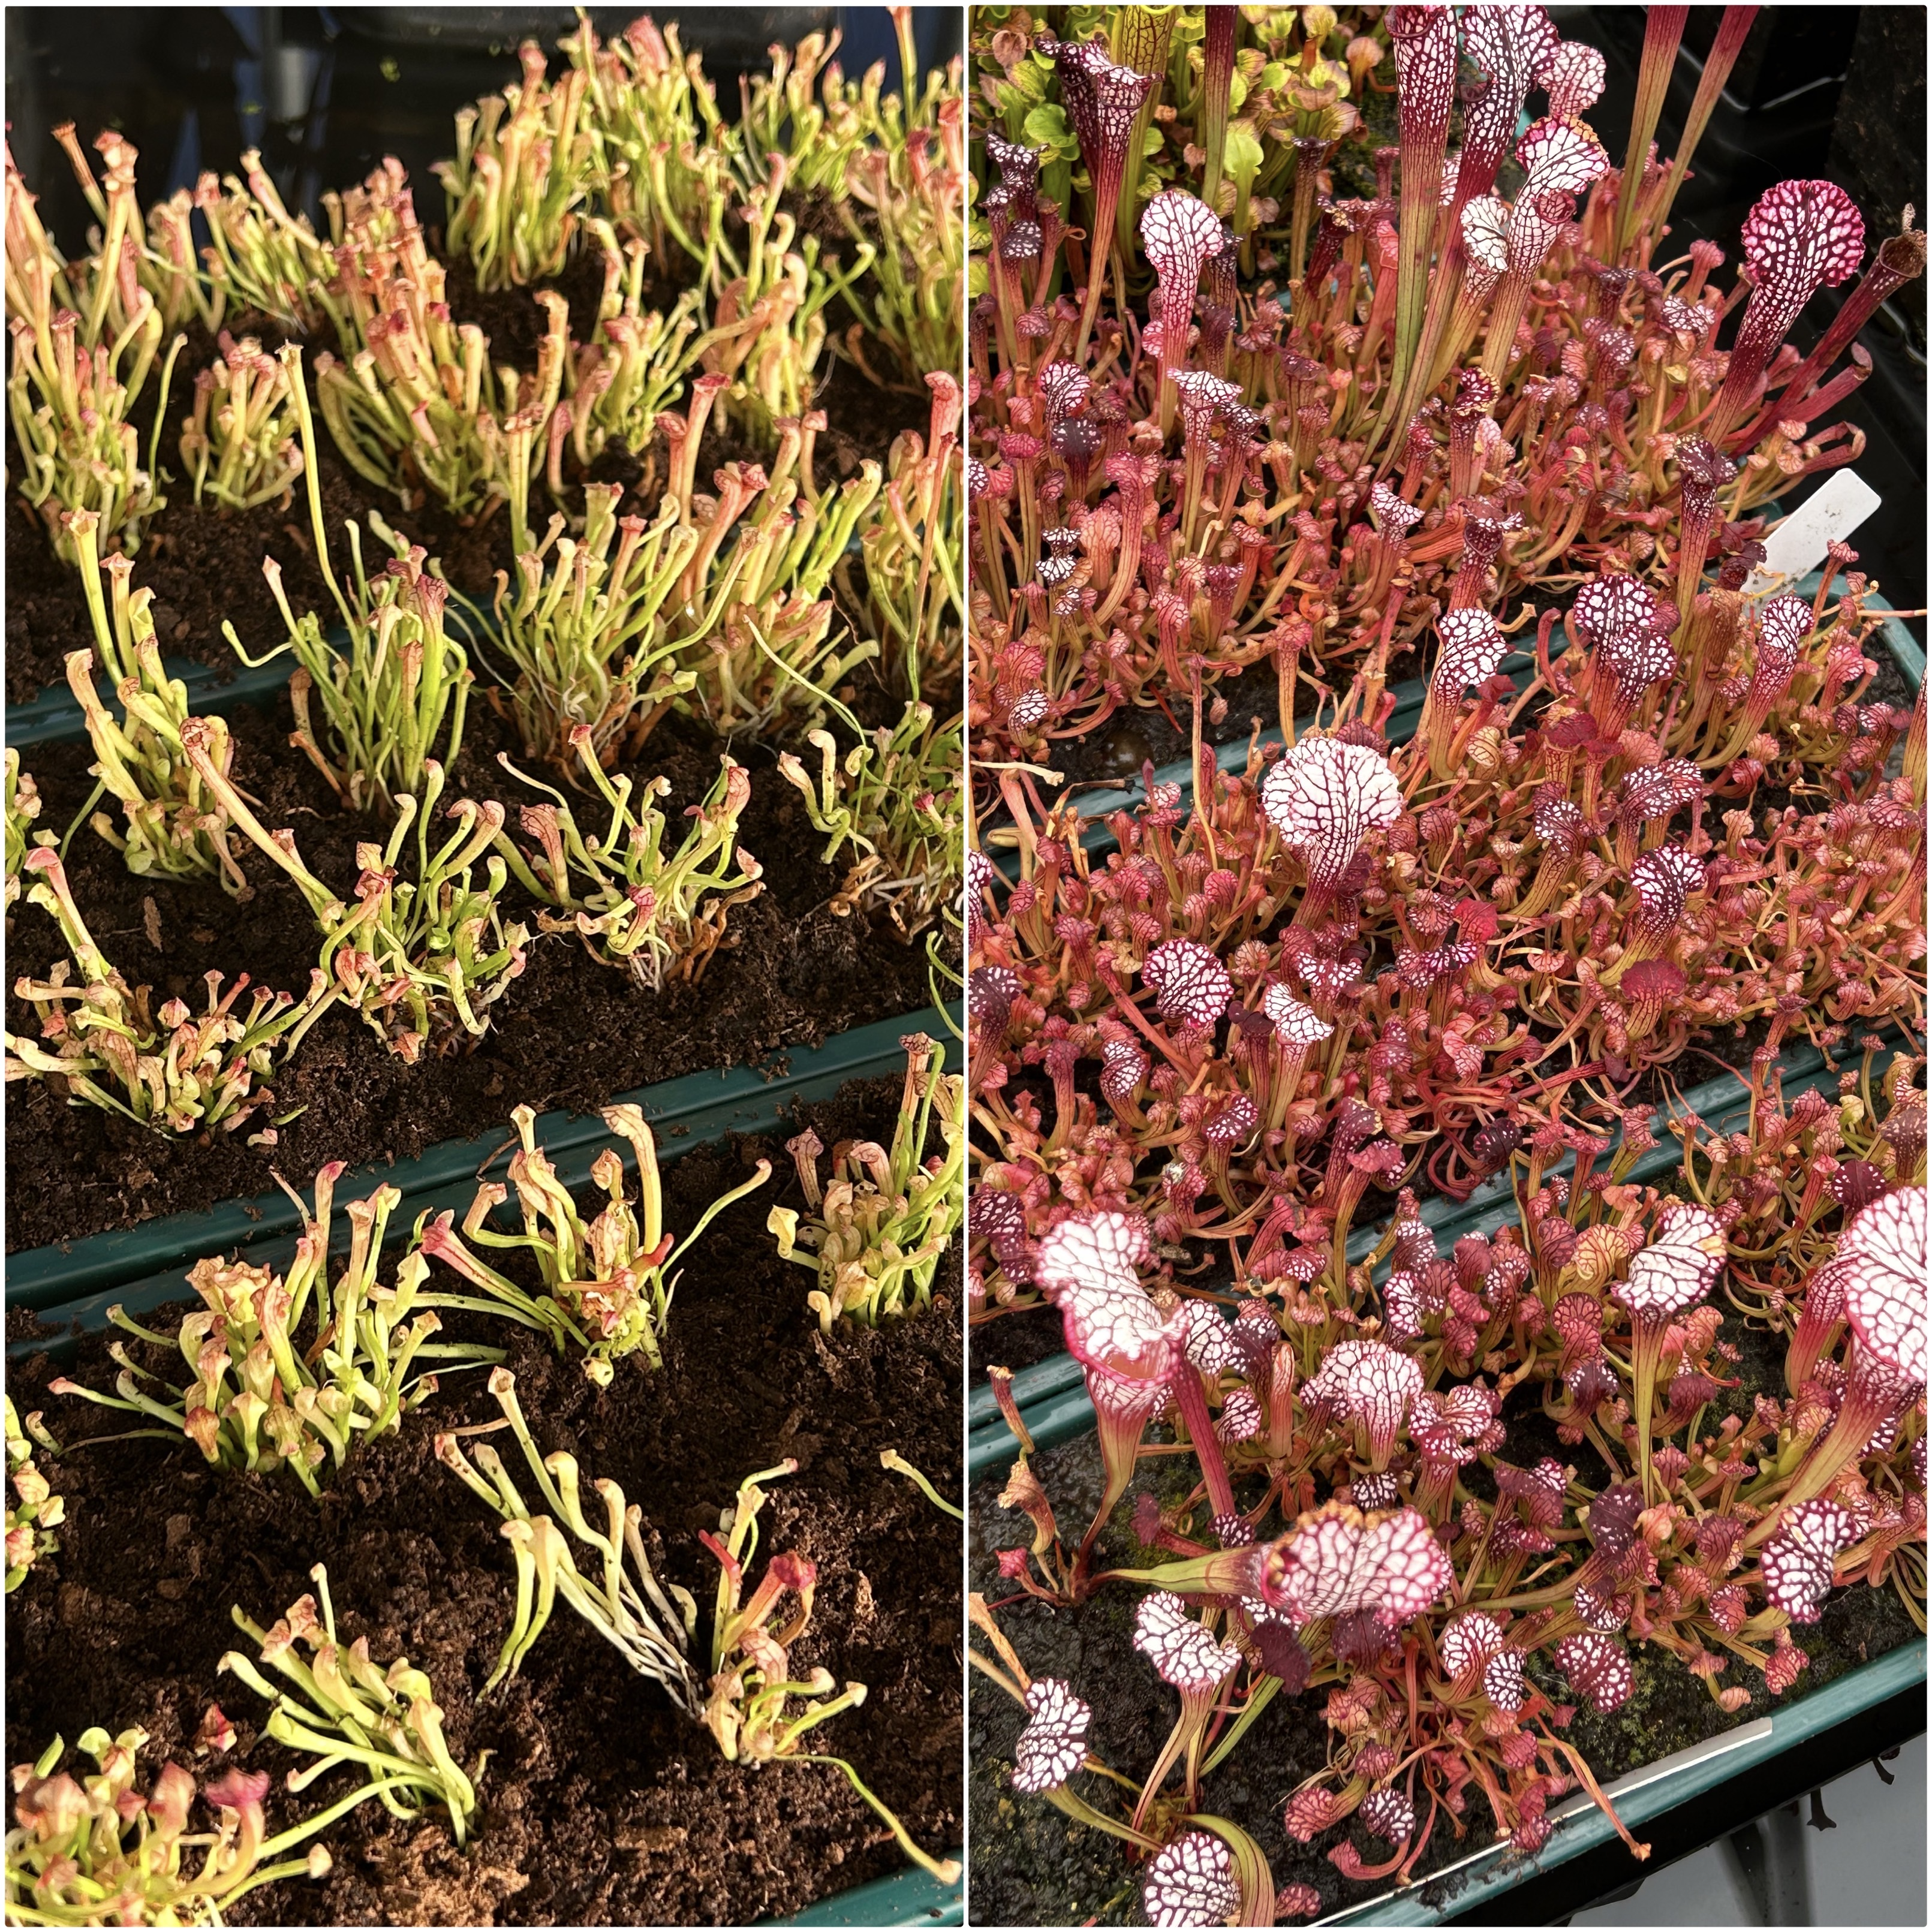
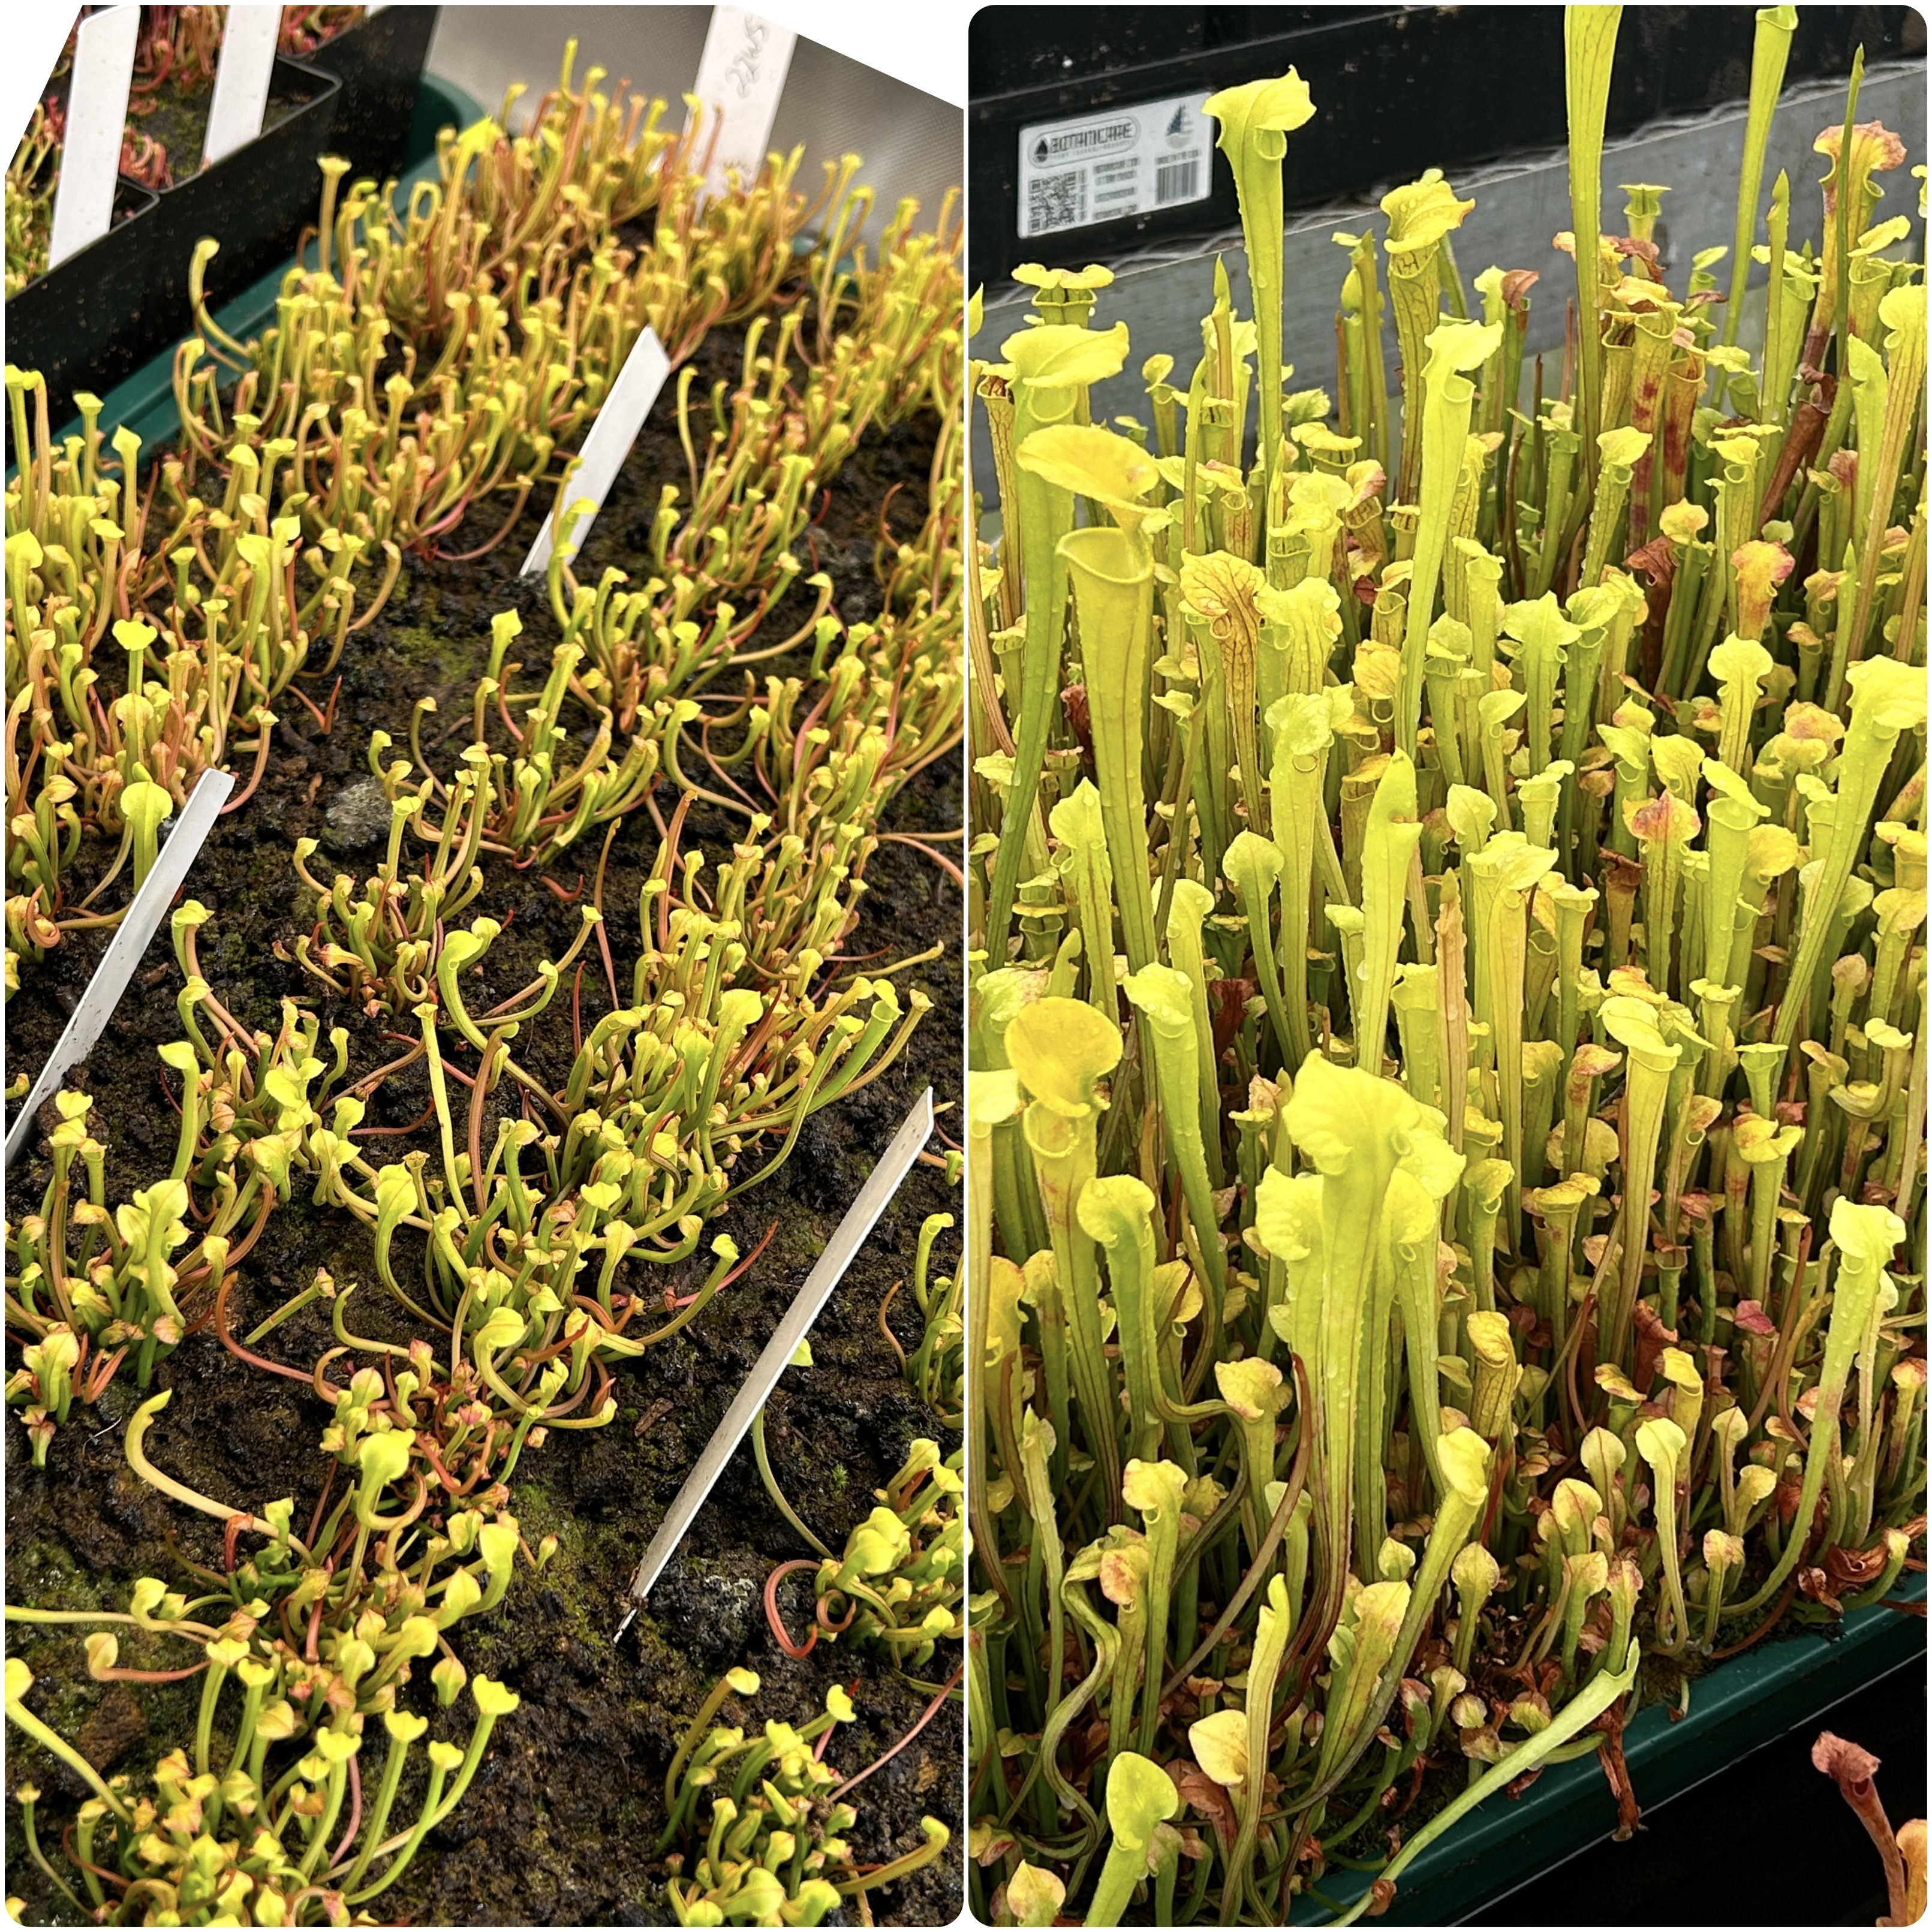
While the seedlings don't mind being repotted, in fact does spur new root growth, disturbing the seedlings usually disturbs the small pitchers but don't worry. As you can see, they look like a mess after they have been transplanted! Once a pitcher is fully opened, it doesn't grow any taller and can't self right. But remember the tubes are actually leaves, so the plants will continue to photosynthesize from the pitchers no matter which direction they are in, and the next pitcher up will straighten and resume upright growth.
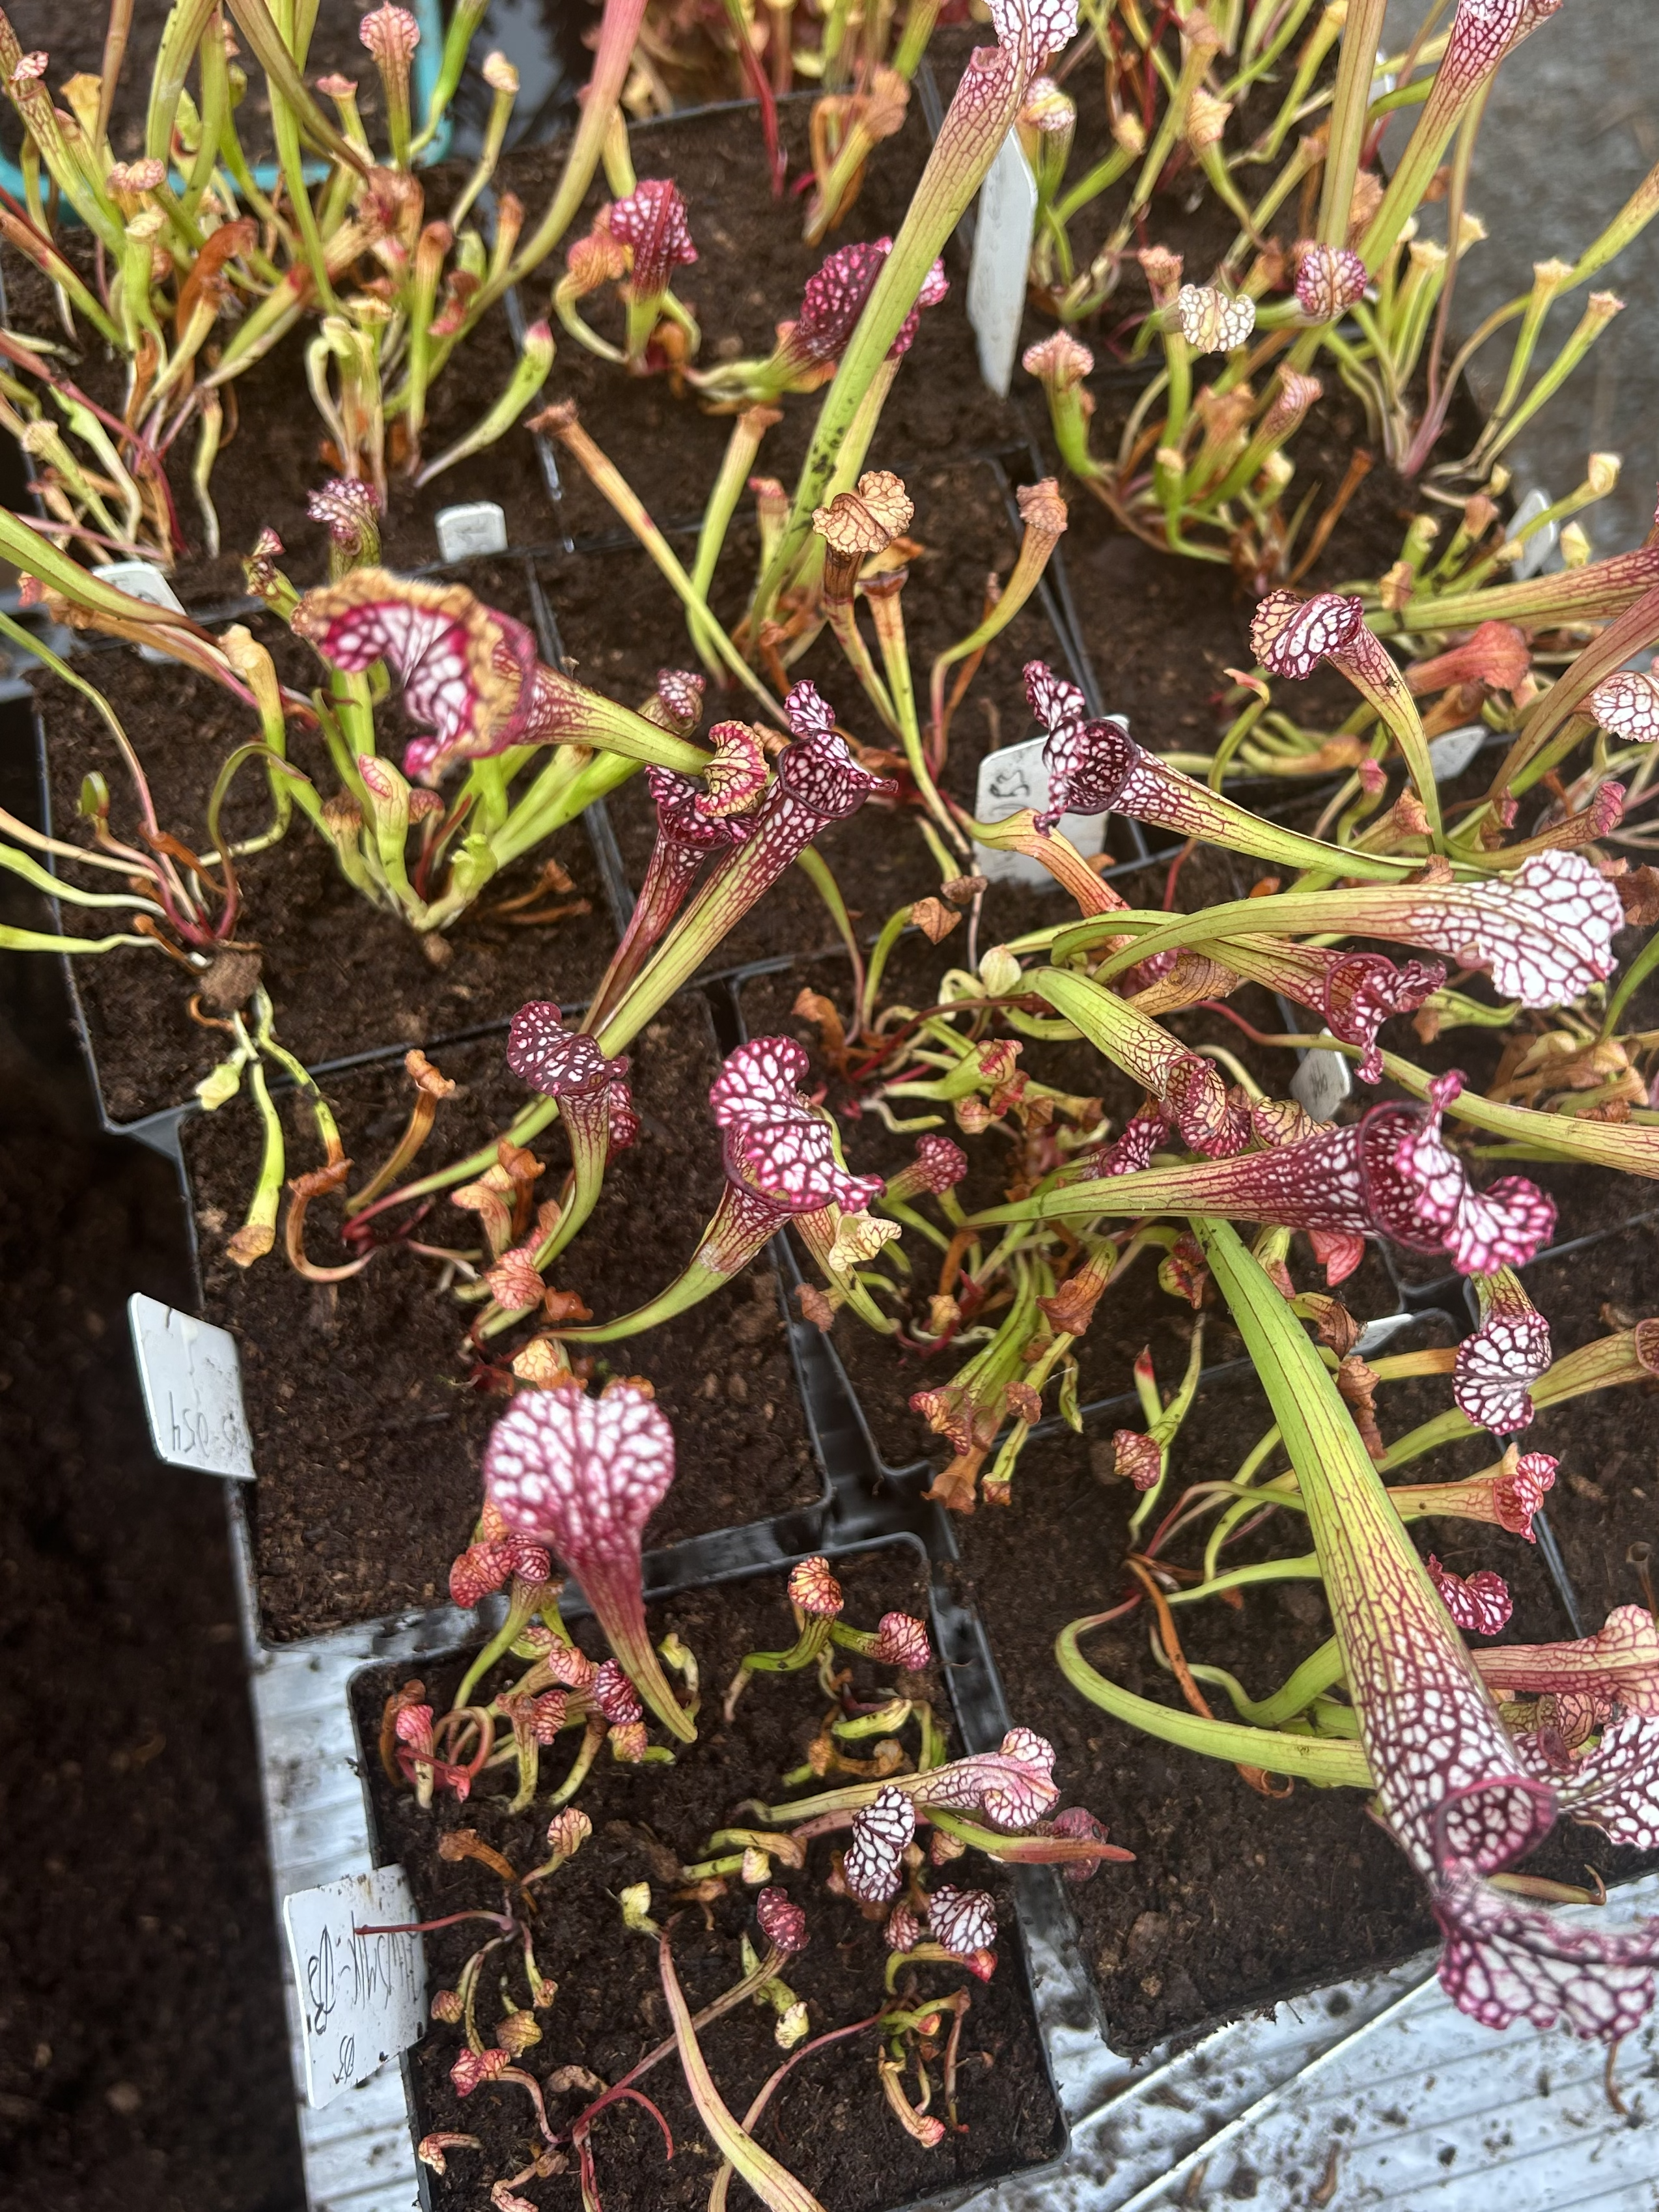
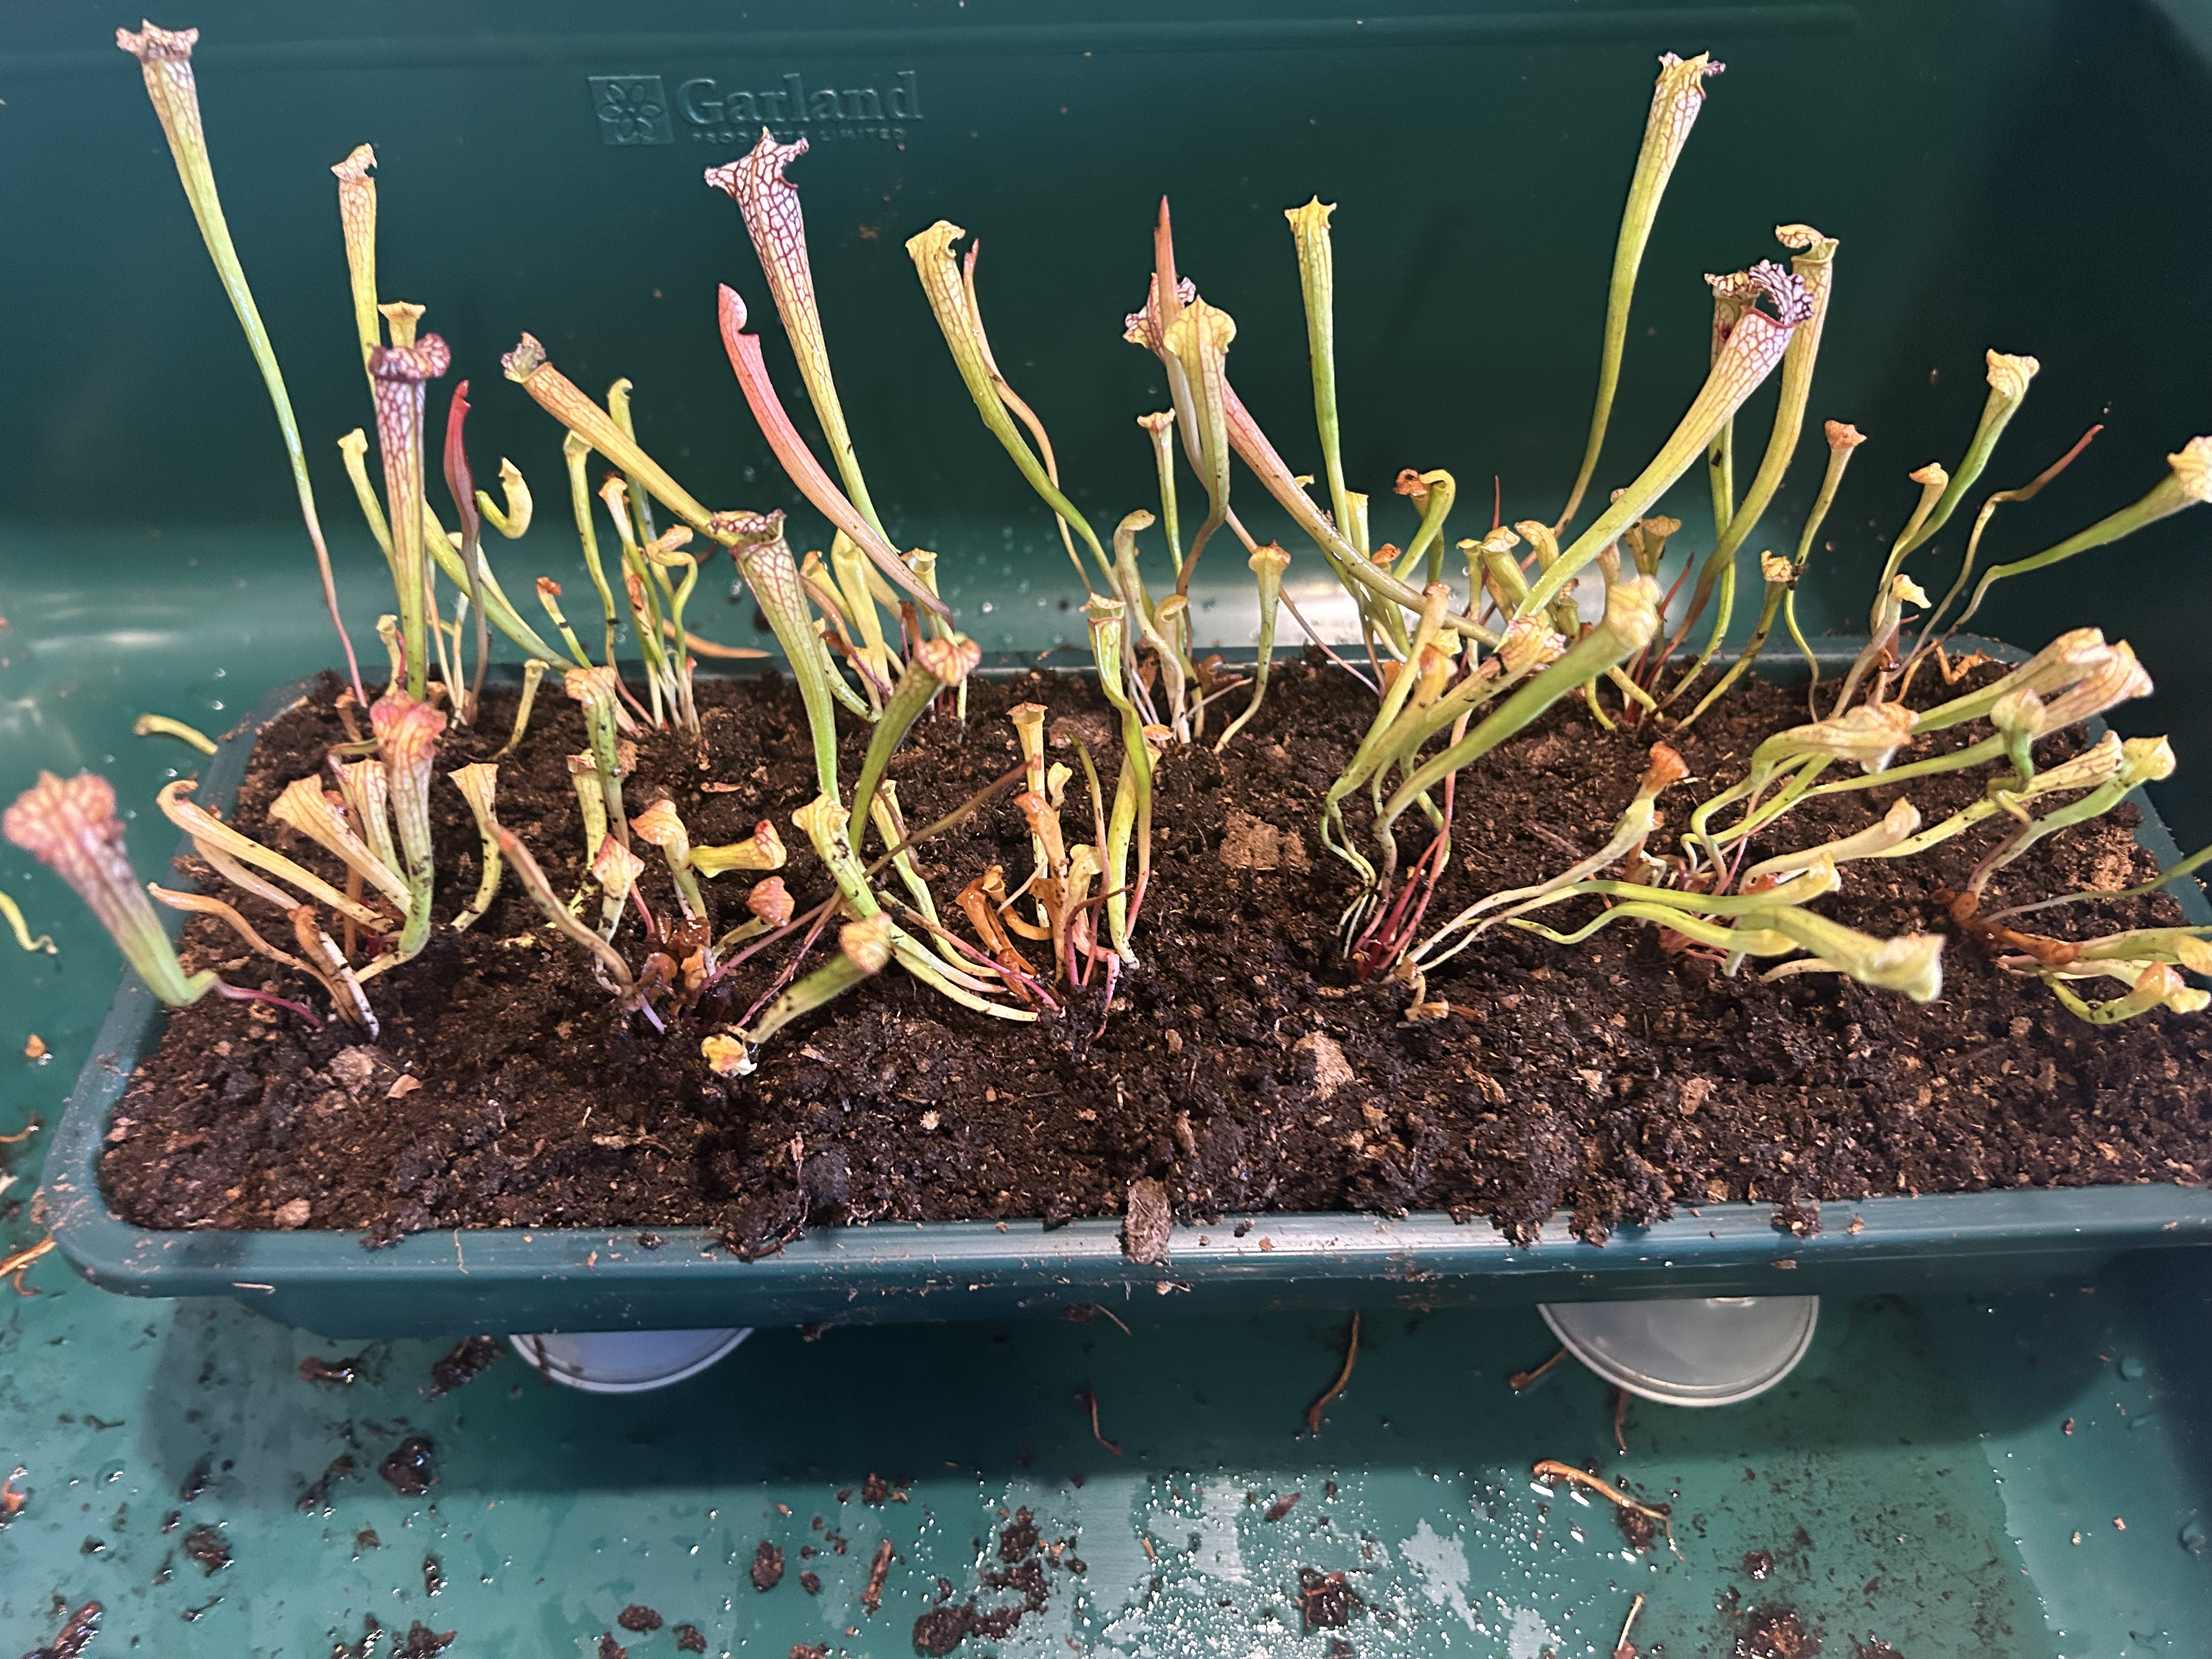
With your seedlings all planted, you should water them gently from above to get your growing media fully saturated and roots watered in. Once fully hydrated, set your pots in an inch of water either under lights or outside and protect from frost. It is important to make sure the seedlings never dry out at this stage, so error on the side of being too wet until they are fully settled in and growing new pitchers. For the next month, the seedlings will recover, and begin producing new roots and growing a new pitcher or two. Older pitchers may darken or fall over but as long as they haven't fully dried up it is best to leave them on the seedling. Occasionally seedlings may take a break from growing pitchers as they devote energy to growing additional roots post transplant, and will resume pitcher growth shortly. After the first month or so of settling in and the appearance of new growth, a light non urea fertilizer (orchid fertilizer or 16-16-16 maxSea) at 100ppm can be applied weekly to boost growth. After a few months, your seedlings should have put out several new pitchers, each subsequent pitcher larger than the previous one, and your compots should be filling in nicely. Below are 4 and 9 month before and after shots of a leuco and flava seedling compots:
